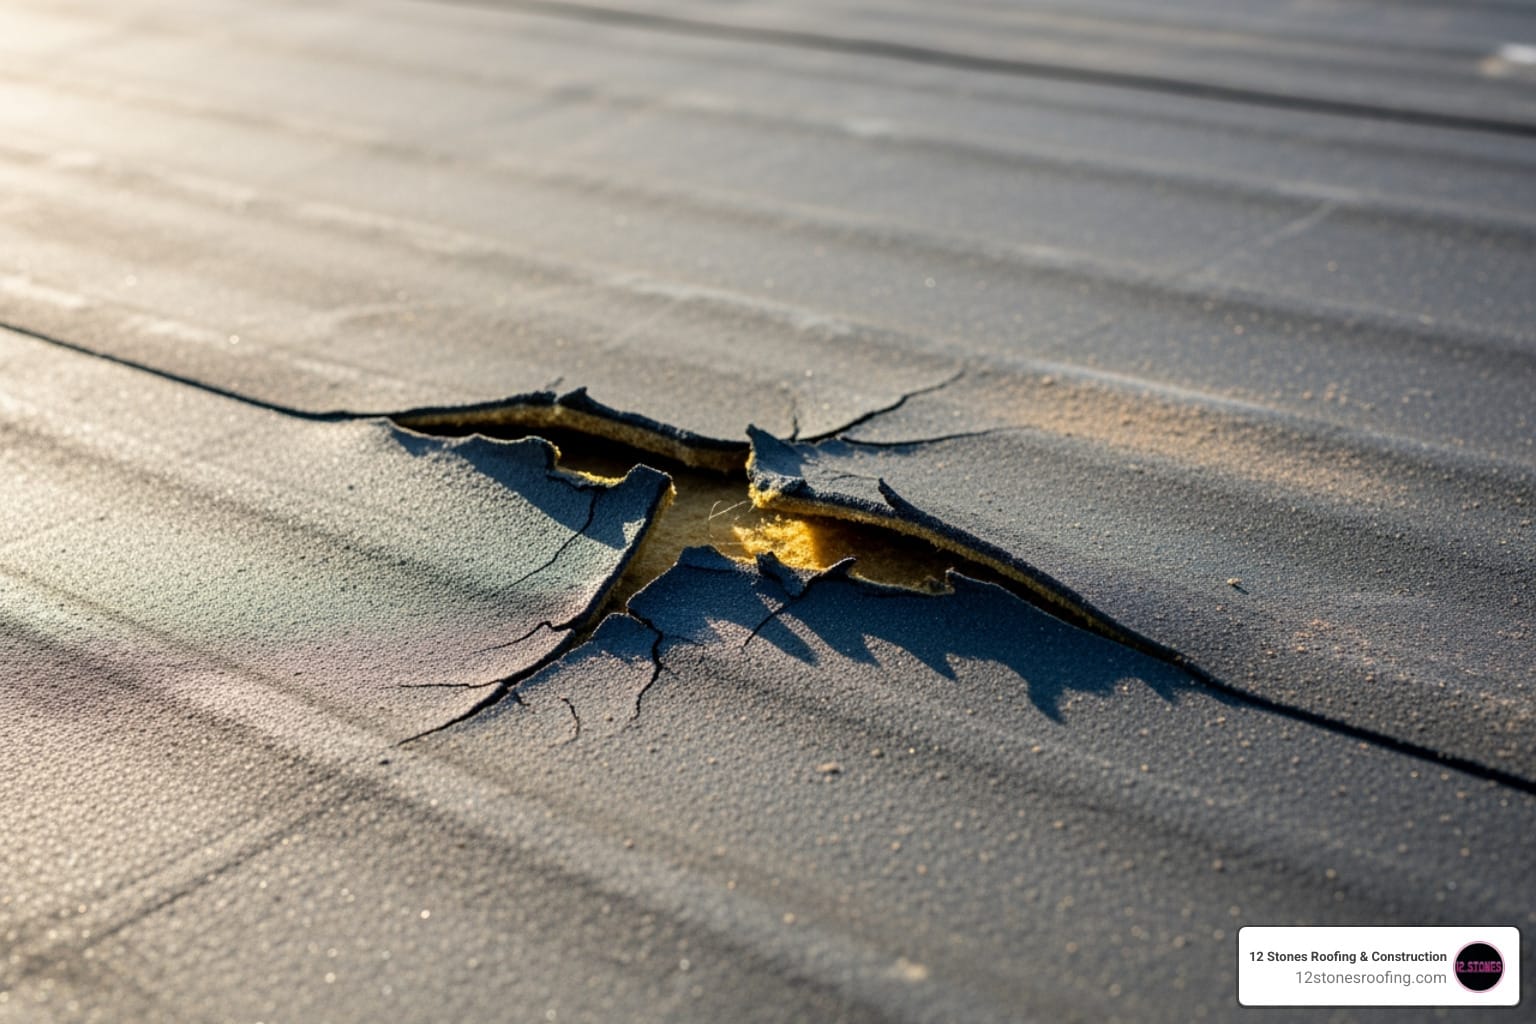
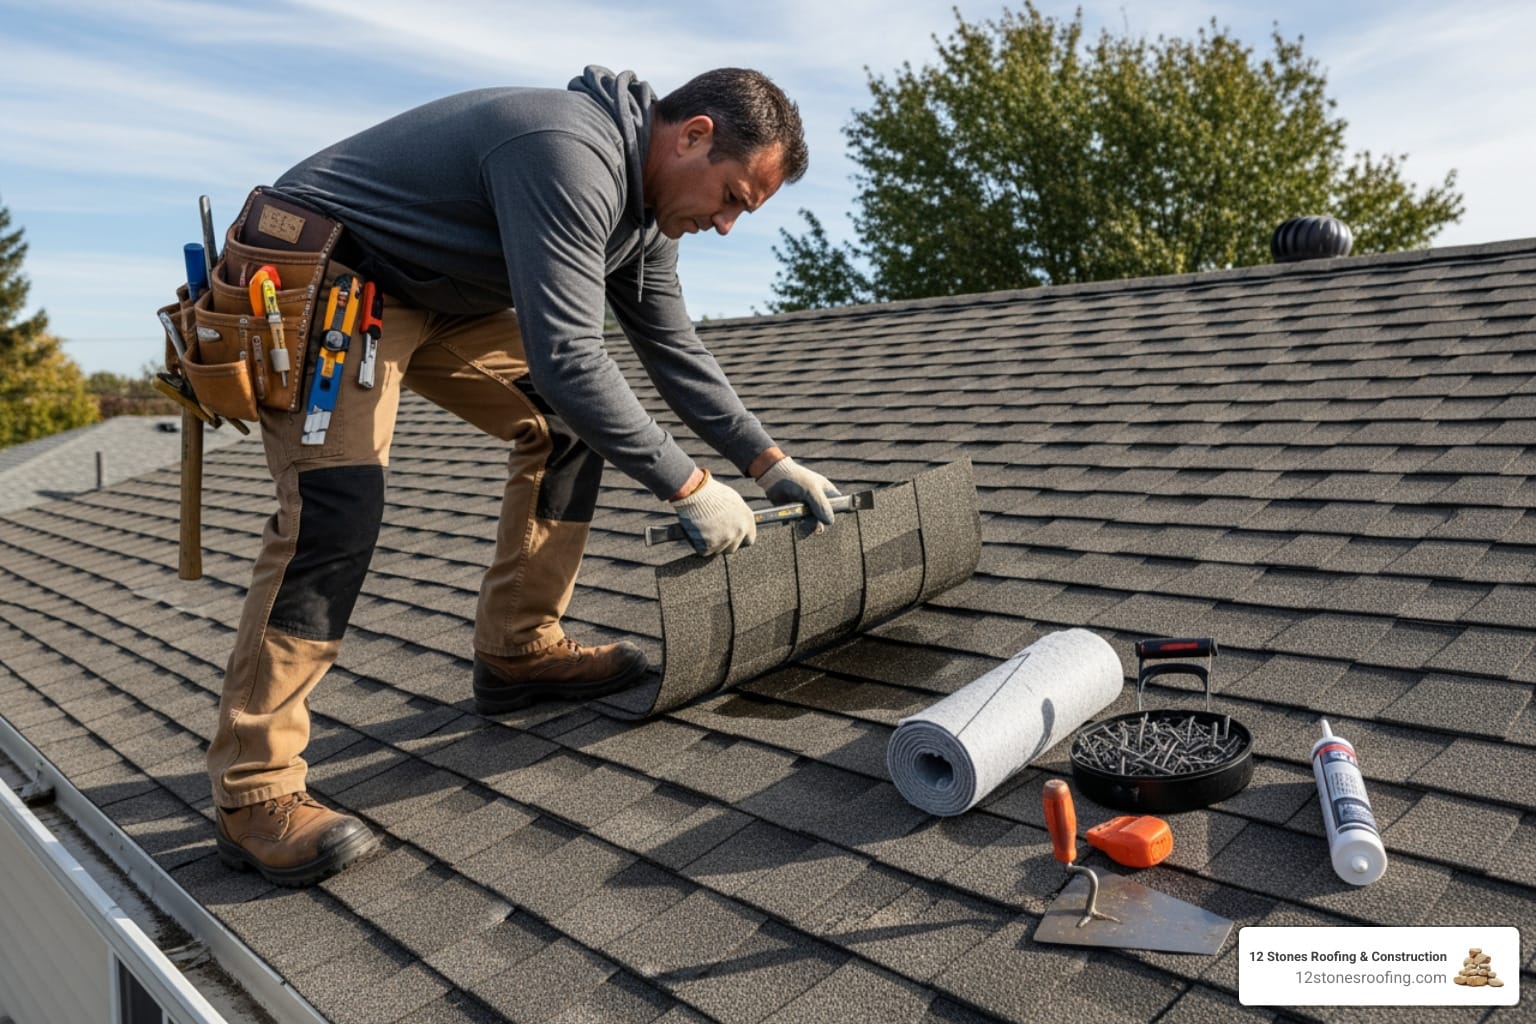
When Every Second Counts: Why You Need a Temporary Roof Leak Fix
A temporary roof leak fix can protect your home from thousands of dollars in water damage when a storm strikes or aging materials fail. When you spot a leak, you need to act fast. For rapid help from local roofing experts in Pasadena, you can connect with 12 Stones Roofing & Construction right away. Water damage can lead to mold growth in as little as 24 to 48 hours, turning a small issue into a major health and structural problem. Fortunately, you can take immediate steps to control the situation and buy time before a professional roof repair can be completed.
Here are the most effective emergency solutions:
- Tarps with 2×4 boards: Best for large damaged areas; can last 30-60 days.
- Roofing tape: A quick seal for small cracks, often applicable from inside the attic.
- Plastic sheeting (6-mil thick): An emergency barrier for moderate holes.
- Silicone caulk or roofing cement: Fills gaps around flashing and vents.
- Buckets and towels: For immediate interior water containment.
These emergency measures are crucial first aid for your home, preventing a manageable leak from becoming a catastrophe that affects your home’s structure, electrical systems, and air quality.
“As the owner of 12 Stones Roofing & Construction, I’ve seen how a quick temporary fix can save homeowners from extensive damage. Our Pasadena and Gulf Coast clients who take these initial steps are often able to prevent a minor leak from becoming a major disaster while waiting for our crew to arrive for a permanent repair.” – Jason Roberts, Owner
This guide will walk you through containing the immediate threat, finding the source, and applying a proven temporary fix. You’ll also learn critical safety precautions and why these patches are stepping stones, not permanent solutions.
First Response: What to Do the Moment You Spot a Leak
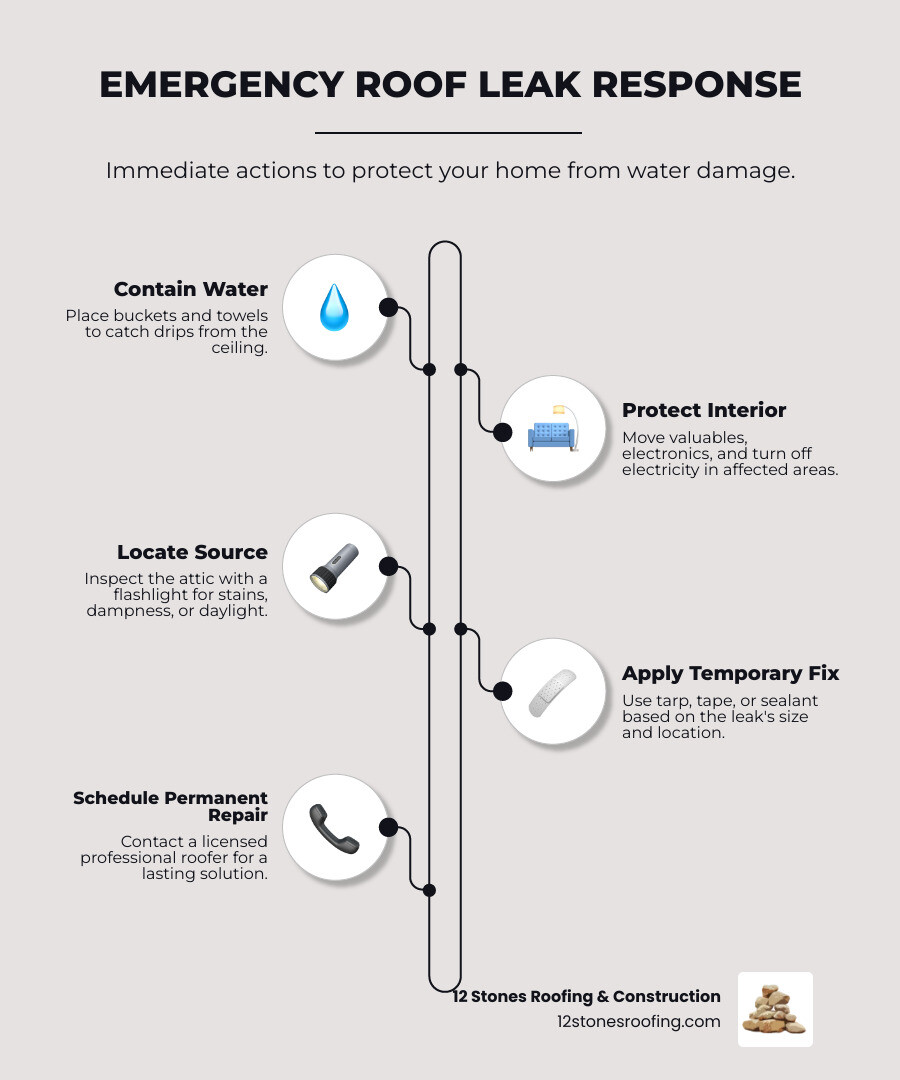
The first priority is to minimize interior damage. When you see a drip or a spreading water stain, quick action can save your ceilings, walls, floors, and personal property from costly harm and prevent the rapid onset of mold.

Containing the Water Inside
Your immediate task is to control the water and protect your belongings. Follow these steps:
- Catch the Water: Place large buckets directly under the drip. Lay old towels or tarps around them to catch splashes. Empty the buckets regularly.
- Move Valuables: Immediately relocate furniture, rugs, and electronics away from the leak. If items can’t be moved, cover them with plastic sheeting.
- Shut Off Power: If the leak is near light fixtures or outlets, go to your circuit breaker and turn off power to the affected area to prevent electrical shorts or fire.
- Puncture Ceiling Bulges: If you see a bulge in the ceiling, water is pooling there. To prevent a messy collapse, carefully puncture the center of the bulge with a screwdriver, placing a large bucket underneath to catch the draining water. This controlled release is safer than an uncontrolled burst.
Clearing the Area and Ensuring Safety
Once the water is contained, secure the area and document the damage.
- Prevent Slips: Water can make floors slick. Place towels on wet spots to prevent falls, especially if you have children or elderly family members in the home.
- Document Everything: Use your phone to take clear photos and videos of the leak, the damaged ceiling, walls, floors, and any affected property. This evidence is crucial for your insurance claim. Capture more than you think you need; you can’t recreate this evidence later.
This initial response buys you valuable time and prevents interior damage from overwhelming your temporary roof leak fix efforts. Once the immediate threat is managed, you can proceed to find the source of the leak.
Pinpointing the Problem: How to Find the Source of Your Roof Leak
Water often travels along rafters and decking before it drips into your home, so the visible stain may be far from the actual entry point. Locating the true source is essential for an effective temporary roof leak fix.

Common Causes of Roof Leaks
Understanding common culprits helps you know what to look for. Here are the most frequent issues we see in the Pasadena area:
- Missing or Damaged Shingles: High winds can lift or tear away shingles, exposing the underlayment to rain.
- Cracked or Deteriorated Flashing: The metal strips around chimneys, skylights, and vents can rust, crack, or loosen over time, breaking the waterproof seal.
- Clogged Gutters: When gutters overflow, water backs up and seeps under the edge of the roof, finding its way into your home.
- Damaged Pipe Boots: The rubber or plastic seals around vent pipes can crack from age and UV exposure, creating a direct path for water.
- Aged Roofing Materials: As shingles get older, they become brittle, lose their protective granules, and can no longer shed water effectively.
- Storm or Wind Damage: Hail can create weak spots, and wind-driven rain can force water underneath shingles, causing leaks even on an otherwise healthy roof.
How to Trace a Leak from the Inside
Finding the exact entry point requires some detective work. Here’s how to do it safely:
- Inspect the Attic: During daylight hours, take a bright flashlight into your attic. Look for water stains, dark spots, or mold on the underside of the roof deck and rafters. Pay close attention to areas around vents, chimneys, and other penetrations.
- Look for Evidence: Damp insulation is a clear sign of a leak. If you can see daylight peeking through a hole, you’ve likely found the source.
- Trace Water Trails: Water runs downhill. Follow any moisture trails you find on the wood uphill to their highest point to find the entry point.
- Mark the Spot: Once you’ve located the suspected source, mark it with chalk. This will help guide the application of a temporary patch and the eventual permanent repair.
Your DIY Toolkit: 5 Methods for a Temporary Roof Leak Fix
Once you’ve found the leak, you can apply a temporary patch to hold things over until a professional can make a permanent repair. These methods act as a “band-aid” to stop the immediate damage.
The effectiveness of a temporary roof leak fix depends on the size of the leak, the materials used, and your comfort level with DIY work.
Here’s a quick comparison to help you choose the right approach:
| Method | Durability (Temporary) | Cost | Difficulty | Best Use Case |
|---|---|---|---|---|
| 1. Tarping the Roof | Weeks to a few months | Moderate | Moderate | Large damaged areas, missing shingles, storm damage |
| 2. Plastic Sheeting | Days to a few weeks | Low | Easy | Small to moderate holes, quick emergency barrier |
| 3. Roofing Tape | Days to a few weeks | Low | Easy | Small cracks, gaps, accessible from attic |
| 4. Silicone Caulk/Roofing Cement | Days to a few weeks | Low | Easy | Small gaps around flashing/vents, pinholes |
| 5. Tar Paper & Cement | Weeks | Moderate | Moderate | Larger holes, worn areas, more robust temporary seal |
Method 1: Tarping the Roof for Maximum Coverage
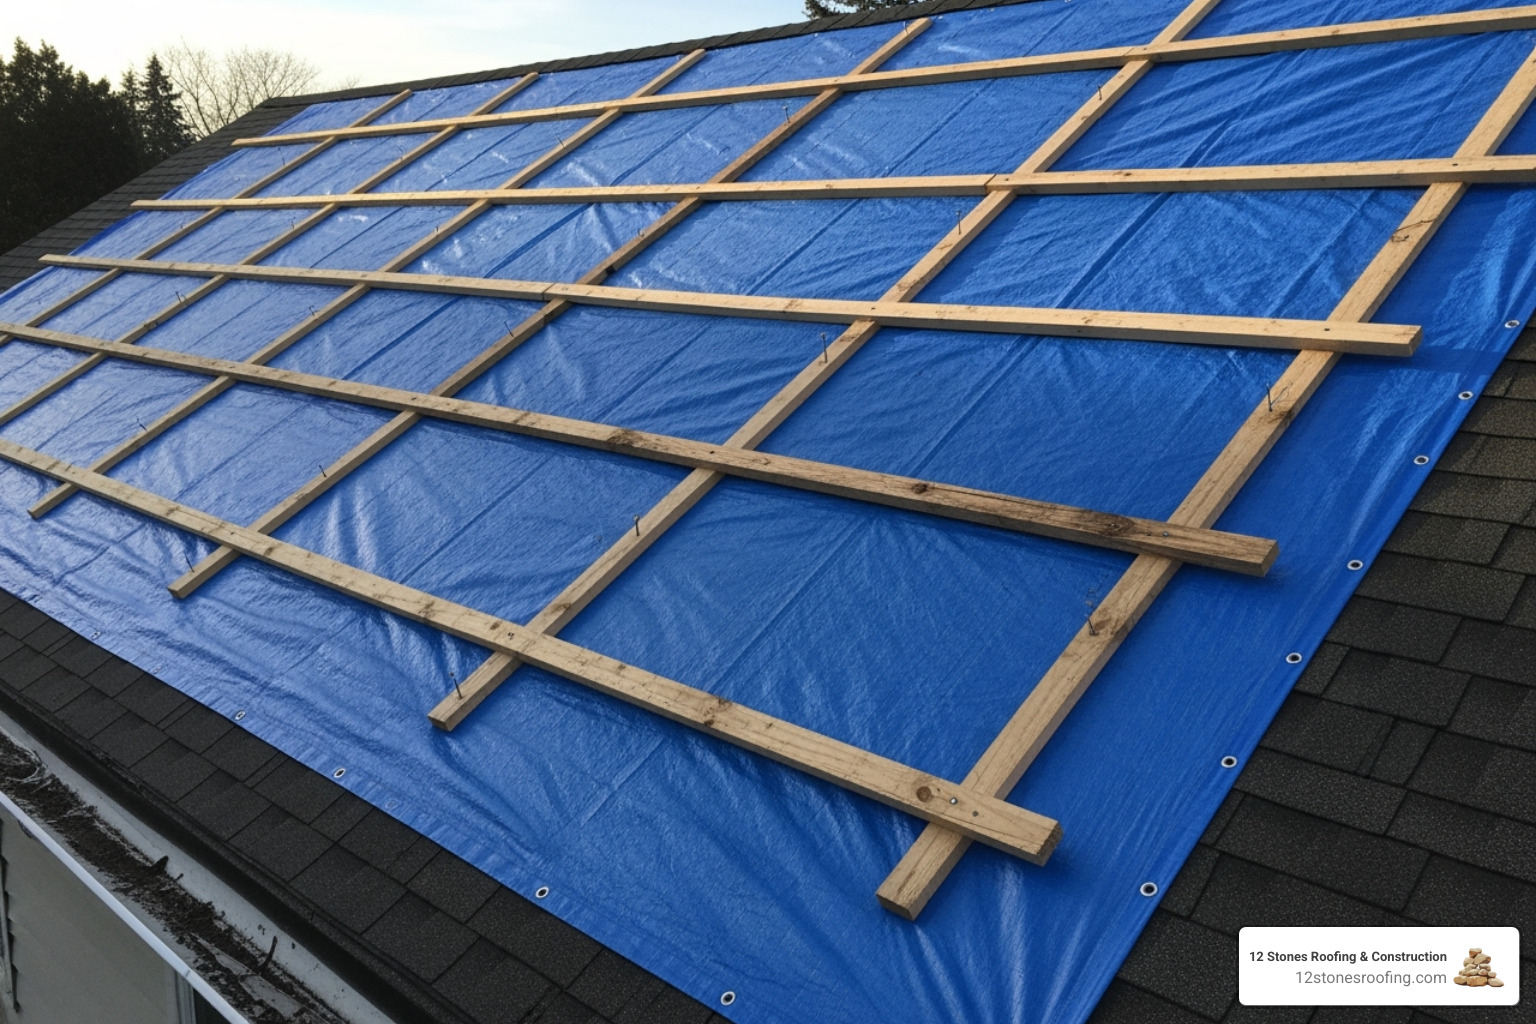
A heavy-duty waterproof tarp is the best temporary fix for large damaged areas. To install it correctly, you’ll need a tarp large enough to extend at least 4 feet past the leak on all sides, 2×4 boards, and galvanized roofing nails or screws. Spread the tarp flat over the damaged area, ensuring it runs over the roof’s ridge. Roll the top edge of the tarp around a 2×4 and nail it securely to the roof deck. Pull the tarp taut down the slope and secure the sides and bottom with more 2x4s or cap nails. A properly installed tarp can last 30-60 days, but should be checked after any storms.
Method 2: Using Plastic Sheeting as a Quick Barrier
For smaller holes, thick (6-mil or more) polyethylene plastic sheeting can serve as a quick emergency barrier. Cut a piece that is a few feet larger than the leak area. Fasten it to the roof using roofing nails or staples. For a more secure hold against wind, nail wooden strips over the edges of the plastic. Ensure the plastic generously overlaps the leak area to shed water away from the hole.
Method 3: Applying Roofing Tape for a Quick Seal
For small cracks, roofing tape offers an instant waterproof seal. This is a great option because it can often be applied from the safety of your attic. First, ensure the surface is completely clean and dry, or the tape will not stick. Peel off the backing and press the tape firmly over the crack, smoothing out any air bubbles. Overlap multiple layers for a more robust barrier. While safer, this is a very temporary measure that can fail under heavy, driving rain.
Method 4: Sealing Cracks with Silicone Caulk or Roofing Cement
Small gaps around flashing, vents, or in shingles can be temporarily sealed with a bead of waterproof silicone caulk or roofing cement. Clean and dry the area thoroughly. Using a caulk gun, apply a continuous, generous bead into and over the crack, extending past the edges of the leak. Smooth the bead with a putty knife to ensure a tight seal. This method needs 24-48 hours to dry and is only suitable for very small, localized leaks.
Method 5: Tar Paper and Roofing Cement for a More Robust Temporary Fix
For larger holes where shingles are missing, a patch made from tar paper (roofing felt) and roofing cement offers a more durable temporary solution. Clean and dry the damaged section. Cut a piece of tar paper that extends several inches beyond the hole. Spread a layer of roofing cement on the roof, press the tar paper firmly into it, and then seal the edges of the paper with another layer of cement. This layered patch can provide protection for several weeks.
Safety First: When to DIY and When to Call a Professional
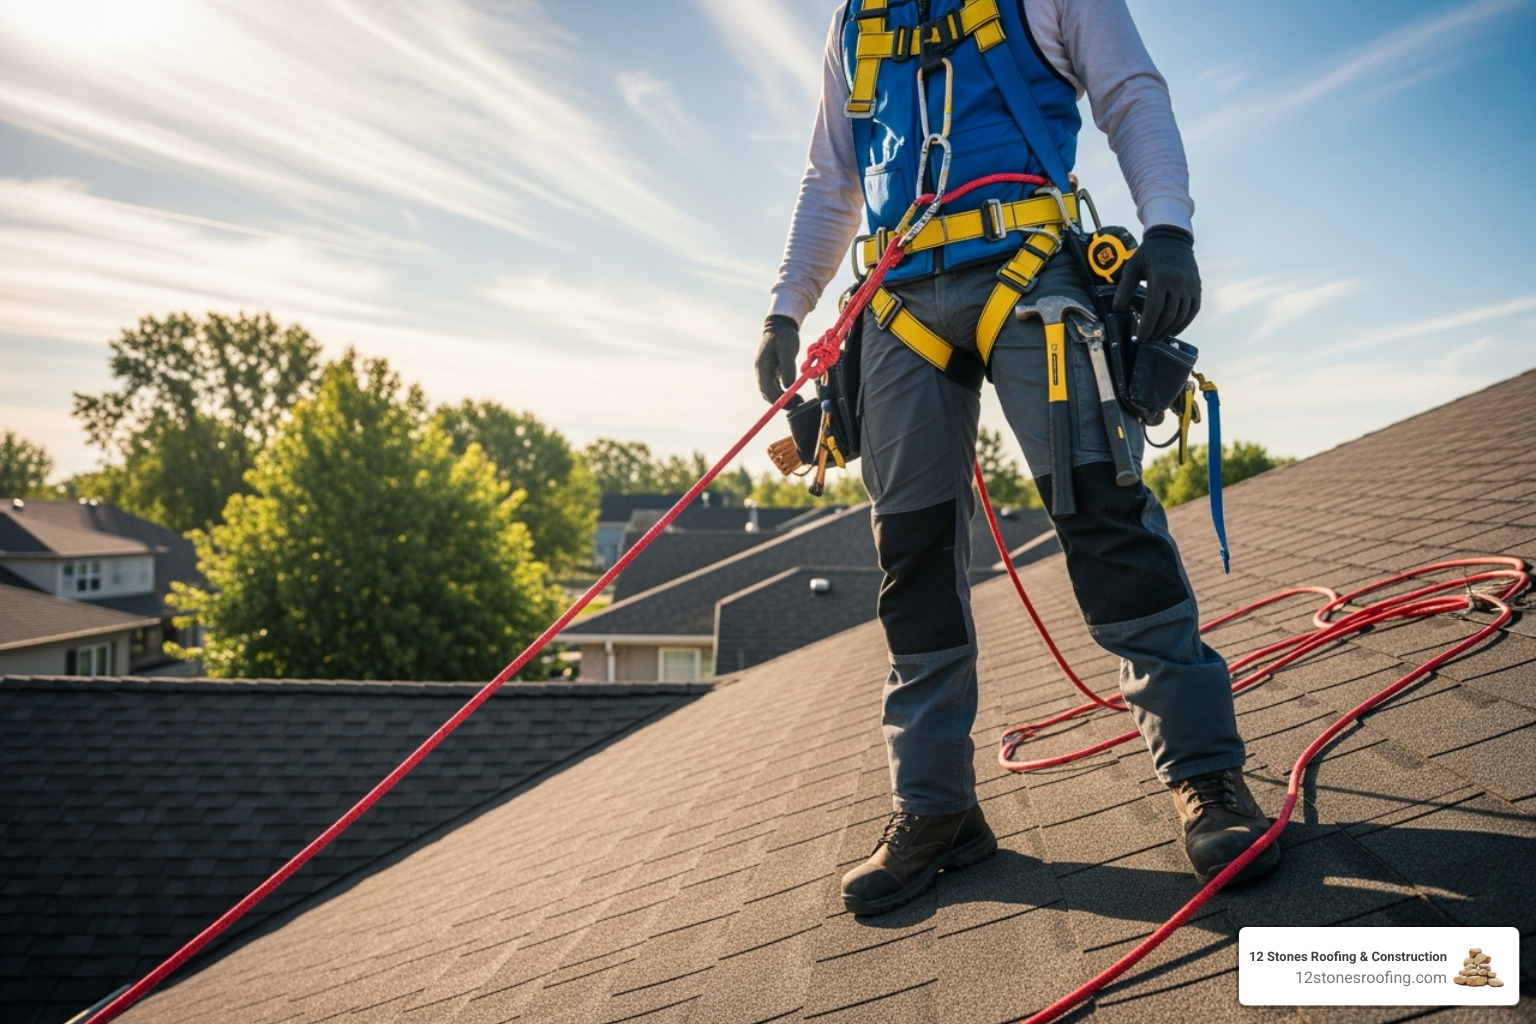
While a temporary roof leak fix can be a lifesaver, attempting a repair on a roof is inherently dangerous. Your safety is the top priority. Know your limits and when to call a professional.
Essential Safety Precautions for Any DIY Repair
If you decide to proceed with a temporary fix, follow these non-negotiable safety rules:
- Never work alone. Always have a partner who can hold the ladder and call for help if needed.
- Use a sturdy ladder. Position it on level ground and ensure it extends at least three feet above the roof edge.
- Wear proper footwear. Rubber-soled, non-slip shoes are essential.
- Avoid hazardous conditions. Never work on a roof during rain, ice, or high winds.
- Maintain three points of contact. When on a ladder, always keep two hands and one foot, or one hand and two feet, in contact with it.
- Stay away from power lines. Keep yourself and all tools at least 10 feet away from electrical lines.
Red Flags: Signs You Need Emergency Roof Repair Immediately
Sometimes, a DIY fix is too dangerous or insufficient. Call a professional roofer immediately if you see:
- Widespread Damage: Large areas of missing shingles or gaping holes require a professional response.
- Structural Issues: A sagging or soft roof deck is extremely dangerous to walk on and indicates a severe problem.
- Multiple Leaks: If you have leaks in several different rooms, it suggests a systemic issue.
- Electrical Hazards: Leaks near wiring or fixtures pose a severe risk of fire or electrocution. Shut off the power and call for help at (832) 706-0725.
- Steep or High Roofs: Without proper safety equipment, working on a steep roof is a job for trained experts.
- Fallen Debris: Structural damage from a fallen tree requires professional equipment to handle safely.
The Risks of Relying on a Temporary Fix
A temporary patch is not a permanent solution. Relying on it for too long can lead to bigger problems:
- Hidden Mold Growth: Trapped moisture can lead to mold in your attic and walls, even if the dripping has stopped.
- Worsening Structural Damage: Continued water exposure can rot roof decking and rafters, compromising your home’s integrity.
- A False Sense of Security: The biggest risk is delaying a necessary professional repair, allowing unseen damage to spread.
Frequently Asked Questions about Temporary Roof Repairs
How long will a temporary roof patch last?
A temporary roof leak fix can last from a few days to a couple of months, depending on the method and weather. A well-installed tarp may last 30-60 days, while roofing tape or caulk might only survive one or two storms. These are not permanent solutions, and a professional repair should be scheduled as soon as possible.
Can I fix a roof leak from the inside?
Yes, you can temporarily manage a leak from inside the attic. This usually involves applying roofing tape or sealant to the underside of the roof deck to slow the leak. However, this does not stop water from saturating your roof’s structure. An external repair is still required to prevent long-term damage.
Does homeowners insurance cover temporary roof repairs?
Most homeowners insurance policies require you to take reasonable steps to mitigate further damage, which includes temporary repairs like tarping. The cost of materials for a temporary roof leak fix may be reimbursable as part of your claim, provided the initial damage is a covered event. Always document the damage with photos, keep all receipts, and consult your insurance provider for specifics.
A Temporary Fix is Not a Final Solution
A temporary roof leak fix is a critical first step—it’s the emergency response that protects your home from immediate water damage. That tarp or patch buys you precious time and prevents a small problem from escalating into a disaster.
However, the underlying issue remains. The crack is still there, the flashing is still compromised, and moisture may still be seeping into your roof’s structure. Relying on a temporary patch creates a false sense of security. Weeks can turn into months, and all the while, hidden moisture can be causing wood rot and mold growth, silently turning a simple repair into a major structural issue.
Your temporary fix has done its job. Now it’s time for a permanent solution. The next step is to call a trusted professional for a comprehensive inspection. An expert can trace the leak to its true source, assess the full extent of the damage—both visible and hidden—and provide a lasting repair that ensures your home is protected for years to come.
The team at 12 Stones Roofing & Construction has over a decade of experience responding to roof emergencies across Pasadena and the Gulf Coast. We understand the toll that Texas weather takes on a roof, and we know how to fix problems correctly the first time.
Don’t let a temporary patch lull you into a costly mistake. For immediate help or to schedule a professional inspection, visit our roof repair services page to secure a permanent solution for your home.


