Why Fast Action on Metal Roof Leaks Protects Your Home
Leaking metal roof repair is a critical task for Texas homeowners. While metal roofs can last 50 years or more, ignoring a small drip can lead to thousands in water damage, mold, and structural decay. The most common causes are loose fasteners, degraded sealant, damaged flashing, rust, and impact damage. Fortunately, many of these issues are fixable with the right approach or with help from a team of experienced professionals. For homeowners in Pasadena and the greater Houston area, the team at 12 Stones Roofing & Construction offers expert diagnosis and quality repairs custom to our region’s demanding climate.
Quick Answer: How to Repair a Leaking Metal Roof
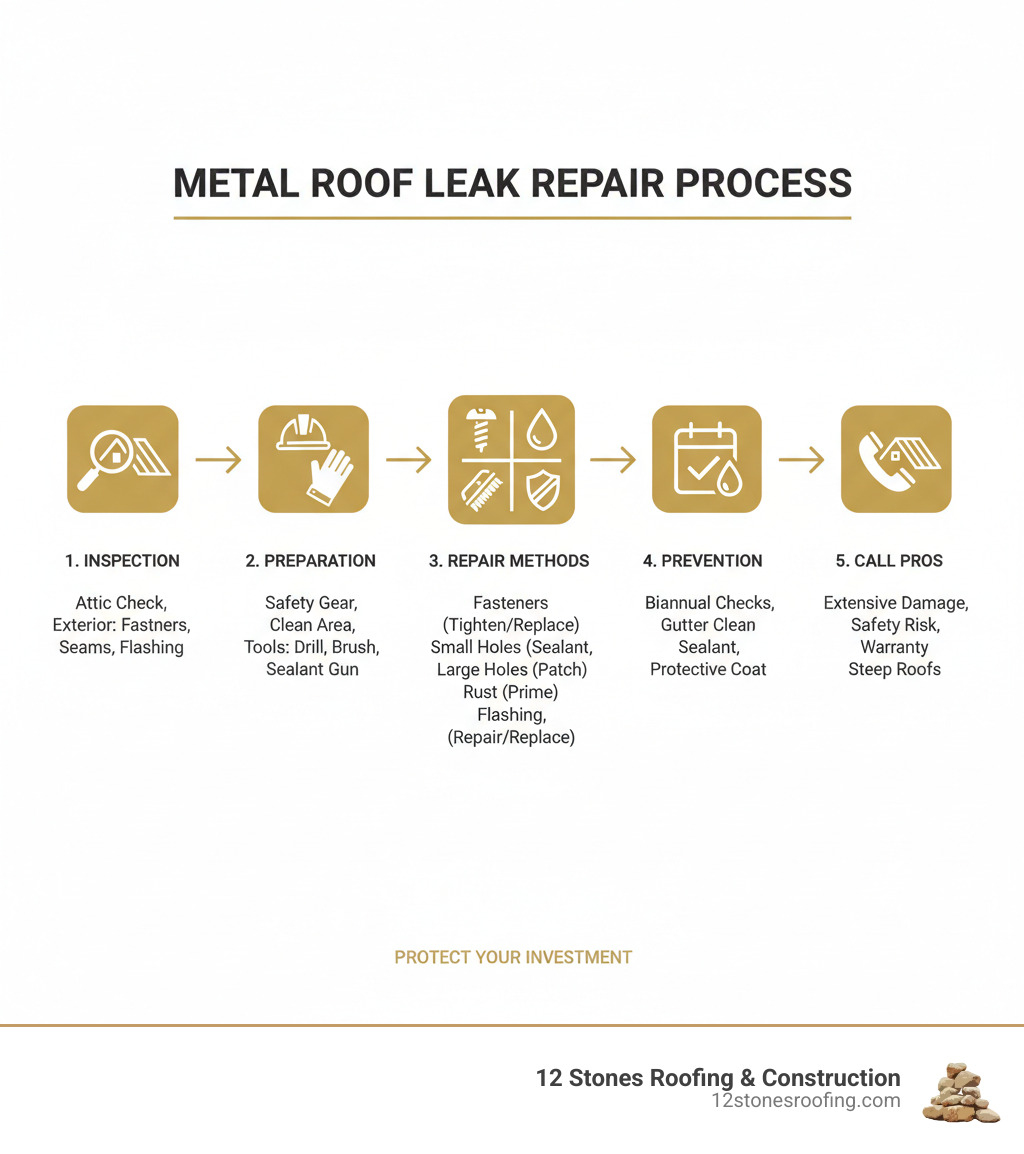
- Locate the leak: Check the attic for water stains, then inspect fasteners, seams, and flashing from the outside.
- Tighten or replace screws: Use new rubber washers and apply metal-compatible sealant.
- Seal small holes: Clean the area and apply polyurethane or butyl-based sealant.
- Patch larger holes: Cut a metal patch 2+ inches larger than the damage, secure with screws, and seal all edges.
- Address rust: Remove corrosion with a wire brush, apply rust-inhibiting primer, then paint or seal.
- Repair damaged flashing: Reseal gaps around vents and chimneys, or replace damaged sections.
- Call a professional: For extensive damage, steep roofs, or warranty concerns.
Pinpointing the Problem: How to Find a Leak in Your Metal Roof
Finding the source of a leaking metal roof repair challenge can be tricky, as water often travels along rafters and insulation before appearing inside your home, sometimes far from the entry point. A systematic approach is key to tracking down the leak.
Interior Inspection: Your Attic is Your First Clue
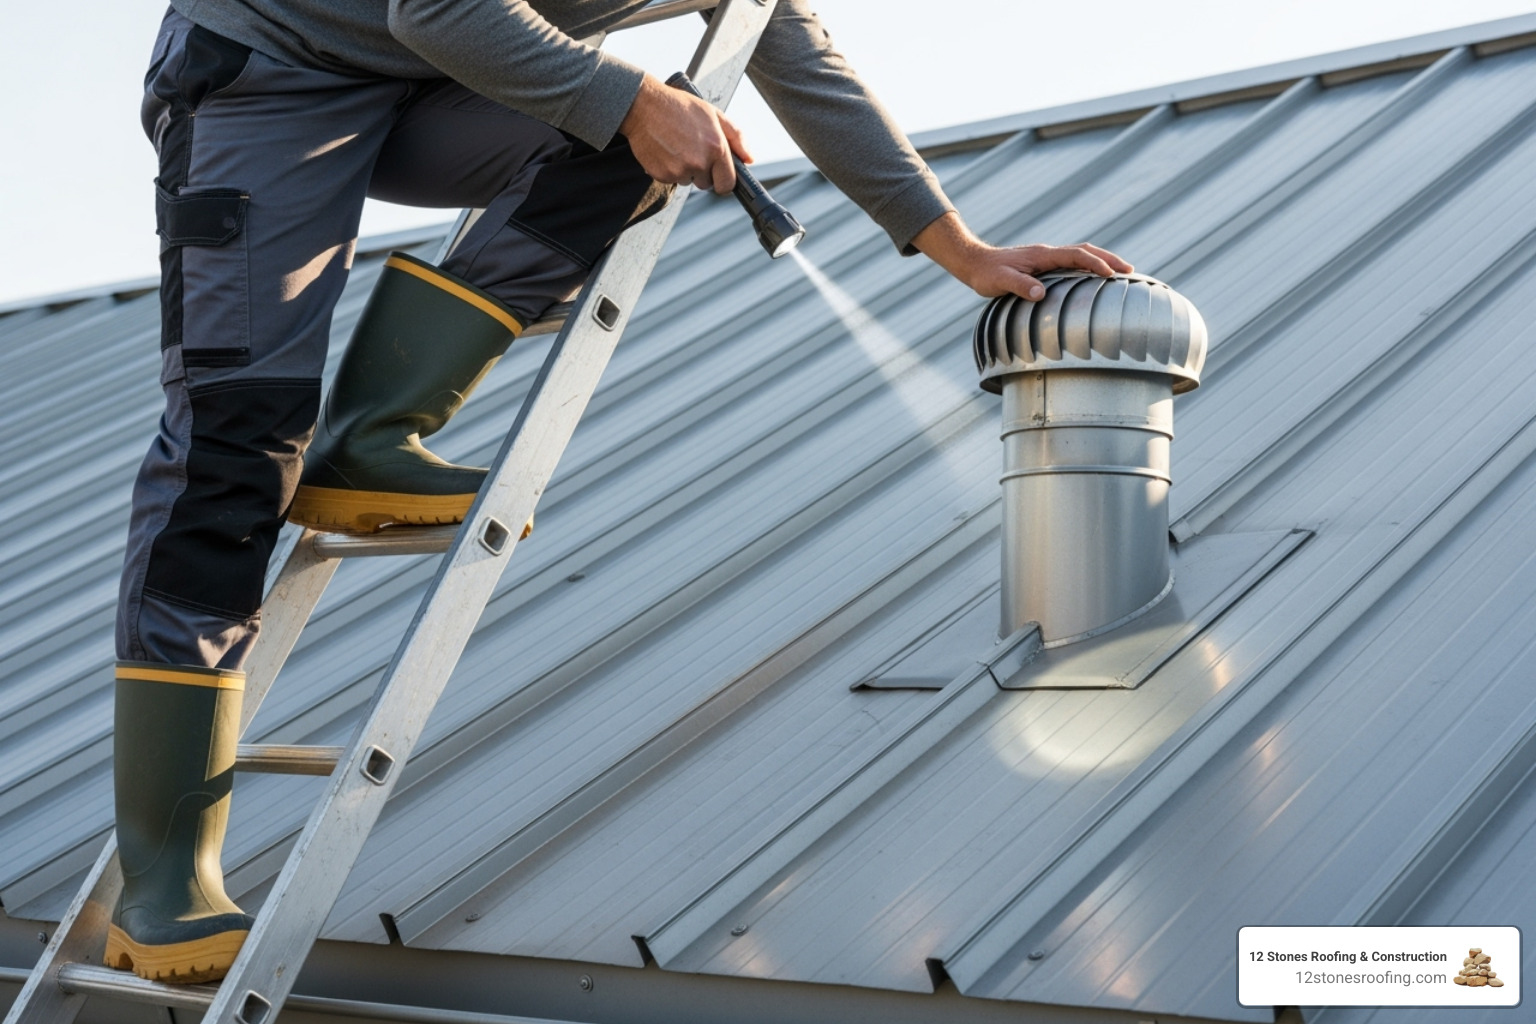
Start your investigation in the attic during daylight hours. With a flashlight, look for obvious clues like water stains (discolored patches or dark streaks) on the underside of the roof deck, joists, or insulation. Squeeze insulation; if it feels damp or heavy, you’ve found evidence of water. During or after a heavy rain, you might even spot active drips. Once you find these interior signs, trace them upward to estimate the leak’s general location on the roof.
Exterior Inspection: Safely Scanning Your Roof’s Surface
Next, confirm your suspicions from the outside, but always prioritize safety. Use a sturdy, secured ladder and wear shoes with good grip. Never walk on a wet, icy, or steep roof; if you’re uncomfortable, use binoculars or call the professionals at 12 Stones Roofing & Construction at (832) 702-0201.
Focus on these common weak spots:
- Fasteners: The #1 culprit. Screws can loosen over time due to thermal expansion, and their rubber washers can crack or degrade, creating a path for water.
- Seams: The sealant between metal panels can break down from UV exposure and temperature changes, allowing water to penetrate.
- Flashing: Check the metal or rubber material that seals around chimneys, vent pipes, skylights, and in valleys. Damaged or improperly installed flashing is a major source of leaks.
- Penetrations: Any object passing through the roof (vents, satellite dishes) is a potential weak point if not perfectly sealed.
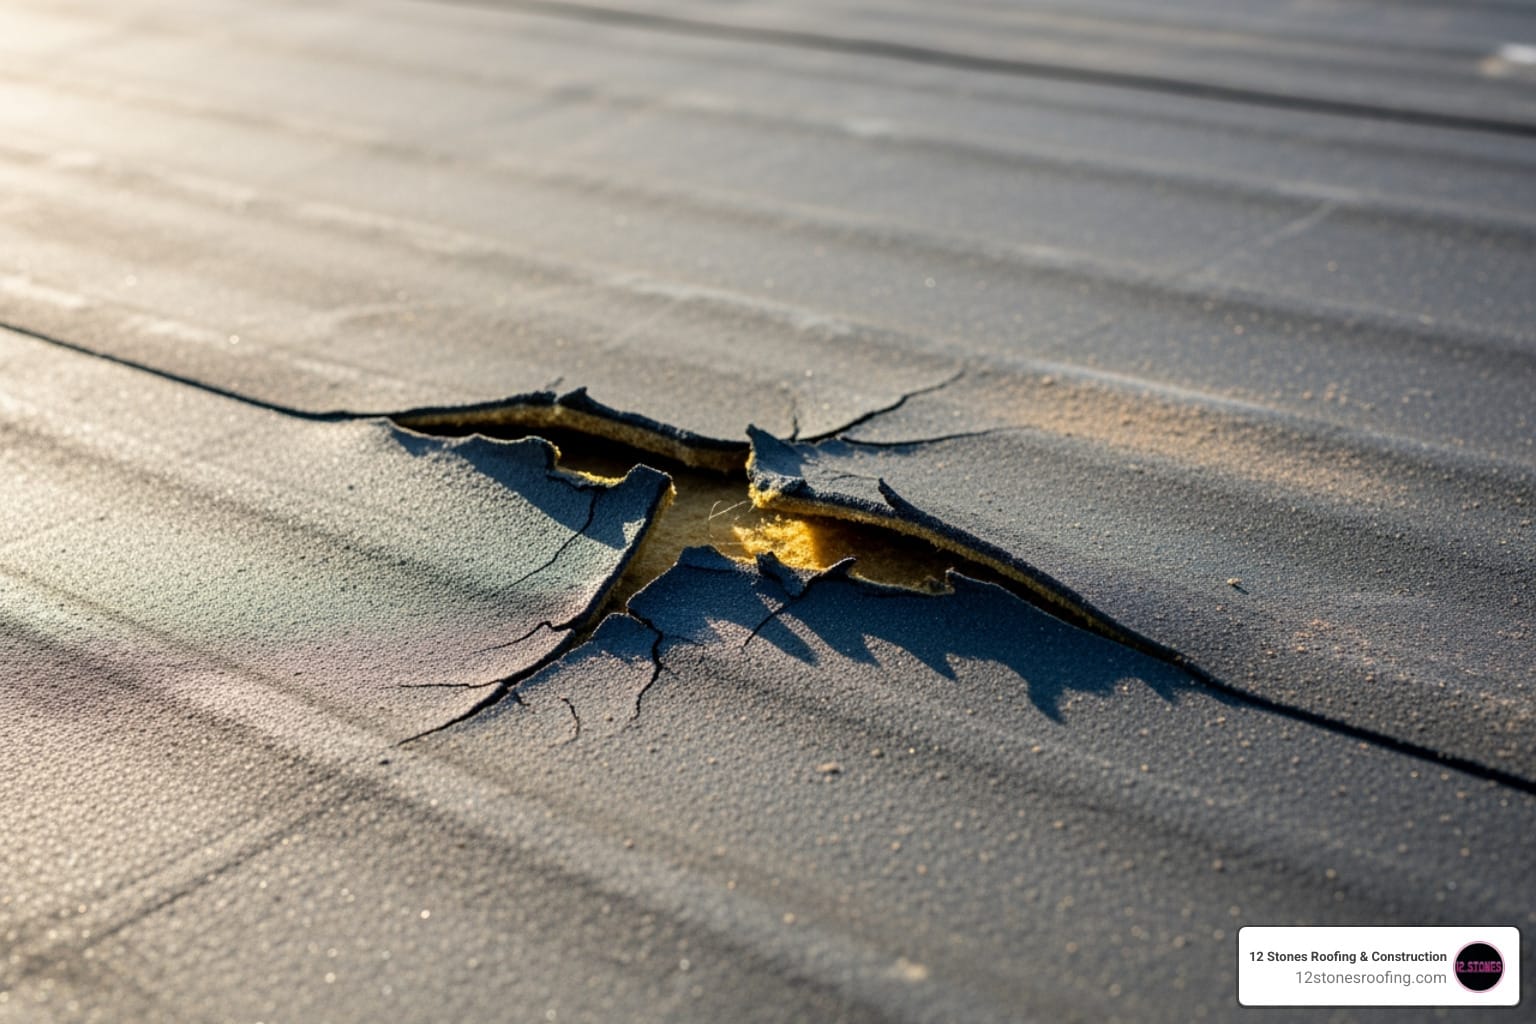
- Impact Damage: Look for dents, punctures, or scratches from hail or fallen branches that could expose the metal to moisture and lead to rust.
The Hose Testing Method
If the leak is still elusive, a controlled water test can pinpoint it. Have a helper inside the attic with a flashlight. Start low on the roof near the suspected leak area and use a garden hose to wet small sections, working your way up. Have your helper alert you the moment they see water appear inside. This controlled “rainfall” helps you identify the exact failure point.
A Step-by-Step Guide to Leaking Metal Roof Repair
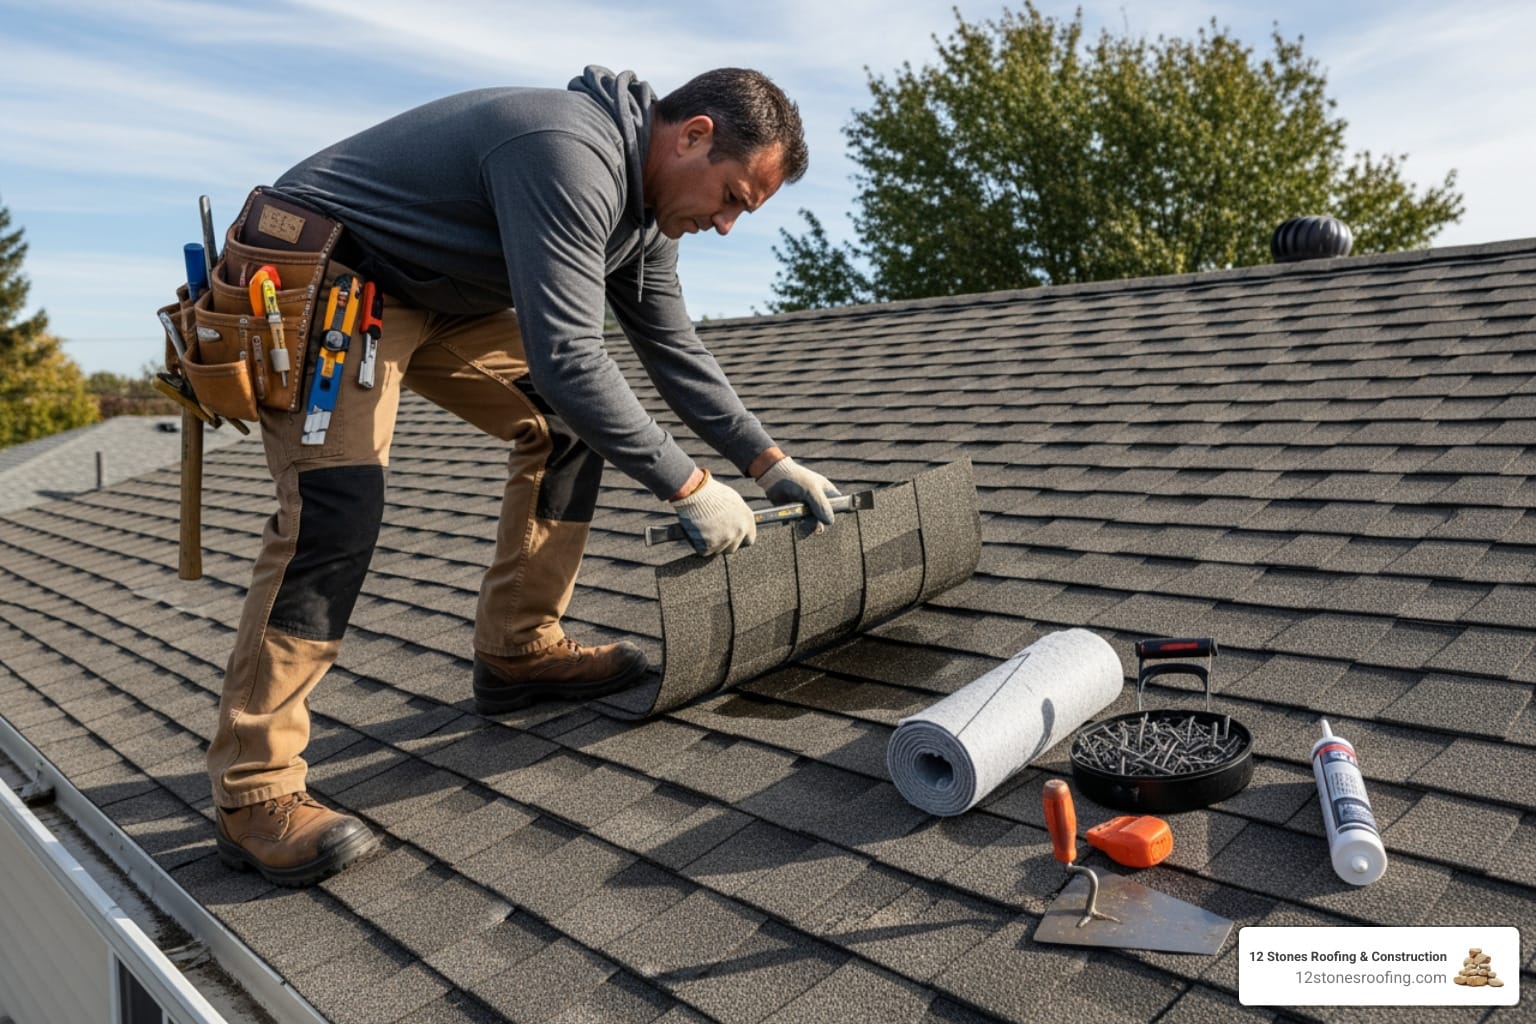
Once you’ve located the leak, it’s time for the repair. The method depends on the problem’s cause. Always prioritize safety: use a secured ladder, wear non-slip shoes, and never work on a wet roof. If the damage is extensive, the roof is steep, or you’re uncomfortable with heights, it’s best to call professional roofers in the Houston area who have the right equipment and insurance.
Essential Tools and Materials for the Job
Gather your supplies before you start to avoid multiple trips up and down the ladder.
- Safety Gear: Sturdy gloves, safety glasses, non-slip shoes, and a reliable ladder.
- Cleaning Supplies: Wire brush (for rust), stiff-bristled brush, mild detergent, and clean rags.
- Tools: Drill with appropriate bit, caulking gun, tin snips (for patches), and a putty knife.
- Repair Materials: High-quality polyurethane or butyl-based elastomeric sealant, replacement fasteners with new rubber washers, matching metal patch material, rust-inhibiting primer, and roofing cement.
Fixing Loose Fasteners and Separated Seams
Loose or failed fasteners are the most common cause of metal roof leaks. The constant expansion and contraction of the metal can back screws out and degrade their rubber washers.
- For Fasteners: Gently tighten any loose screws, being careful not to overtighten and strip the hole. If a rubber washer is cracked or missing, remove the old screw and replace it with a new, slightly larger one with a fresh washer. For added protection, apply a small bead of metal-compatible sealant around the head of each repaired fastener.
- For Seams: On corrugated or exposed-fastener roofs, clean the seam and remove old, brittle sealant. Apply a fresh, continuous bead of high-quality sealant along the seam. For standing seam roofs, leaks are more complex and often indicate an issue with the mechanical lock. While minor gaps can be addressed with specialized mastic, these repairs typically require professional tools to re-crimp the seam or replace a panel.
The Best Methods for Patching Holes and Punctures
Impact from hail or branches can cause punctures or tears. The repair method depends on the size of the damage.
- For Small Holes (up to 1/4-inch): Thoroughly clean the area of any dirt or rust. Apply a generous dab of metal-compatible sealant directly over the hole. For slightly larger cracks, embed fiberglass mesh tape into the wet sealant and apply a second layer on top for reinforcement.
- For Larger Holes: Clean the area down to the bare metal. Cut a patch from matching metal material that extends at least two inches beyond the damage on all sides. Apply a thick layer of roofing cement or sealant to the underside of the patch, center it over the hole, and press firmly. Secure the patch with self-tapping metal screws (with rubber washers) around its perimeter. Finish by applying sealant over each screw head and around the entire edge of the patch.
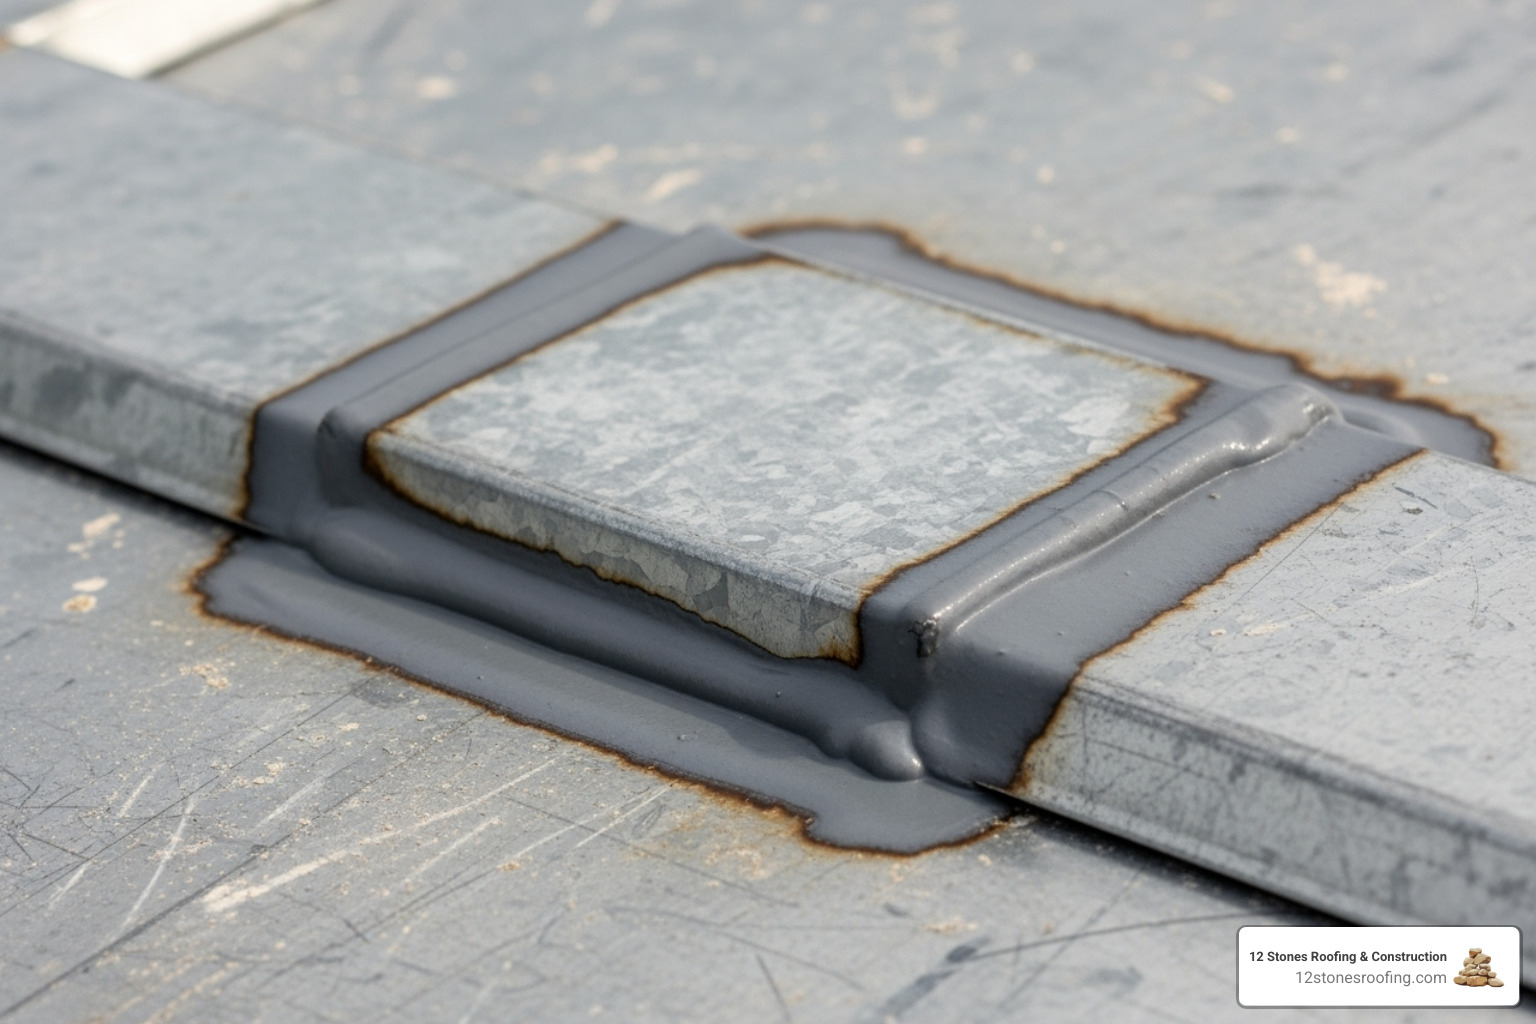
How to Address Rust and Corrosion
Rust weakens metal and creates holes. It’s a constant threat in humid climates like Texas.
- Remove Rust: Use a wire brush or sandpaper to scrub away all visible rust down to bare, shiny metal.
- Apply Primer: Once the area is clean and dry, apply a high-quality, rust-inhibiting primer designed for metal. This creates a barrier against future corrosion.
- Finish the Repair: After the primer dries, paint the area with matching metal roof paint or apply an elastomeric roof coating for extra waterproofing.
Your Guide to a Leaking Metal Roof Repair for Flashing
Flashing protects vulnerable points like chimneys, vents, and valleys. When it fails, leaks are almost certain.
- Inspection: Look for cracks, gaps, or separation in the flashing around all roof penetrations. Check for dried-out caulk, especially around chimney and vent pipe flashing.
- Minor Repairs: For small gaps, remove the old caulk, clean the area, and apply a fresh bead of metal-compatible sealant or roofing cement.
- Major Damage: Severely bent, corroded, or torn flashing often needs to be replaced. This is a complex job that requires proper integration with the roofing system to shed water correctly and is often best left to professionals. For more detailed guidance, this guide on metal roof leak repair offers excellent tips for flashing.
When to Call a Professional: Recognizing the Limits of DIY
While it’s satisfying to fix things yourself, some leaking metal roof repair situations demand professional expertise. Attempting a complex repair without the right skills or tools can lead to further damage, void your warranty, or result in serious personal injury.
Red Flags That Signal You Need an Expert
Extensive or Widespread Leaks: If you see water stains in multiple rooms or notice sagging in your ceiling, the problem is likely more than a simple surface leak. This could indicate significant hidden damage to your roof deck or home’s structure. A professional can assess the full scope of the problem.
Safety Concerns: Metal roofs are slippery, and working at heights is inherently dangerous. If your roof has a steep pitch, is particularly high, or you’re simply not comfortable, do not risk it. At 12 Stones Roofing & Construction, our crews are trained and equipped with proper fall protection systems to work safely.
Warranty Protection: This is a critical point many homeowners miss. Most metal roof manufacturer warranties are voided if repairs are performed by anyone other than a certified professional. Before starting a DIY project, check your warranty documents. The cost of a professional repair is often a small price to pay to protect your larger investment.
Complex Systems and Repairs: Standing seam metal roofs and intricate flashing work (around chimneys, skylights, or valleys) require specialized tools and knowledge. An improper repair on these systems can compromise the roof’s integrity and lead to even worse leaks.
The Value of a Professional Assessment
A professional can help you weigh the economics of repair versus replacement, especially if your roof is older or has widespread damage. While a full replacement can cost $15-$20 per square foot, restorative options like a full roof coating system ($3-$7 per square foot) can extend your roof’s life for a fraction of the price. A pro can help you make the most cost-effective decision. For urgent issues, our Emergency Roofing Services Complete Guide explains why a rapid professional response is crucial.
Hiring a professional gives you access to expertise, quality materials, and the peace of mind that comes with a job done right—often backed by a warranty of 10-20 years, far exceeding a typical DIY fix. If you’re facing any of the situations above, call us at (832) 702-0201 for an expert consultation.
Proactive Protection: 7 Tips to Prevent Future Metal Roof Leaks
The best repair is the one you never have to make. A proactive approach to leaking metal roof repair means stopping problems before they begin. Regular maintenance is the key to maximizing your metal roof’s lifespan.
- Schedule Regular Inspections: Check your roof each spring and fall, and after any severe storm. Look for loose fasteners, damaged flashing, or rust. An annual professional inspection can catch subtle issues you might miss. Our Roof Maintenance Checklist is a great resource for homeowners.
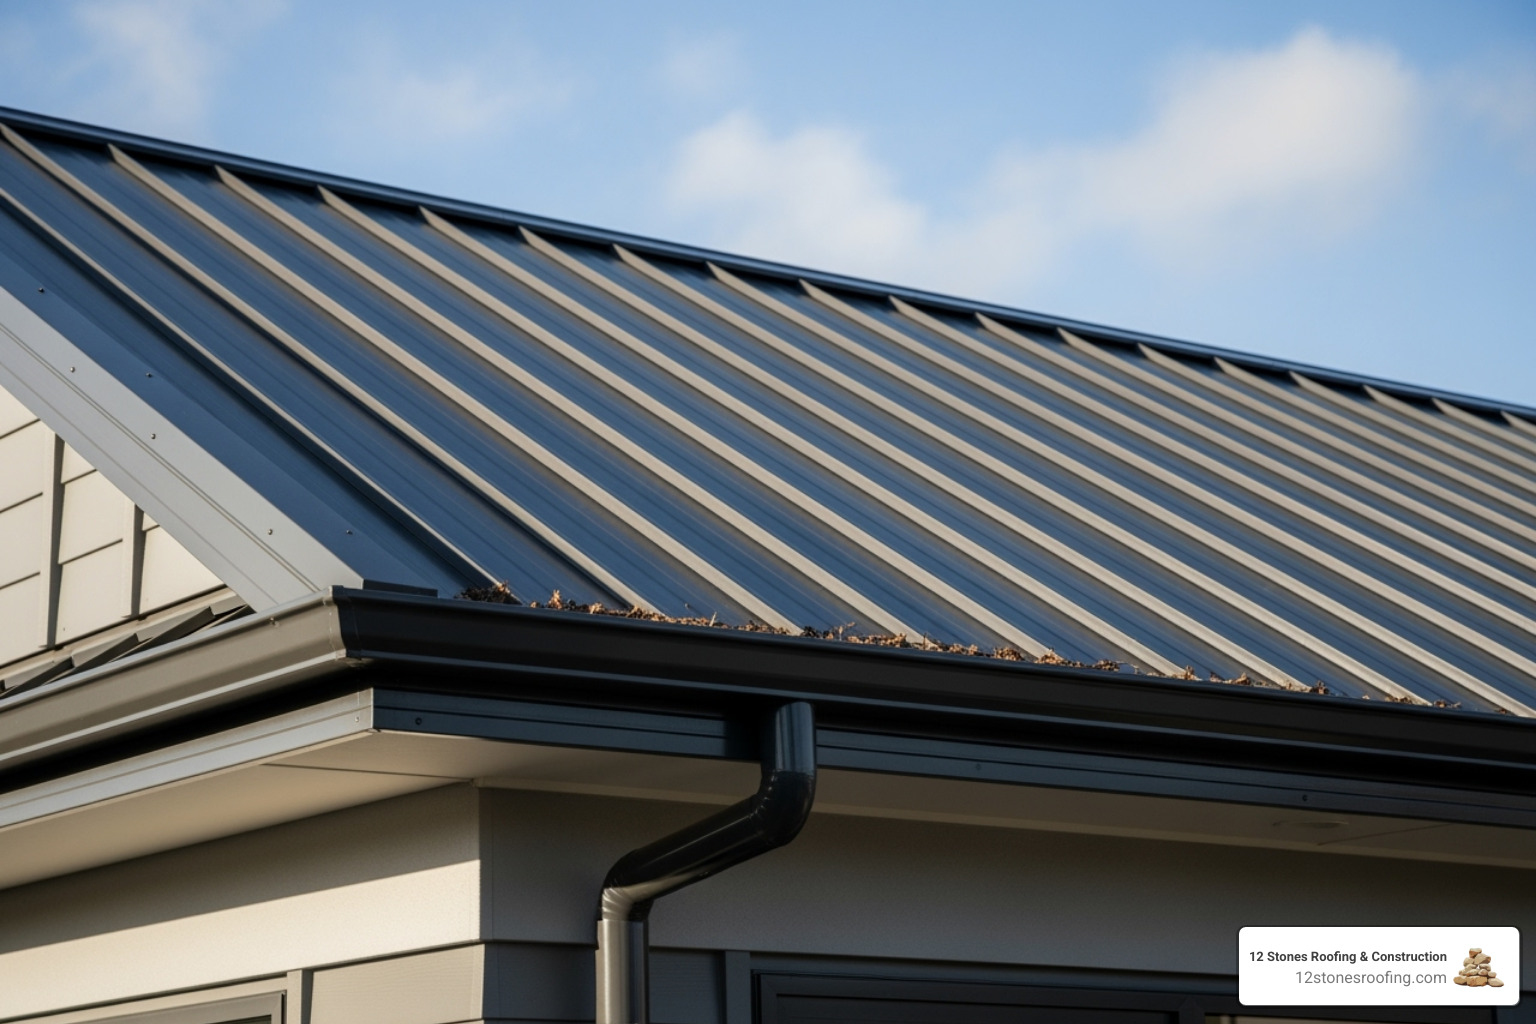
- Clean Gutters and Downspouts: Clogged gutters cause water to back up onto the roof, leading to pooling and leaks at the roof edge. Clear debris at least twice a year.
- Trim Overhanging Tree Branches: Branches rubbing on the roof can scratch the protective coating, leading to rust. Falling limbs can cause punctures and dents. Keep branches trimmed back from your roofline.
- Check Sealants Annually: UV exposure and temperature changes degrade sealants over time. Inspect caulk around flashing and seams. If it’s cracked or separating, remove the old material and apply fresh, metal-compatible sealant.
- Inspect Fasteners: Thermal movement can loosen screws. Gently tighten any loose ones and replace any fasteners with cracked or missing rubber washers.
- Apply Protective Coatings: An elastomeric or silicone roof coating, applied every 5-7 years, adds a seamless layer of waterproofing and reflects UV rays. At $3-$7 per square foot, it’s a cost-effective way to extend your roof’s life.
- Ensure Proper Attic Ventilation: Inadequate ventilation traps moisture, leading to condensation that can cause rust and rot from the inside out. Ensure your attic has a balanced system of intake and exhaust vents for healthy airflow.
Frequently Asked Questions about Metal Roof Leaks
Here are answers to some of the most common questions we receive about metal roof leaks.
How long do metal roof repairs last?
The longevity of a repair depends on the materials, application quality, and original damage. A well-executed DIY patch using high-quality sealant can last 5-10 years. Professional repairs, which often come with warranties, are designed to last much longer, potentially 15-20 years or more. Regular maintenance is key to extending the life of any repair.
What type of sealant is best for a metal roof?
Always use a high-grade polyurethane or butyl-based elastomeric sealant. These products remain flexible to accommodate the metal’s expansion and contraction and offer superior UV resistance, preventing them from cracking under the Texas sun. Avoid basic silicone sealants, which may not adhere as well to metal.
Can DIY repairs void my metal roof warranty?
Yes, in many cases, a DIY repair can void your roof’s warranty. Most manufacturers require that all repairs and alterations be performed by a certified professional. Undertaking a repair yourself could leave you without coverage if a larger issue arises later. Always check your specific warranty documents before starting any work.
Conclusion: Secure Your Home with a Leak-Free Roof
A leaking metal roof repair is a problem that demands immediate attention. Ignoring even a small drip can lead to rotten decking, damaged insulation, and serious structural issues—problems that cost thousands to fix. By following this guide, you can identify leaks, perform basic repairs, and take preventative steps to protect your home.
The long-term consequences of delaying a repair are severe, from compromised structural integrity to health issues from mold. The cost of fixing interior water damage will always exceed the cost of a prompt roof repair.
For extensive damage, complex systems like standing seam roofs, or for the peace of mind that comes with a professional guarantee, it’s always best to call in the experts. The team at 12 Stones Roofing & Construction has over a decade of experience providing expert craftsmanship and reliable service to homeowners in Pasadena and the greater Houston area.
Protect your investment and keep your home safe and dry. For a comprehensive evaluation or professional repair of your Metal Roofing, request a consultation on our website today. We’re here to help.


