Why Roof Tarping is Your First Line of Defense After Storm Damage
Roof tarping for contractors is a critical emergency service that separates top-tier roofing companies from the competition. When a storm damages a roof, homeowners need immediate protection. Providing expert roof tarping not only safeguards their property from devastating secondary damage but also builds the trust that leads to the full repair or replacement job. The contractor who responds first with a reliable temporary solution often becomes the client’s first choice for the permanent fix.
What Contractors Must Know About Professional Roof Tarping:
- Purpose: To provide temporary emergency protection that prevents secondary water damage for up to 90 days.
- Primary Uses: Essential for storm and fire damage response, debris punctures, and creating documentation for insurance claims.
- Professional vs. DIY: Professionals use superior materials (10+ mil tarps), secure anchoring methods (wrap-and-roll), and adhere to strict safety and documentation protocols.
- Business Value: Builds immediate client trust and positions your company for the permanent roof repair or replacement contract.
- Safety Requirements: Mandates fall protection systems, electrical hazard awareness, correct ladder techniques, and a minimum two-person crew.
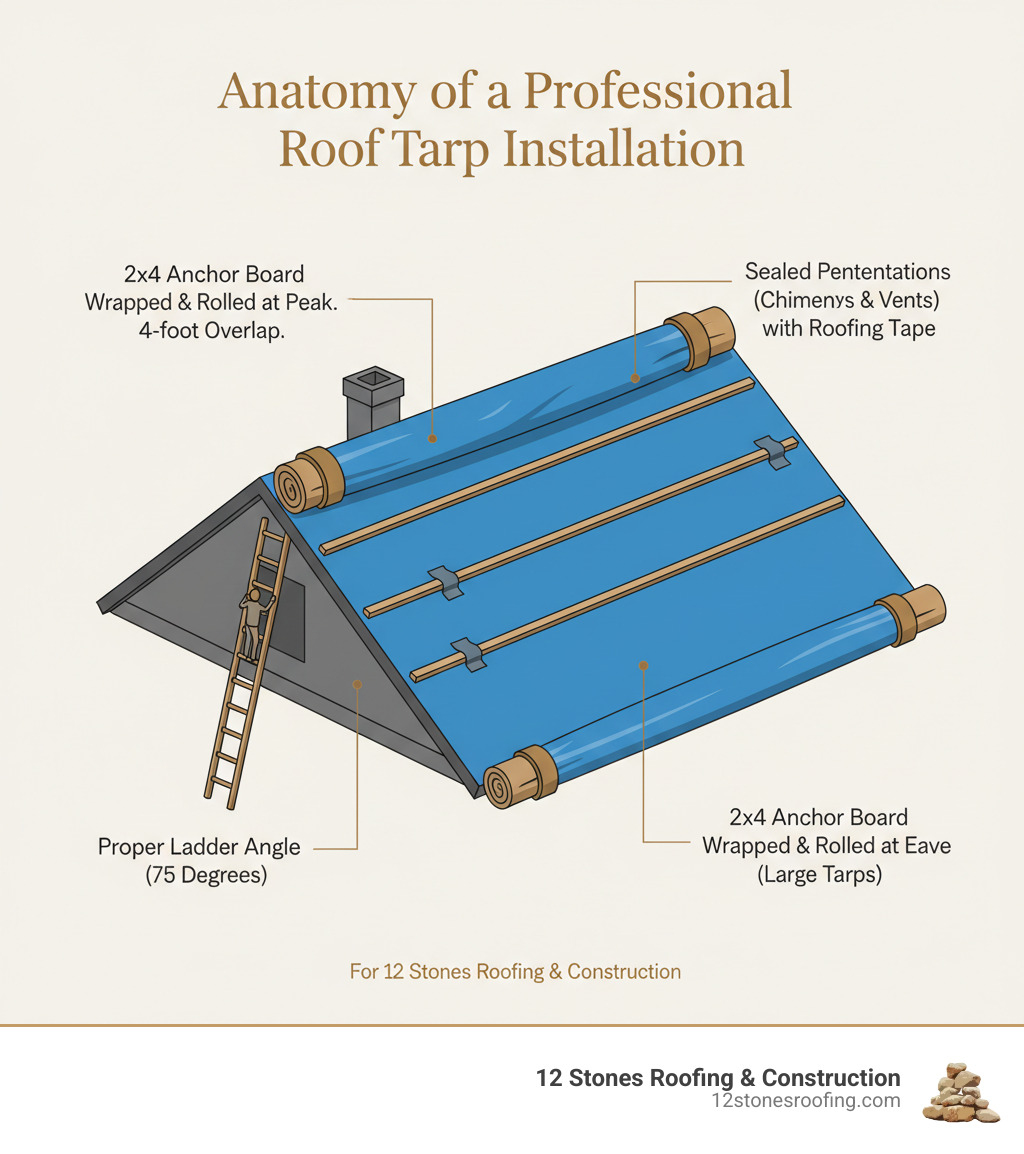
- Installation Standards: The tarp must extend 4-5 feet beyond all damaged areas, overlap the roof peak by at least 4 feet, and create watertight seals around penetrations.
The stakes are high. A small leak can quickly escalate into a catastrophe, causing saturated insulation, ruined drywall, mold growth within 24-48 hours, and electrical hazards. A professionally installed roof tarp can shield a property from weather for up to 90 days, giving homeowners crucial time to steer insurance claims and schedule permanent repairs. However, a poorly secured tarp that blows off fails to protect the home and damages your company’s reputation, potentially exposing you to liability.
I’m Jason Roberts, owner of 12 Stones Roofing & Construction in Pasadena, Texas. Over the past decade, I’ve overseen hundreds of emergency tarping jobs. Roof tarping for contractors isn’t just about covering a hole; it’s about engineering a temporary weatherproof barrier that withstands Texas storms while protecting your client’s property and your company’s reputation.

Why Professional Tarping is a Critical First Response
When a roof is compromised by a storm, fire, or falling debris, the clock starts ticking. A properly installed roof tarp is your client’s first line of defense, and as contractors, we understand that roof tarping for contractors is about preventing a total loss scenario. A delay of even 48 hours can turn a minor issue into tens of thousands of dollars in damage from water, mold, and structural decay. A swift, professional tarping job is the key to preventing a small repair from becoming a major interior restoration project.
Primary Reasons for Emergency Roof Tarping
Understanding the common scenarios for tarping helps your crew prepare for rapid and effective deployment.
- Storm Damage: This is the most frequent cause. Hurricanes and severe thunderstorms in the Gulf Coast region lead to missing shingles, damaged flashing, and exposed roof decking. Fallen tree branches can also create large punctures that require immediate attention.
- Fire Damage: After a fire, a roof’s structure is often compromised with large openings. Tarping protects the interior from the elements while insurance assessments and restoration plans are made.
- Debris Punctures: Construction accidents, fallen satellite dishes, or even severe animal damage can create holes that need to be covered immediately to prevent water intrusion.
The primary purpose of tarping is to minimize further damage. A secure tarp buys the homeowner up to 90 days to arrange for permanent repairs. This is especially critical for preventing roof damage from rain, as a small leak can spread far beyond the initial entry point. Tarping also protects structural integrity by keeping wooden components like decking, rafters, and trusses dry, preserving the home’s soundness.
Consequences of Delay and Improper Tarping
The moment a roof is breached, you are in a race against time. The consequences of waiting are severe:
- Mold and Mildew Growth: Mold can develop in just 24-48 hours in damp conditions, leading to extensive and costly remediation.
- Compromised Insulation: Wet insulation loses its R-value and becomes a breeding ground for mold, almost always requiring complete replacement.
- Electrical Hazards: Water leaking onto electrical wiring creates a serious risk of shorts, power outages, and fire.
- Interior Damage: Ceilings, walls, flooring, and personal belongings can be quickly ruined by water.
- Structural Weakening: Prolonged water exposure causes wood rot in beams and decking, which can compromise the entire roof structure and even lead to collapse.
All these factors lead to dramatically increased repair costs, turning a manageable roof repair into a devastating financial burden for the homeowner.
The Difference Between DIY and Professional Tarping
A homeowner’s instinct to quickly cover a leak is understandable, but a DIY attempt often falls short. The distinction between an amateur fix and professional roof tarping for contractors lies in four key areas:
- Material Quality: Professionals use heavy-duty, 10-mil or thicker polyethylene or vinyl tarps that are waterproof and UV-resistant. These are engineered to last for months, unlike standard hardware store tarps that degrade quickly.
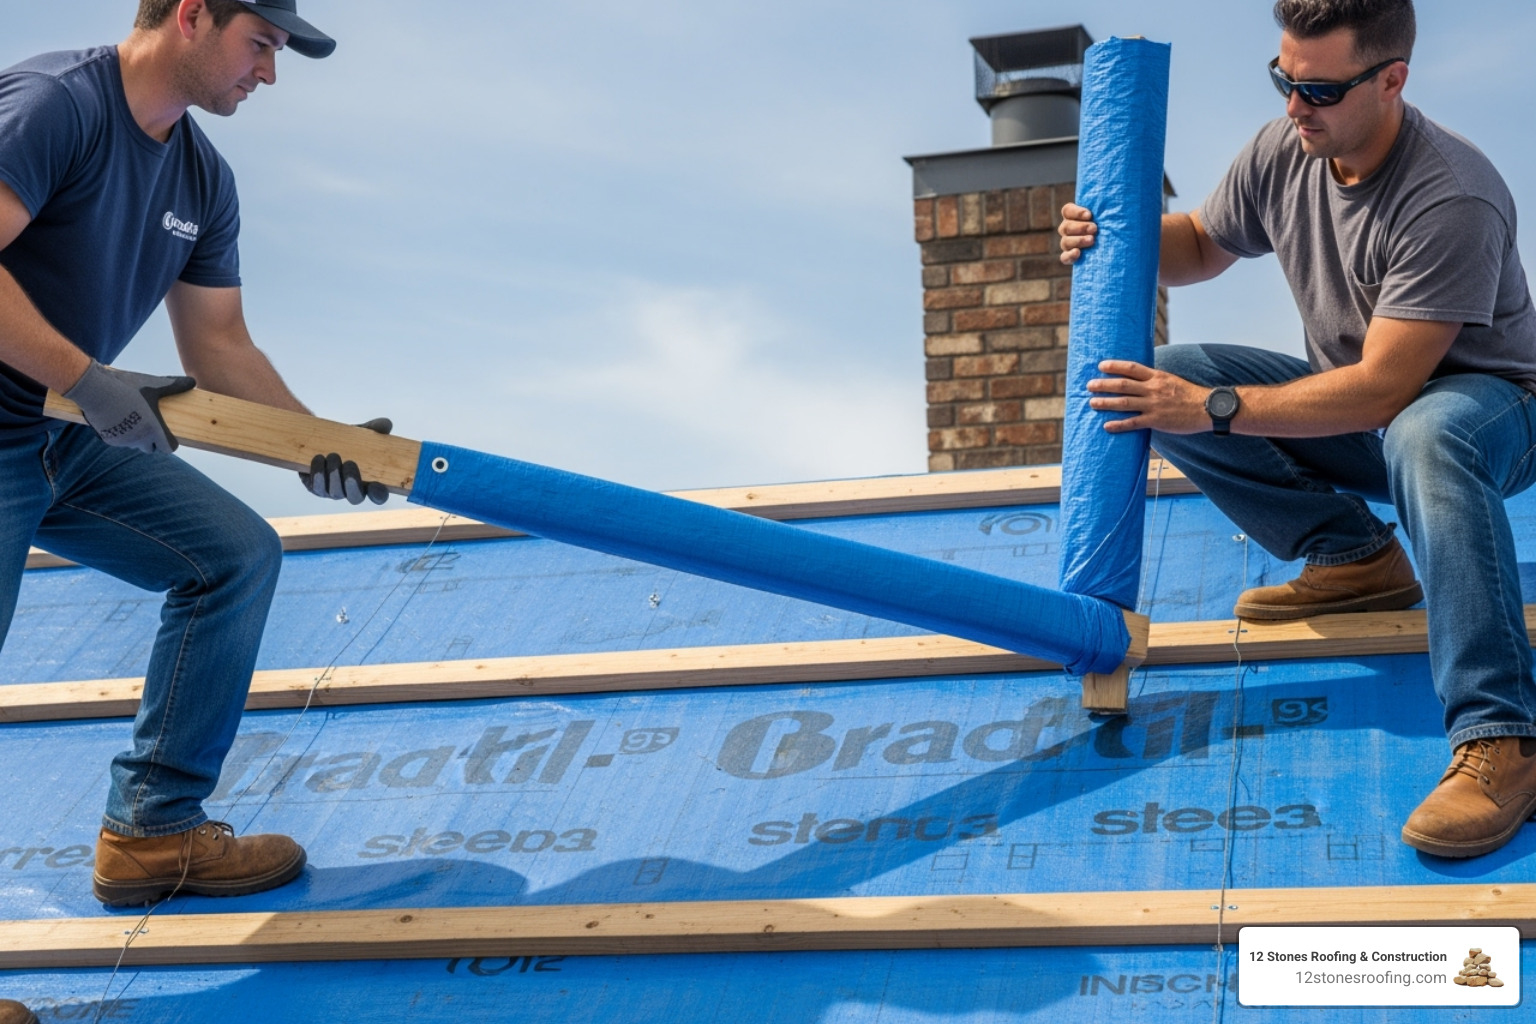
- Anchoring Techniques: Our wrap-and-roll method using 2x4s screwed into the roof deck provides maximum wind resistance and prevents flapping, which can cause further shingle damage. Homeowner methods like sandbags or direct nailing are unreliable and often cause more harm.
- Safety Protocols: We adhere to strict OSHA guidelines for working at heights, using fall protection systems, and working in teams. Homeowners lack the training and equipment to work safely on a damaged roof, as noted by GAF: “It’s best to leave roof tarping work to the professionals.”
- Insurance Documentation: We provide detailed photo documentation and written reports that insurance adjusters require for a smooth claims process. This level of record-keeping is invaluable for the homeowner.
A professional installation ensures the job is done right, safely, and effectively, buying the client crucial time. You can learn more about this process at What to Know About Tarping a Roof.
Safety and Preparation: The Non-Negotiables of Roof Tarping for Contractors
Before any work begins, safety is the absolute priority. A damaged, wet, and potentially unstable roof is one of the most hazardous environments in our trade. Rushing a job is not an option when your crew’s well-being is on the line. For roof tarping for contractors, adhering to established safety standards is non-negotiable—it protects your team and your business.
Essential Safety Precautions
At 12 Stones Roofing & Construction, these safety protocols are fundamental to every job.
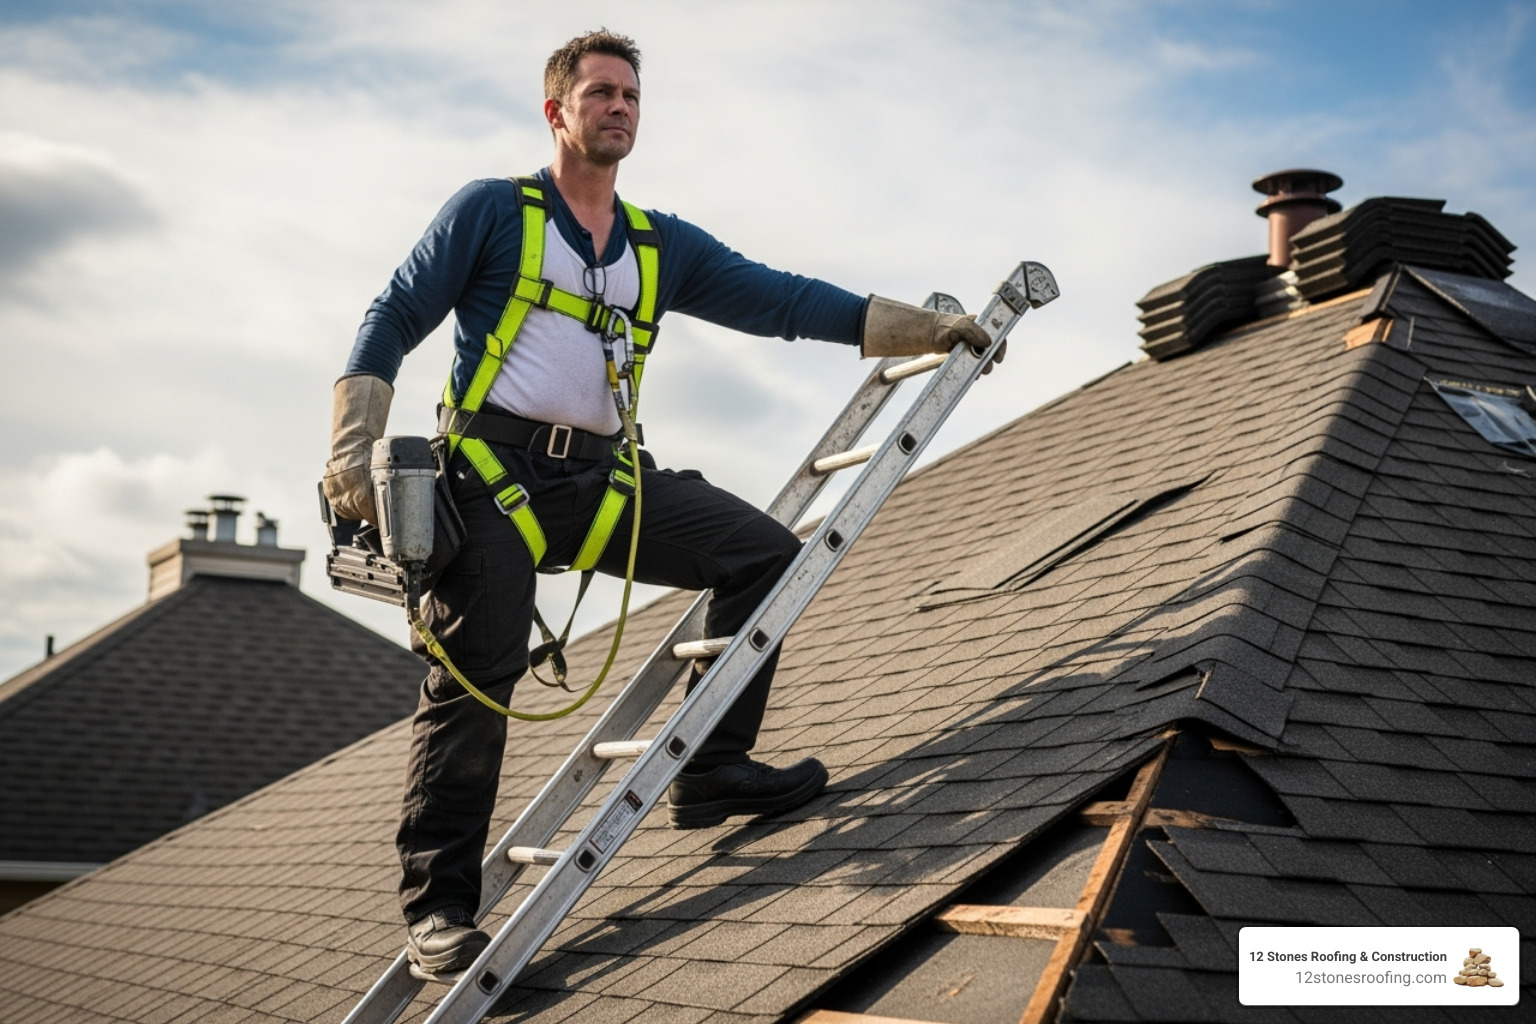
- Fall Protection: This is paramount. On low-slope roofs (4:12 pitch or less), we use conventional fall protection (harnesses, guardrails) or warning line systems. On steep roofs (greater than 4:12), conventional fall protection is always mandatory, meeting all OSHA standards.
- Electrical Hazard Awareness: Treat all power lines as live. Maintain a minimum 10-foot distance from overhead lines. If lines are damaged or close, we contact the utility company to de-energize them before proceeding. Never use metal ladders near power lines.
- Ladder Safety: Ladders must be on stable, level ground at a 4:1 angle (one foot out for every four feet up). The ladder must extend at least three feet above the roof edge for a safe handhold.
- Debris Removal: Use protective gear (hard hats, eye protection) when clearing sharp or heavy debris. Whenever possible, remove debris from the ground. If on the roof, use controlled measures like chutes to protect the area below.
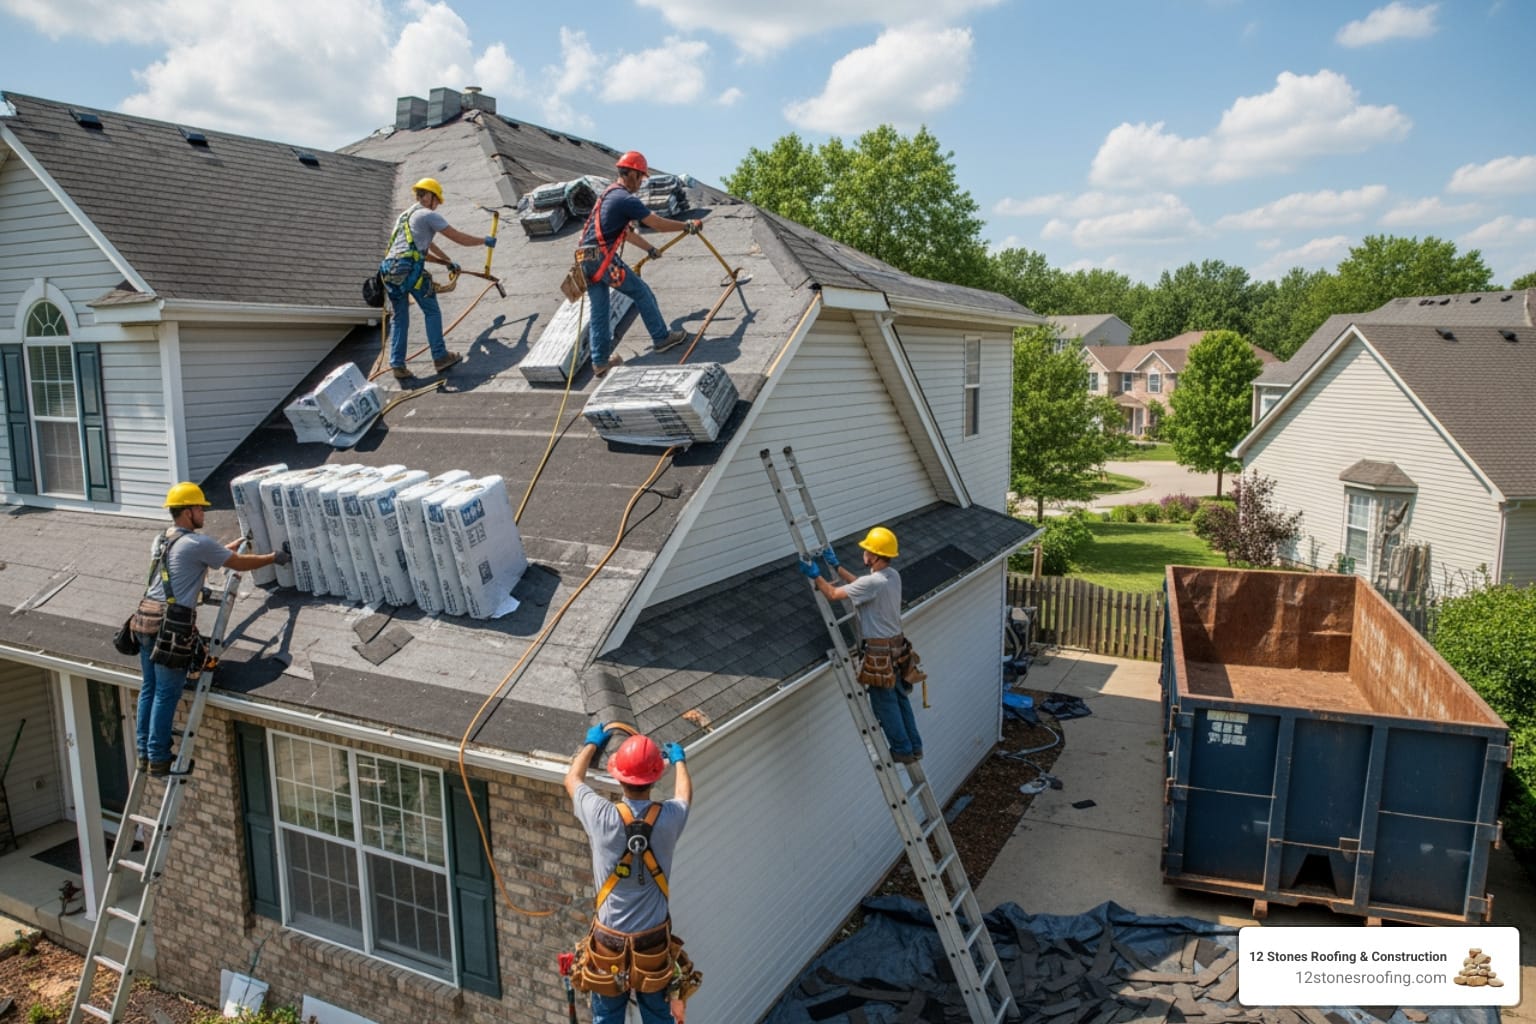
- Work in Teams: Never send a single person onto a damaged roof. Tarping requires a minimum of two crew members for safety and assistance.
- Weather Assessment: Do not attempt to tarp a roof during storms, high winds, or when the surface is wet or icy. Postpone the work if conditions are unsafe.
- Roof Stability Assessment: Visually inspect for sagging, soft spots, or compromised decking before stepping on the roof. If stability is in doubt, work from ladders or platforms.
- Personal Protective Equipment (PPE): Mandatory for all crew. This includes non-slip rubber-soled boots, heavy-duty gloves, safety glasses, and hard hats.

These practices align with OSHA’s Roof Tarping (Blue Roof) Safety guidelines, which hold employers responsible for providing a safe work environment.
Essential Tools and Materials for a Professional Job
Arriving with the right equipment ensures an efficient, secure installation and demonstrates professionalism. The quality of your materials directly impacts the tarp’s effectiveness.
- Heavy-Duty Tarp: Industrial-grade polyethylene or vinyl-coated tarps, 10-mil thick or more. They must be waterproof, UV-resistant, and have reinforced grommets.
- 2x4s or Furring Strips: Essential for the “wrap and roll” anchoring method. Lumber should be at least 2 feet longer than the tarp’s width.
- Fasteners: Screws with washers are preferred for their superior holding power and easier removal. They must be long enough to penetrate the roof deck.
- Utility Knife: A sharp knife is needed for precise cuts around chimneys, vents, and other penetrations.
- Drill and Hammer: For quickly and securely fastening the anchor boards.
- Ladders and Safety Gear: Sturdy ladders appropriate for the roof height, along with safety harnesses and ropes for fall protection.
- PPE: Heavy-duty gloves, safety goggles, and non-slip boots are mandatory.
- Plywood: 3/8-inch or thicker plywood is used to cover large holes before tarping, providing a stable base.
- Broom or Blower: To clear all debris from the roof surface before installation.
- Waterproof Roofing Tape: For creating a watertight seal around penetrations.
Choosing the Right Type and Size of Tarp
Selecting the correct tarp is fundamental. The two most important factors are size and durability.
- Size: The tarp must extend at least four to five feet beyond the damaged area on all sides. If the damage is near the peak, the tarp must hang over the ridge by at least four feet. This generous sizing prevents wind-driven rain from getting underneath and provides material for secure anchoring.
- Durability: Always use heavy-duty, reinforced tarps designed for high winds and prolonged sun exposure. They resist tearing and UV degradation far better than standard tarps, ensuring protection for up to 90 days.
- Color: While blue is common, a white or silver tarp can reflect more sunlight, reducing heat buildup in the attic space during hot Texas summers.
Step-by-Step Installation Guide for Contractors
A systematic approach is essential for creating a watertight, durable temporary roof. This process ensures the tarp sheds water effectively and remains secure until permanent repairs are made. Every step, from assessment to anchoring, is critical for a successful installation.
Damage Assessment & Preparation
Before unrolling a tarp, a thorough assessment is crucial. Rushing this phase is a common mistake.
- Assess the Damage Safely: Use a drone, ladder, or the ground to inspect the full extent of the damage. Look for missing shingles, damaged flashing, punctures, and signs of structural sagging. Check the interior for water stains to pinpoint leaks.
- Clear All Debris: Carefully remove all branches, leaves, broken shingles, and loose nails from the damaged area and surrounding roof surface. Debris can puncture the tarp or prevent a tight seal.
- Cover Large Holes: For significant punctures, first cover the hole with 3/8-inch or thicker plywood. Secure it with screws driven into the roof rafters to create a stable base and prevent water from pooling.
Measuring and Positioning the Tarp
Accurate measurement and strategic placement are key to effective water shedding and wind resistance.
- Measure Generously: The tarp must cover the entire damaged section with at least four to five feet of overhang on all sides. At the roof peak, ensure the tarp extends over the ridge by at least four feet to allow water to shed properly.
- Position for Water Flow: With a team of two or three, carefully unroll the tarp over the damaged area, ensuring it is smooth and taut. Wrinkles and slack spots create pockets for water to pool. The tarp should ideally run from the peak down to the eave, directing water off the roof.
For additional guidance, consult resources like How to Tarp a Roof.

Securing Methods: Pros and Cons
The “wrap and roll” method is the industry standard for a reason: it offers superior durability and wind resistance.
| Method | Pros | Cons | Best Use Case |
|---|---|---|---|
| Wrap & Roll (2x4s) | Maximum wind resistance; distributes stress evenly; doesn’t damage shingles; removable without harm. | Requires more time and materials; needs proper fastening into the deck. | The professional standard. Essential for all installations, especially on steep roofs and in high-wind areas. |
| Sandbags | Quick; no roof penetration. | Poor wind resistance; can shift or blow off; doesn’t create a tight seal. | Temporary hold only. Not a primary anchoring method. |
| Direct Nailing | Fast. | Damages shingles and tarp; creates new leak points; difficult to remove cleanly. | Should be avoided. The mark of an amateur job that creates liability. |
To execute the wrap and roll method, place a 2×4 board along the tarp’s edge, wrap the tarp around it several times, and screw the board directly into the roof deck every 12-18 inches. This distributes the wind load across the board instead of at individual points. For large tarps, use additional 2x4s or furring strips every 6 feet across the middle to prevent billowing.
Handling Roof Penetrations and Features
Creating a watertight seal around chimneys, vents, and skylights is a hallmark of professional roof tarping for contractors. Improper sealing is a primary cause of failure.
- Chimneys: Bring the tarp up to the chimney and cut it to fit snugly around the base. Use high-quality waterproof roofing tape to seal the tarp to the chimney flashing, layering it to direct water flow over and around the penetration.
- Vents and Pipes: Cut a small X-shaped slit in the tarp just large enough to fit over the penetration. Keep the cut snug and seal it completely with roofing tape.
- Skylights: If the skylight is damaged, cover it with plywood before tarping. If it’s intact, carefully work the tarp around it, using the same cutting and taping techniques as for a chimney.
Use a sharp utility knife for clean, deliberate cuts. Ragged or oversized cuts create weak points. Immediately seal every cut edge with roofing tape to prevent tears from spreading. The goal is to create a temporary roof that functions as well as the original, protecting the home for up to 90 days while permanent repairs are planned.


