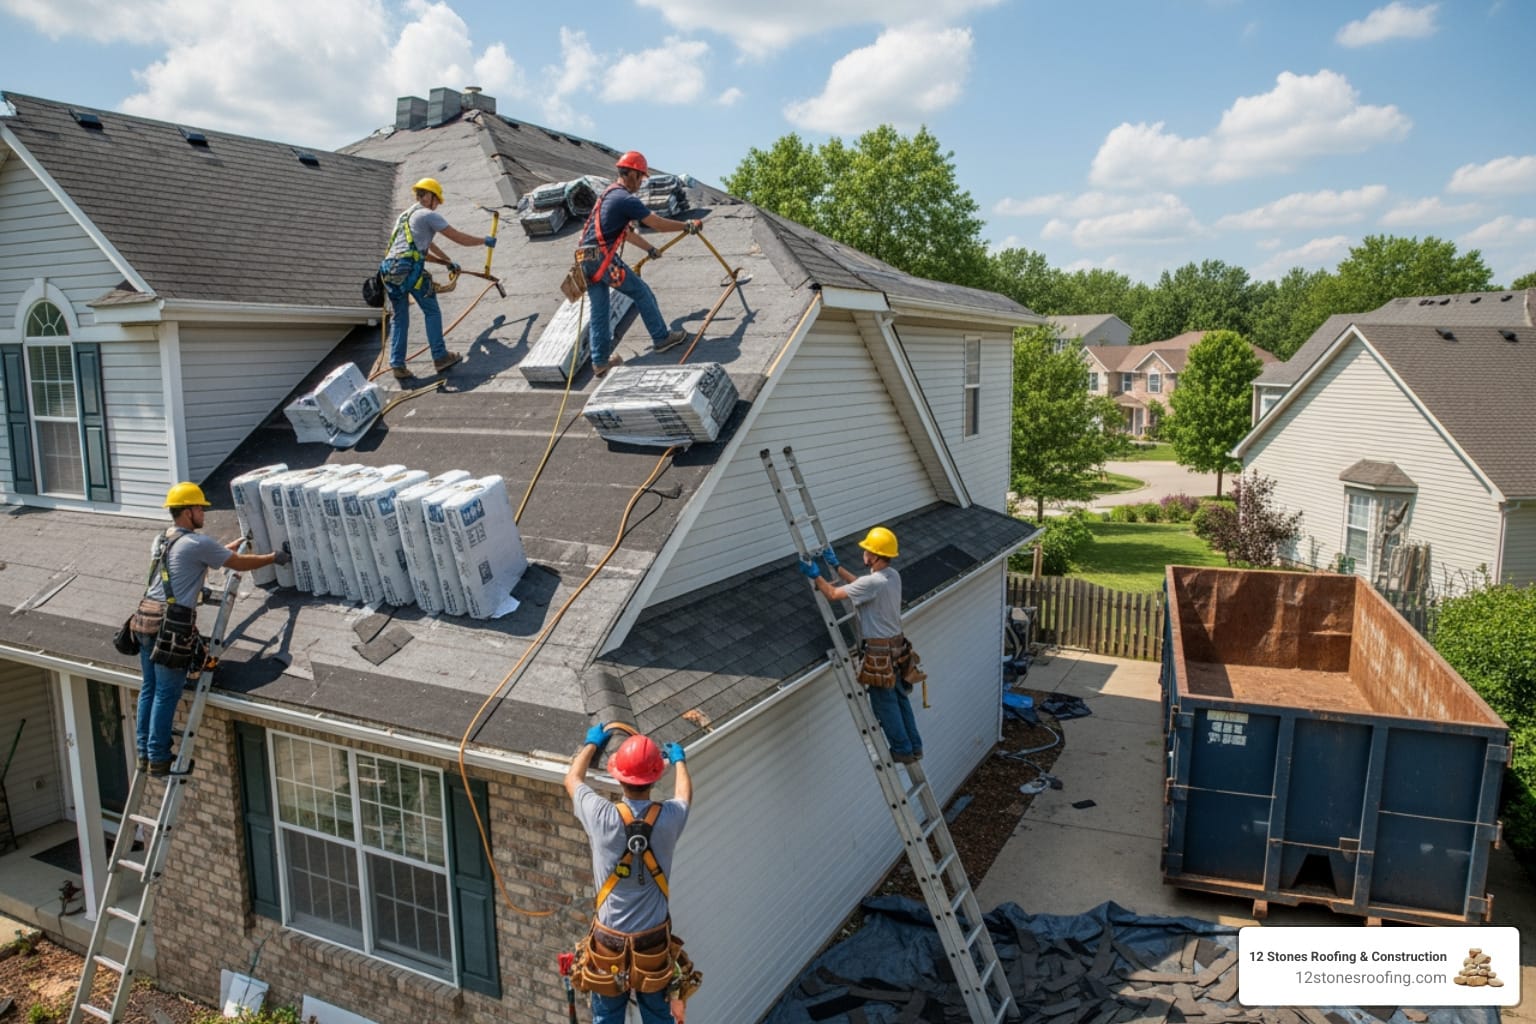
Why Quick Action on Water Damaged Ceiling Repair Can Save Your Home
Water damaged ceiling repair is a critical home maintenance task that can prevent thousands of dollars in structural damage, mold growth, and even ceiling collapse. Whether you’re staring at a growing brown stain or catching drips in a bucket, responding quickly is the key to avoiding a costly disaster. For homeowners seeking reliable solutions, the expert team at 12 Stones Roofing & Construction provides comprehensive services to protect your property from water intrusion. Understanding the right steps makes all the difference.
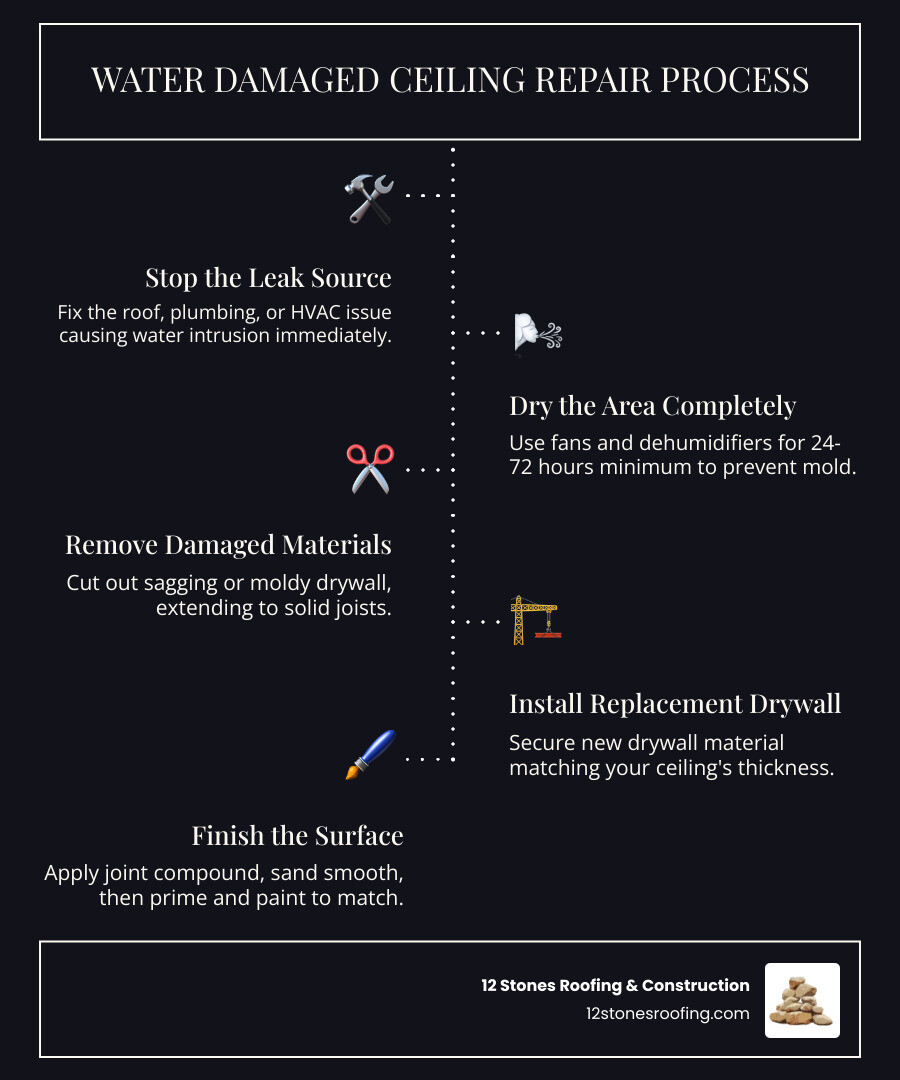
Quick Answer: Water Damaged Ceiling Repair Process
- Stop the leak source – Fix the roof, plumbing, or HVAC issue causing water intrusion.
- Dry the area completely – Use fans and dehumidifiers for 24-72 hours minimum.
- Remove damaged materials – Cut out sagging or moldy drywall back to solid joists.
- Install replacement drywall – Secure new material matching your ceiling thickness.
- Finish the surface – Apply joint compound, sand smooth, prime, and paint.
According to restoration industry data, mold can start growing in as little as 48 hours in damp conditions. Repairing water damage on ceilings typically costs between $45-$55 per square foot, not including repairs to the initial leak source. A gallon of water weighs nearly 8.5 pounds, so it doesn’t take much accumulation to overwhelm your ceiling’s structural integrity and cause a collapse. Prompt action is not just recommended; protecting your home’s value and your family’s health.
First Response: What to Do Immediately When You Spot a Ceiling Leak
The moment you notice a drip, bulge, or stain on your ceiling, your quick actions can significantly reduce the cost of water damaged ceiling repair. A single gallon of water weighs nearly 8.5 pounds, and that weight adds up fast, posing a real risk of ceiling collapse. Follow these immediate steps to mitigate the damage.
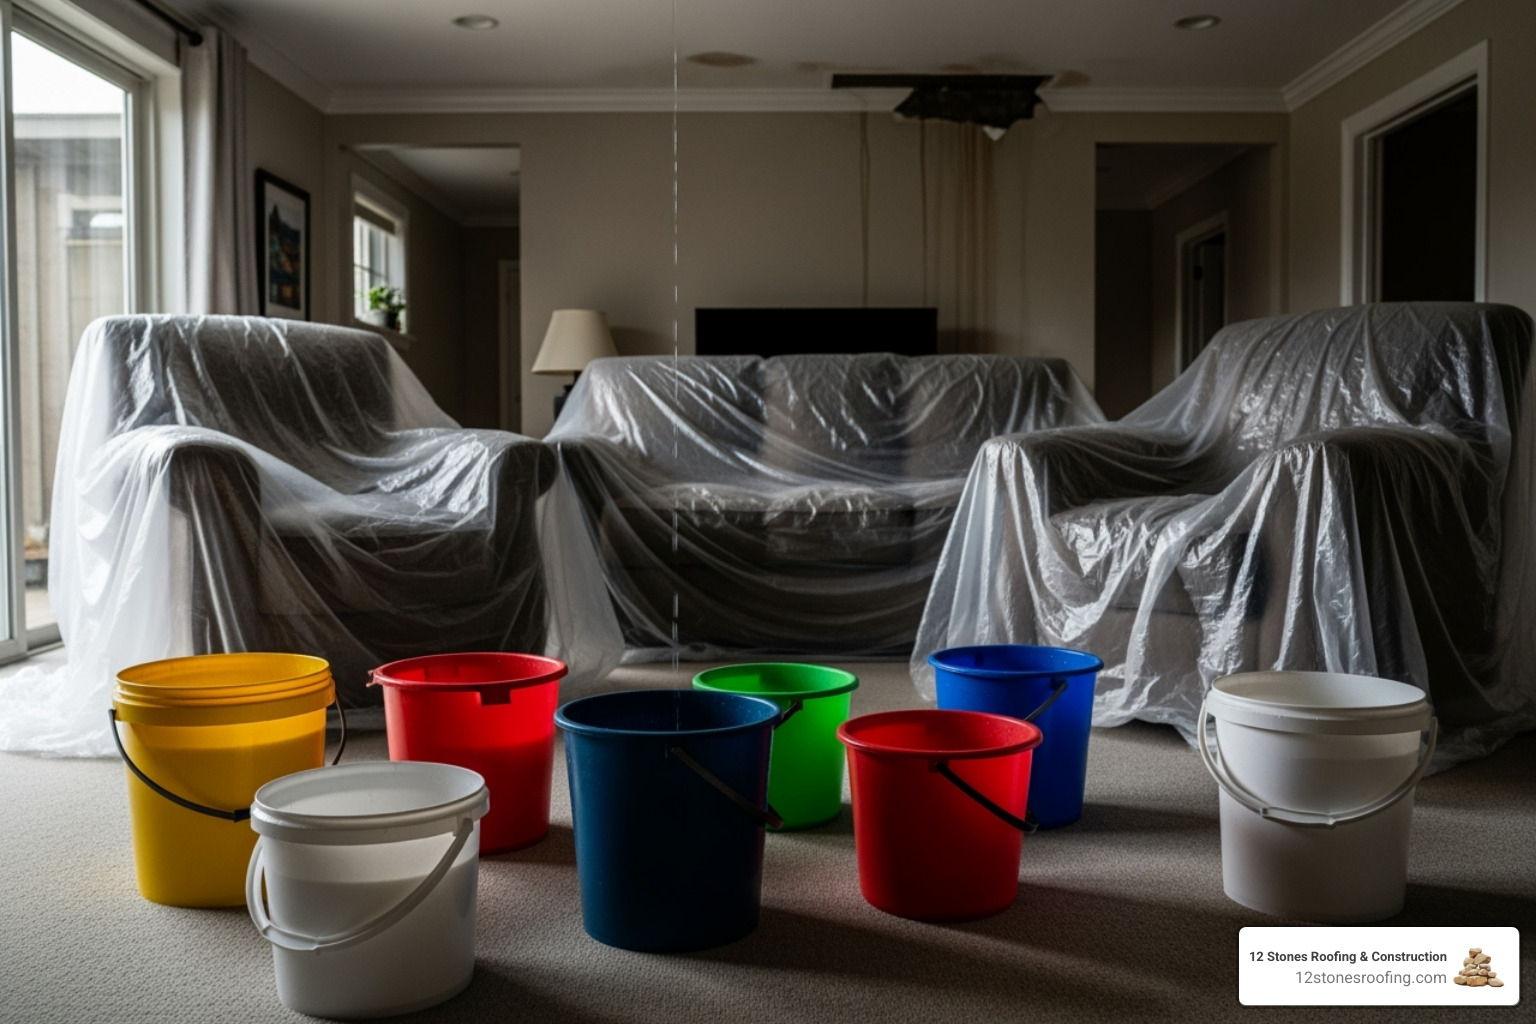
- Contain the Water & Relieve Pressure: Place buckets under drips. If you see a bulge, water is pooling above. Carefully poke a small hole in the center of the bulge to allow water to drain in a controlled manner, preventing a messy collapse.
- Protect Your Property: Move furniture, electronics, and valuables out of the affected area. Cover anything that can’t be moved with plastic sheeting.
- Find the Source (If Safe): Look for obvious sources like an overflowing toilet or a leak in the attic. If the source isn’t clear or you feel unsafe, prioritize safety and call a professional.
- Shut Off Water Supply: If the leak appears to be plumbing-related, turn off your home’s main water shut-off valve immediately to stop the flow.
- Shut Off Electricity: If water is near light fixtures or any wiring, go to your electrical panel and turn off the power to that area to prevent electrocution or fire.
- Call for Emergency Help: For severe leaks, especially those involving your roof, don’t hesitate to call for emergency roofing services. A qualified plumber should be called for pipe-related issues.
- Document Everything: Take photos and videos of the leak, the damaged ceiling, and any affected belongings. This documentation is crucial for filing an insurance claim.
Finding the Culprit: Common Causes and Signs of Ceiling Water Damage
Before starting any water damaged ceiling repair, you must find and fix the source of the water. A repair is only temporary if the leak persists. The location of the damage is your first clue: top-floor damage often points to the roof, while lower-floor stains usually suggest plumbing or HVAC issues.
Signs of a Water-Damaged Ceiling
Early detection saves money. Watch for these warning signs:
- Water Stains: Yellowish or brown patches on the ceiling. A round stain often indicates the leak is directly above, while a cone shape suggests water is traveling from the narrow end.
- Peeling or Bubbling Paint: Moisture trapped behind the paint causes it to lose adhesion.
- Sagging Drywall: A serious sign that water has accumulated and the ceiling’s structural integrity is compromised, risking collapse.
- Cracks: New or expanding cracks can be created or worsened by water damage.
- Musty Odor: A damp, earthy smell often indicates hidden moisture and potential mold growth, which can start in just 48 hours.
- Visible Mold: Black, green, or white fuzzy spots mean the problem requires immediate attention for health and structural reasons.
Common Causes of Ceiling Leaks
- Roof Leaks: The most common culprit, especially after storms. Issues include missing shingles, damaged flashing, and ice dams. Severe weather can cause significant roof damage from rain.
- Plumbing Issues: Leaking pipes, faulty toilet seals, and worn-out caulking around tubs and showers are frequent causes for lower-floor ceiling damage.
- Clogged Gutters: When gutters overflow, water can back up under the roofline and seep into the ceiling.
- HVAC Condensation: Clogged AC drain lines or cracked drip pans can cause water to overflow and drip onto the ceiling below.
- Appliance Leaks: A faulty hose on an upstairs washing machine, dishwasher, or water heater can saturate the floor and the ceiling beneath it.
- Malfunctioning Fire Sprinklers: Though rare, a faulty sprinkler head can cause significant water damage. The National Fire Protection Association offers guidance on inspections.
The Ultimate DIY Guide to Water Damaged Ceiling Repair
Once the leak is fixed and the area is completely dry, you’re ready to repair the damage. For minor to moderate issues, this is a manageable DIY project. This guide will walk you through the steps for a professional-looking finish.
Tools and Materials You’ll Need
- Safety Gear: Safety glasses, dust mask, work gloves.
- Prep & Cleanup: Drop cloths, buckets, sponges, rags, vacuum.
- Cutting & Removal: Utility knife, drywall saw, pry bar.
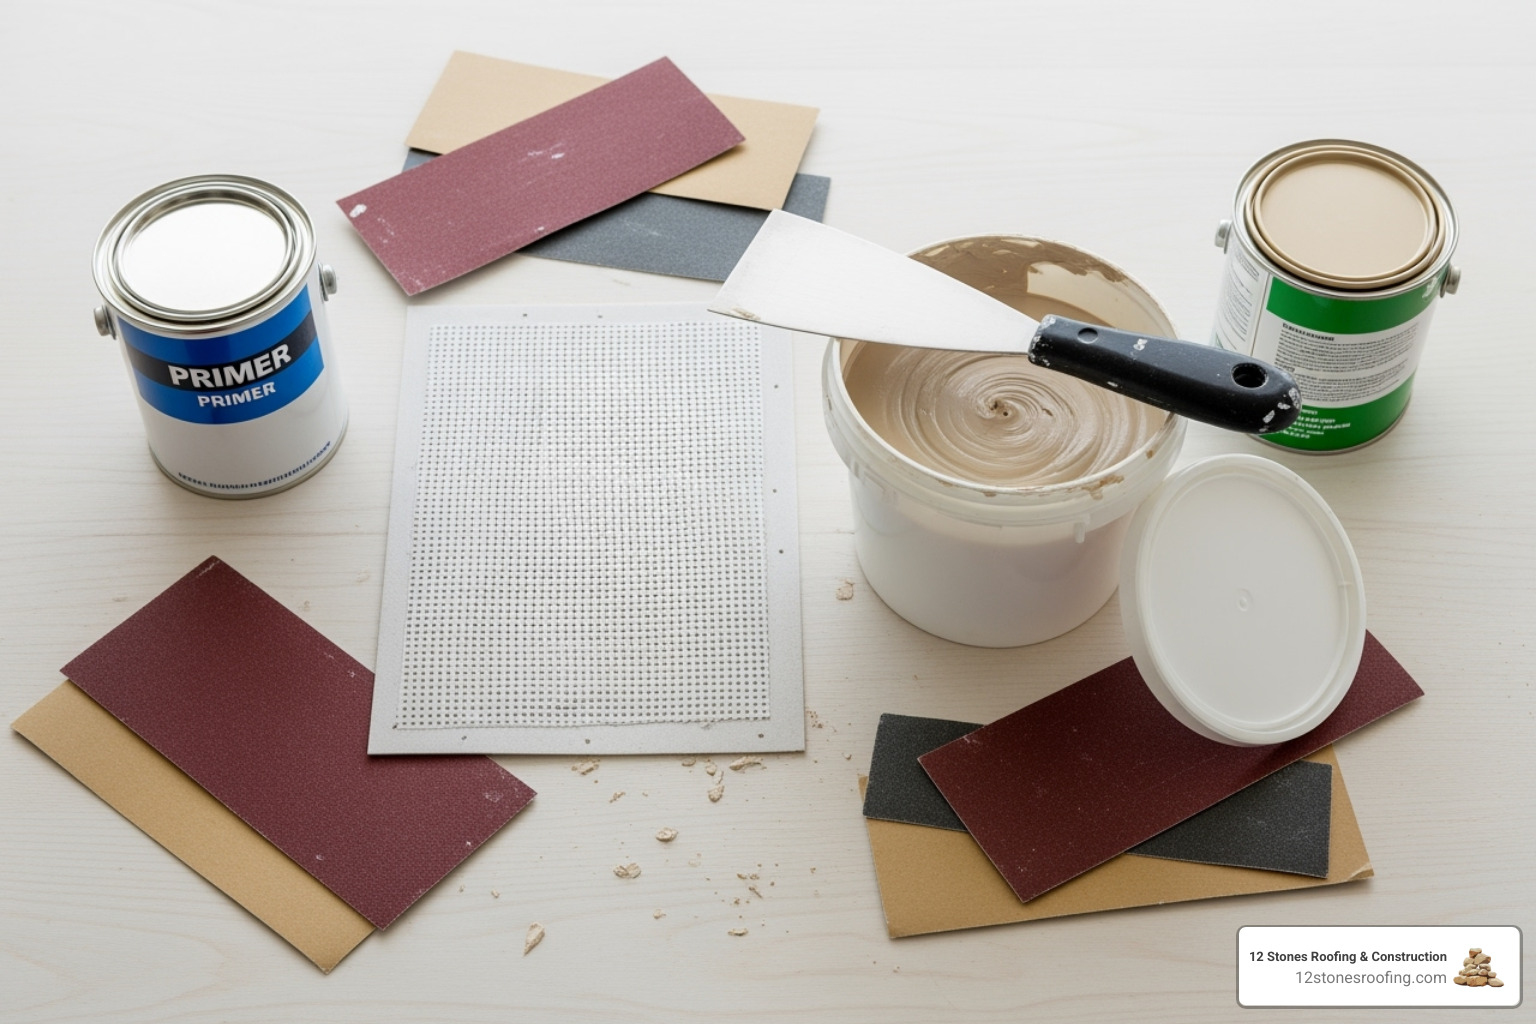
- Finishing: 6-inch and 12-inch putty knives, medium-grit sanding sponge, paintbrush, paint roller, stepladder.
- Materials: Joint compound (premixed is easiest), drywall patch kit or new drywall (match thickness), drywall screws, drywall tape (mesh or paper), oil-based stain-blocking primer, ceiling paint, moisture meter.
Step-by-Step Guide to Minor Water Damaged Ceiling Repair
This guide is for stains and small blemishes where the drywall is still solid. Ensure the area is bone dry before starting.
- Prepare the Area: Cover floors and furniture with drop cloths. Ensure good ventilation and wear your safety gear.
- Scrape Damaged Paint: Use a putty knife to gently remove any peeling or bubbling paint.
- Clean and Prime: Clean the area with a mild detergent. Once completely dry (confirm with a moisture meter), apply a coat of oil-based stain-blocking primer. This is essential to prevent the stain from bleeding through the new paint.
- Paint to Match: After the primer dries, paint the repaired area. For a seamless finish, consider painting the entire ceiling.
Step-by-Step Guide to Major Water Damaged Ceiling Repair
If your ceiling is sagging, soft, or has large holes, you must replace the damaged drywall.
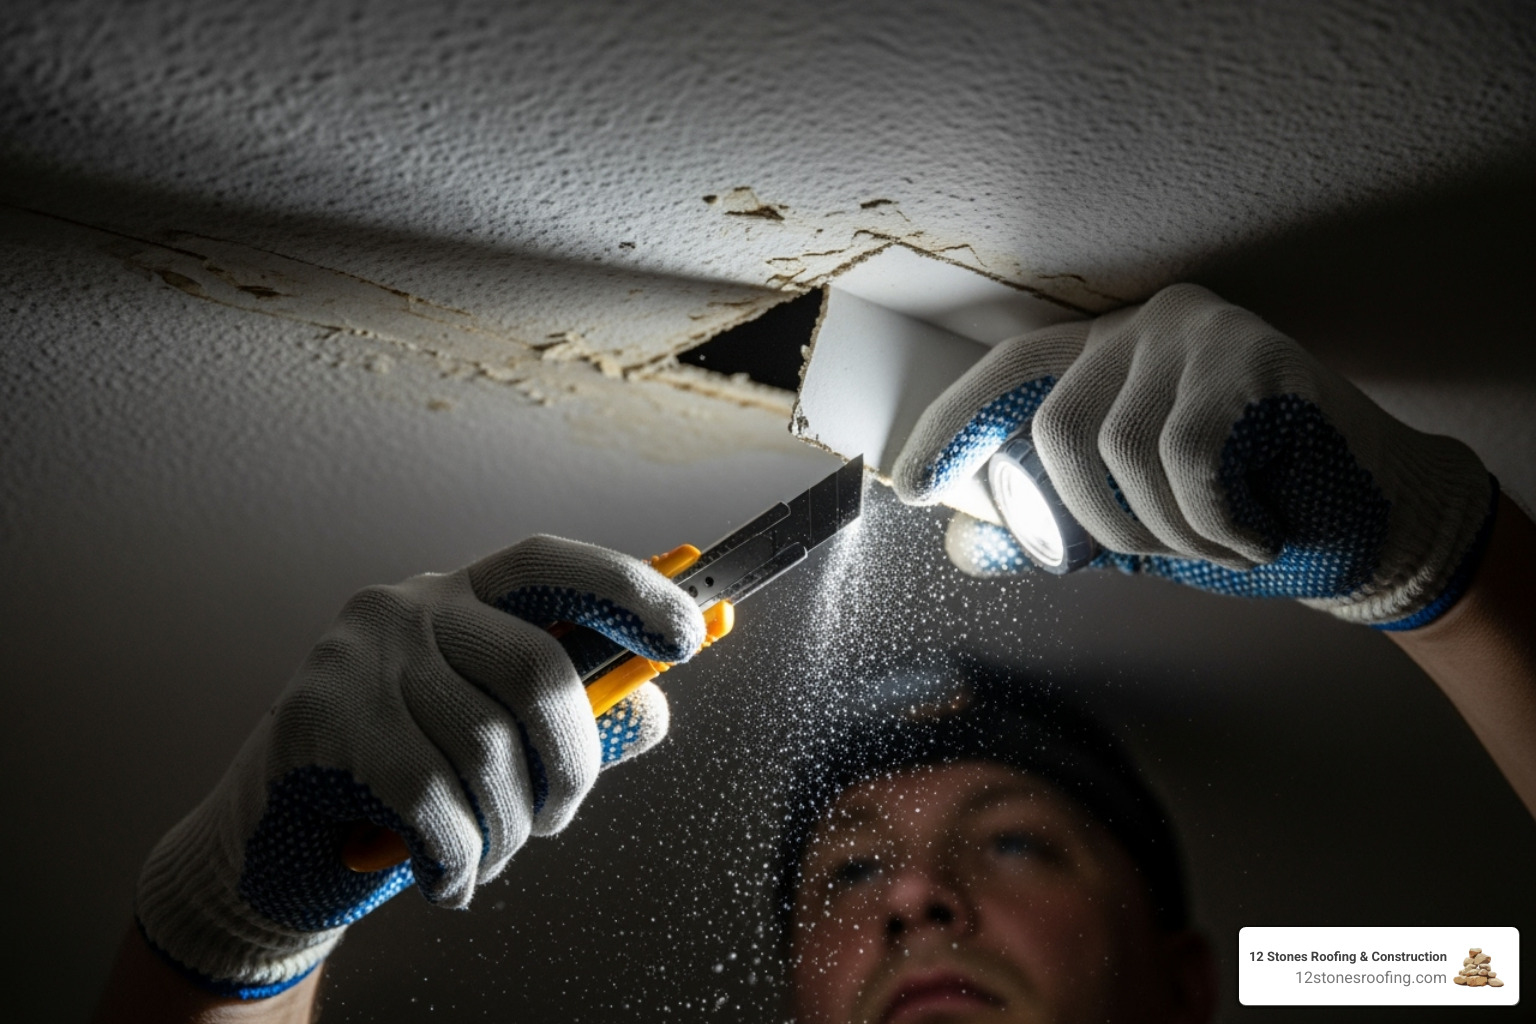
- Remove Damaged Drywall: Turn off power to any nearby fixtures. Cut a square or rectangle around the damaged section using a drywall saw, extending into solid material. Be mindful of hidden wires or pipes. Remove any wet insulation.
- Cut and Secure Patch: Measure the opening and cut a new piece of drywall to fit. Secure it to the ceiling joists with drywall screws, sinking the screw heads slightly below the surface.
- Tape and Mud the Seams: Apply self-adhesive fiberglass mesh tape over the seams. Using a 6-inch putty knife, apply a thin layer of joint compound over the tape and screw heads, feathering the edges.
- Apply Additional Coats: Let the first coat dry completely. Apply a second, wider coat of joint compound, feathering the edges further. A third coat may be needed for a perfectly smooth transition. Let each coat dry fully.
- Sand, Prime, and Paint: Once the final coat is dry, sand the area until it’s smooth and flush with the ceiling. Wipe away dust, then apply stain-blocking primer over the entire patch. Finish by painting to match.
How to Repair Textured Ceilings
Matching a textured ceiling requires extra care to blend the repair seamlessly.
- Complete the Repair: Follow the steps above to create a smooth, primed patch.
- Choose and Practice: Use an aerosol texture spray for popcorn ceilings or a hopper gun for knockdown textures. Practice on a scrap piece of cardboard to get the technique right.
- Apply and Blend: Protect surrounding surfaces. Apply the texture to the patch, feathering the edges into the existing texture to create a seamless blend.
- Paint: Once the texture is dry, prime if needed, then paint the entire ceiling for a uniform finish.
When to Call a Pro and How Insurance Can Help
While some water damaged ceiling repair jobs are suitable for DIY, certain situations are too complex or risky to handle alone. Knowing when to call a professional can save you from costly mistakes and ensure the job is done safely. Water damage restoration costs can range from $1,000 to over $10,000, so understanding your limits and your insurance coverage is crucial.
Signs You Need a Professional
- Extensive Damage: If the damage covers a large area (more than a few square feet) or affects multiple rooms, it’s a job for professionals.
- Structural Sagging: A bowing or dipping ceiling indicates potential damage to the ceiling joists, which requires a structural assessment.
- Widespread Mold Growth: If you see mold covering more than 10 square feet, you need professional mold remediation to ensure it’s removed safely and completely.
- Electrical Hazards: If the leak is near light fixtures or wiring, call a professional to handle the situation safely and prevent fire or electrocution.
- Recurring Leaks: If a leak returns after a DIY fix, a pro can use advanced tools like thermal cameras to find the true source.
- Lack of Time or Tools: If you don’t have the experience, equipment, or time to do the job right, hiring a professional is a wise investment.
Understanding Homeowners Insurance Coverage
Navigating an insurance claim can be confusing. Here are the key points to remember:
- What’s Covered: Most policies cover sudden and accidental water damage. This includes burst pipes, storm-damaged roofs, or sudden appliance failures. The policy typically covers both the access to fix the leak and the resulting interior damage.
- What’s Excluded: Insurance generally does not cover damage from gradual leaks, poor maintenance, or neglect. A slow drip that has been ignored for months or a roof that failed due to old age will likely result in a denied claim.
- Flood Damage: Standard policies do not cover flooding from external sources. This requires a separate policy through the National Flood Insurance Program (NFIP).
- Documentation is Critical: For a successful claim, document everything. Take photos and videos of the damage, save receipts for any emergency supplies, and create a timeline of events. The more evidence you have, the better.
- File Promptly: Contact your insurance provider as soon as it is safe to do so. A professional contractor can provide a detailed inspection report and estimate, which adds significant weight to your claim. Our team at 12 Stones Roofing & Construction frequently helps clients with navigating roofing insurance claims, ensuring all damage is properly documented.
Preventing Future Drips: Proactive Maintenance for Your Home
The best repair is the one you never have to make. A little proactive maintenance can save you from the stress and expense of future water damaged ceiling repair. These simple steps are your home’s best defense against water intrusion.
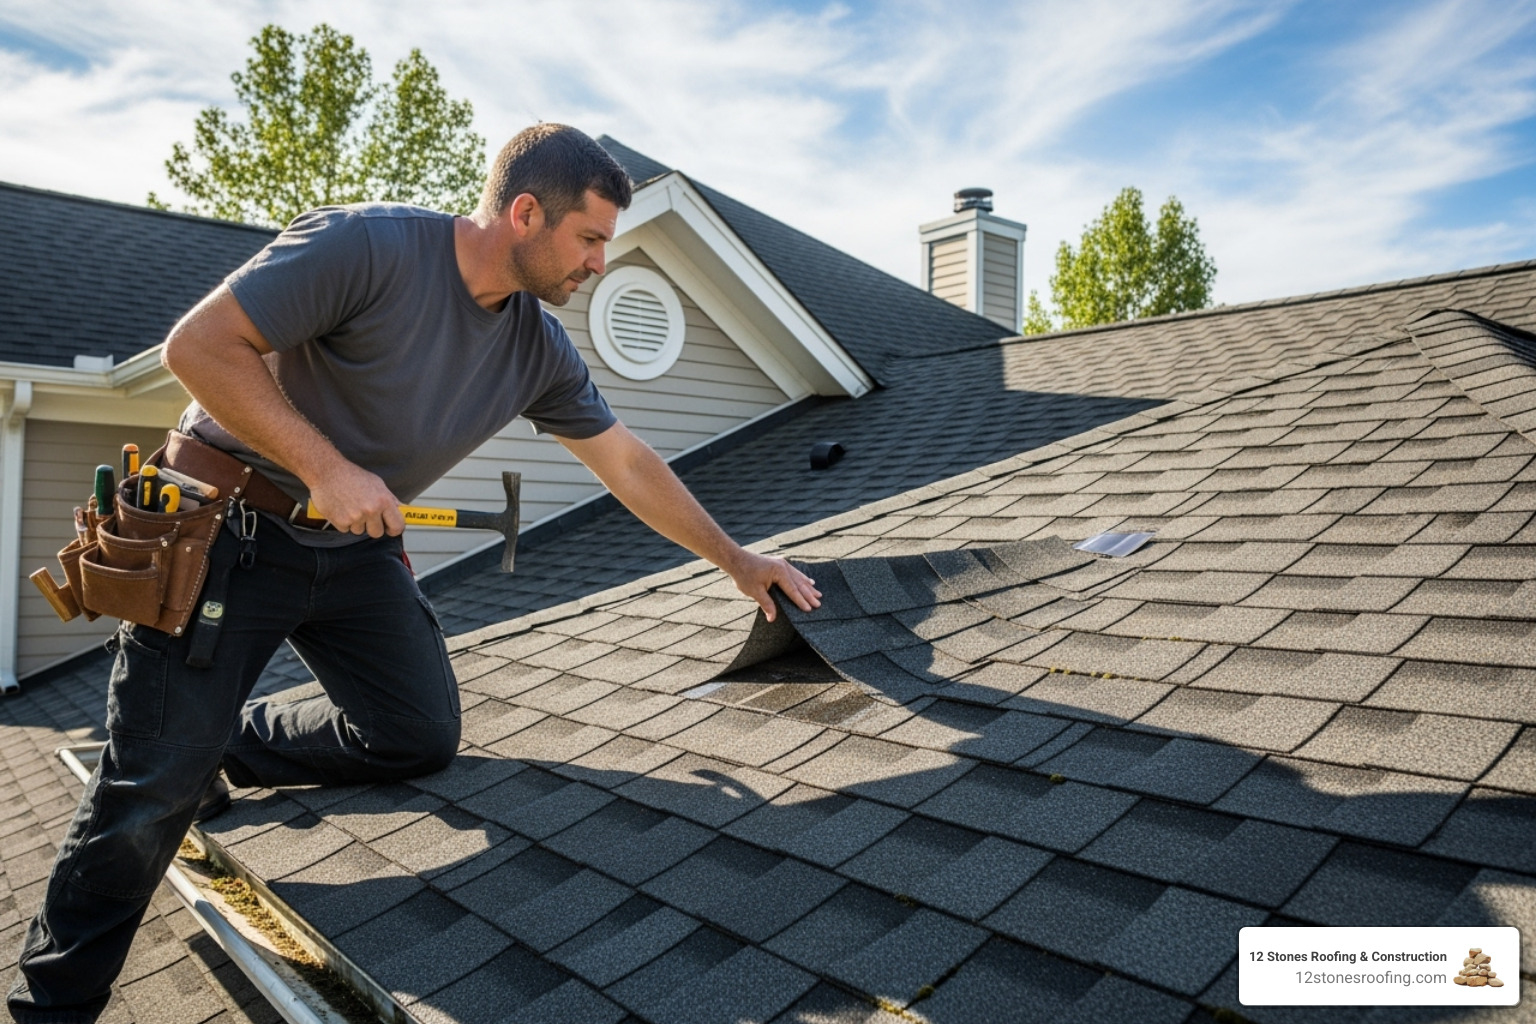
- Inspect Your Roof Regularly: Your roof is your home’s primary shield. Have it inspected annually and after major storms. A professional can spot damaged shingles, worn sealants, or compromised flashing before they cause a leak. We offer expert roof inspection services for homeowners in Pasadena, TX, to ensure your roof is ready for any weather.
- Clean Your Gutters: Clogged gutters cause water to overflow and seep into your roof eaves and ceiling. Clean them at least twice a year, especially in the fall.
- Check Your Plumbing: Periodically inspect pipes under sinks and in utility rooms for drips, rust, or corrosion. Insulate pipes in unheated areas to prevent them from freezing and bursting.
- Ensure Proper Ventilation: Use exhaust fans in bathrooms and kitchens to remove moisture. Proper attic ventilation prevents condensation buildup that can drip onto your ceiling.
- Maintain Attic Insulation: Good insulation helps prevent ice dams and reduces condensation. Ensure it’s dry and not compressed to maintain its effectiveness.
Frequently Asked Questions about Ceiling Water Damage
Can I just paint over a water stain on the ceiling?
No. Painting over a water stain is a temporary cosmetic fix that traps moisture and ignores the root cause. The stain will eventually bleed through the new paint, and the trapped moisture creates a perfect breeding ground for mold and rot, which can compromise your ceiling’s structural integrity. The correct method is to fix the leak, ensure the area is completely dry, apply an oil-based stain-blocking primer, and then paint.
How long does a ceiling take to dry after a leak?
Drying time can range from a few days to several weeks. It depends on the extent of the saturation, the type of ceiling material, and the ambient humidity and airflow. Professionals use industrial fans and dehumidifiers to accelerate the process, often drying a moderately damaged area in 2-5 days. It is critical to use a moisture meter to confirm the drywall is completely dry (below 1% moisture content) before beginning any repairs to prevent mold growth.
How serious is a water leak in the ceiling?
A water leak in the ceiling is always serious. It poses multiple risks that escalate over time:
- Structural Damage: Water weakens drywall and wooden joists, creating a risk of collapse. A single gallon of water adds 8.5 pounds of weight to a structure that is already losing strength.
- Mold Growth: Mold can begin to grow within 24-48 hours, posing health risks like respiratory issues and allergic reactions.
- Electrical Hazards: If water reaches electrical wiring or fixtures, it creates a severe risk of fire or electrocution. Always shut off power to the affected area immediately.
Treat every ceiling leak as an emergency. Acting quickly will protect your home’s value, your family’s health, and your finances.
Protect Your Home from Water Damage
Water damaged ceiling repair is about more than just aesthetics—it’s about protecting your home’s structural integrity, your family’s health, and your financial investment. From taking immediate action to applying the final coat of paint, every step is crucial for a lasting solution. While many issues are preventable with routine maintenance, unexpected leaks can happen.
Knowing the difference between a simple DIY fix and a problem requiring professional expertise is key. If you’re facing extensive damage, recurring leaks, or suspect your roof is the culprit, it’s time to call the experts. At 12 Stones Roofing & Construction, we have over a decade of experience helping Pasadena homeowners recover from water damage, from leak detection to complete restoration.
Don’t let a small leak turn into a major disaster. For comprehensive Water Damage Repair services and the peace of mind that comes with a job done right, call us today at (281) 702-8392. We’re here to keep your home safe and dry.


