Why Installing Metal Roofing on a Hip Roof Requires Expert Precision
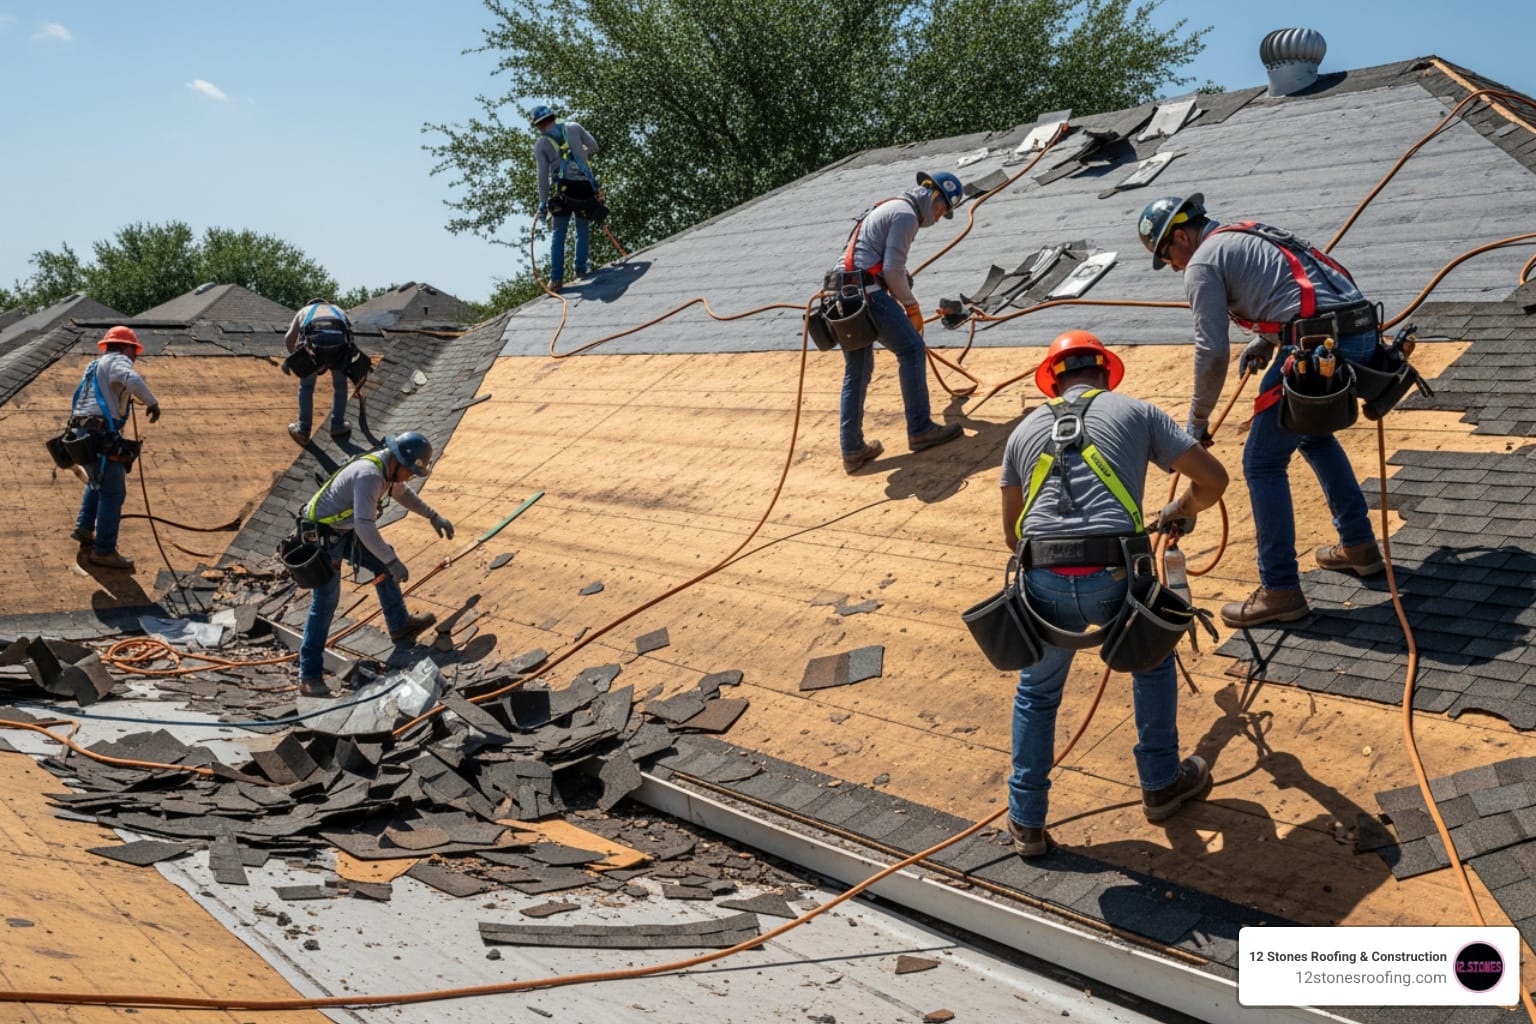
Installing metal roofing on a hip roof is one of the most technically demanding roofing projects. Unlike simple gable roofs, hip roofs have four sloping sides that meet at angled ridges, creating complex geometry. This requires precise measurements, specialized cutting, and meticulous flashing to ensure a watertight seal. For homeowners in Pasadena, Texas, the superior wind resistance of a hip roof is a major advantage, but the installation complexity and cost are significantly higher. As a leading local expert, the team at 12 Stones Roofing & Construction has spent over a decade perfecting this process for Gulf Coast homeowners.
Quick Answer: Key Steps for Installing Metal Roofing on a Hip Roof
- Prepare the roof deck: Remove old materials, inspect the decking, and install high-temperature underlayment.
- Calculate panel lengths: Use the panel’s true width (not coverage width) for accurate angle cuts.
- Cut panels precisely: Mark and cut panels to fit hip angles, adding 1-2 inches for overhang.
- Install field panels: Start at the eave and work upward, ensuring proper panel engagement.
- Install hip caps: Use Z-closures, apply sealant, and fasten with gasketed screws or rivets.
- Seal all details: Apply butyl tape to vertical seams and flashing to prevent leaks.
This guide will walk you through every critical step, from calculations to finishing details, to help you understand what it takes to achieve a durable, long-lasting metal roof. For professional assistance with your project, explore our comprehensive roofing services.

Hip vs. Gable: Why Roof Shape Matters for Metal Roofing
Your roof’s shape is a critical factor that determines the cost, complexity, and performance of a metal roof installation. A simple two-sided gable roof is straightforward to cover, but a four-sided hip roof offers best structural benefits at the cost of a more demanding installation process.
Hip roofs deliver superior wind resistance by distributing wind forces more evenly across their sloped perimeter. This is a crucial advantage in hurricane-prone regions like Pasadena, Texas. According to FEMA research, hip roofs are 40% less likely to suffer severe wind damage. This improved stability, however, comes with increased complexity and cost when installing metal roofing on a hip roof.
Key Differences in Installation
The primary challenge of a hip roof is its geometry. Every panel that meets a hip line requires a precise angle cut, unlike the mostly straight cuts on a gable roof. This complexity leads to several key differences:
- Increased Labor: The intricate measuring, cutting, and fitting of panels and hip caps increases labor time by 30-50% compared to a gable roof.
- Higher Material Usage: A hip roof has a larger surface area than a gable roof with the same footprint, requiring almost twice the material, including panels, underlayment, and trim.
- Greater Waste: The angled cuts create more offcuts, increasing material waste, though experienced installers can minimize this through careful planning.
To better understand how roof geometry affects your project, you can learn more about roof slope types and their impact on installation.
| Feature | Gable Roof (for Metal Installation) | Hip Roof (for Metal Installation) |
|---|---|---|
| Structure | Two sloping sides meeting at a simple ridge | Four sloping sides with multiple hip ridges converging at a central peak |
| Weather Resistance | Good, but corners are vulnerable to high winds | Excellent—superior stability in high winds; lower wind pressures at corners |
| Complexity | Simpler with mostly straight cuts | Highly complex with intricate angle cuts and custom hip cap installation |
| Material/Labor Cost | Lower material usage and less labor-intensive | Requires nearly twice the material and significantly more labor, increasing cost |
| Aesthetics | Classic and traditional | Sophisticated and modern with a balanced appearance |
Advantages and Disadvantages for Metal Roofs
Pairing a hip roof with a metal system creates an exceptionally resilient structure, but it’s important to weigh the pros and cons.
Advantages:
- Exceptional Durability: The combination of a stable hip structure and interlocking metal panels offers outstanding protection against wind, hail, and snow.
- Improved Curb Appeal: A sleek metal roof on a sophisticated hip structure significantly boosts a home’s aesthetic and market value.
- Longevity: A properly installed metal hip roof can last 50 years or more.
Disadvantages:
- Higher Upfront Cost: Increased material and labor requirements make this a more expensive option initially.
- Complex Installation: The precision needed for cuts and flashing makes DIY installation extremely difficult and prone to errors.
- Specialized Components: Hip roofs require specific hip caps and flashing details that are not interchangeable with standard ridge caps.
A metal hip roof is a premium system that offers superior protection and longevity, making it a worthwhile investment for homeowners in challenging climates.
Essential Prep Work: Tools, Materials, and Measurements
Proper preparation is the foundation of a successful and watertight metal roof. For a complex job like installing metal roofing on a hip roof, having the right tools and accurate measurements is non-negotiable. This phase prevents costly errors, minimizes waste, and ensures a professional finish.

Tools and Materials Checklist
Assembling the right equipment ensures efficiency, accuracy, and safety. Here are the essential tools for the job:
- Screw Gun: A model running at 2,000-2,500 rpm with a clutch and depth-sensing nose piece is crucial to prevent over-driving screws and damaging panels.
- Electric Nibblers or Shears: These create clean, burr-free cuts that won’t rust. Avoid circular saws, which damage panel coatings and can void warranties.
- Aviation Snips: Both left- and right-handed snips are needed for intricate cuts around flashing and hip caps.
- Measurement & Marking Tools: A high-quality tape measure, chalk line, ‘T’ square, and a scratch awl or carpenter’s pencil are essential for accuracy.
- Fastening & Sealing Tools: A caulking gun for sealant, a rivet tool for hip caps, and a rubber mallet for seating panels.
- Safety Equipment: A safety harness, ropes, and leather gloves are mandatory for preventing falls and injuries.
Measuring and Calculating for a Hip Roof
Precision is paramount when measuring a hip roof. Unlike simple rectangular panels for gable roofs, every panel on a hip requires an angled cut. Follow these steps to ensure accuracy:
- Draw a Roof Diagram: Create a bird’s-eye view of your roof, noting all dimensions and hip lines. This will be your installation roadmap.
- Measure Each Plane: Carefully measure the dimensions of each individual roof plane from eave to ridge.
- Identify the Longest Panel: For each plane, locate the longest panel length, which is typically in the middle. This serves as your starting point for calculations.
- Use the Panel’s True Width: This is a critical step. For calculating angles, you must use the panel’s true width (edge to edge), not its coverage width. This small difference is the key to making accurate angle cuts. For a detailed walkthrough, consult a guide to calculating panel lengths for hip roofs.
- Mark Your Angles: Use a square to mark your angles on the panel. The amount each subsequent panel shortens depends on the panel’s true width.
- Add Overhang: Always add 1-2 inches for overhang at the eave, plus a few extra inches to account for onsite angle cuts. This buffer prevents material shortages.
Spending extra time on calculations upfront will save you from frustrating gaps and material shortages during installation.
Step-by-Step Guide: Installing Metal Roofing on a Hip Roof
With preparation complete, it’s time for the installation. This process requires patience and precision, especially when making the angled cuts for the hip sections. Always prioritize safety by using proper fall protection, as metal roofs can be extremely slippery.
Step 1: Preparing the Roof Deck and Underlayment
A solid, clean foundation is essential for a long-lasting metal roof.
- Tear-Off and Inspect: Remove all old roofing materials to inspect the deck underneath. This is the best practice, though some codes may permit installing over a single layer of shingles.
- Repair the Deck: Replace any rotted or damaged sections of decking. Ensure the surface is flat, with no protruding nails or sags that could deform the metal panels.
- Install Underlayment: Use a high-temperature, self-adhering synthetic underlayment, which is crucial for protecting against water and condensation. Start at the lowest point of the roof and work up, overlapping seams by at least 3 inches on the sides and 6 inches at the ends. Ensure the deck is clean and dry before application.
Step 2: Calculating and Cutting Panels for Hip Roofs
This is the most critical and challenging step of installing metal roofing on a hip roof. Precision here dictates the final quality of your roof.

- Start with the Longest Panel: Use the longest panel on each roof plane as the reference point for all subsequent cuts.
- Use True Width for Calculations: Remember to use the panel’s true width (e.g., 17½ inches), not its coverage width (e.g., 16 inches), for all angle calculations to ensure a perfect fit.
- Mark and Cut: Transfer your measurements to the back of each panel using a T-square and pencil. Use electric nibblers or shears for cutting. These tools create clean edges without damaging the panel’s protective coating, unlike abrasive saws which cause rust and can void your warranty.
Step 3: Installing the Field and Hip Panels
Proper alignment and secure fastening are key to a weather-tight roof.
- Start at the Eave: Begin installation at the eave, working your way up the roof. It’s often wise to start on the least visible side of the house to perfect your technique.
- Square the First Panel: The first panel must be perfectly square to the eave with the correct overhang (typically 1 inch). This sets the alignment for the entire roof.
- Engage Panel Locks: Ensure the interlocking mechanisms of each panel are fully engaged. A rubber mallet can help seat standing seams without causing damage.
- Fasten Correctly: Use the manufacturer-specified screws and do not over-drive them. The screw head should sit just above the flange to allow for thermal expansion and contraction. For a visual demonstration, you can watch a video guide on installing a hip panel.
Step 4: Mastering the Details: Installing Hip Caps and Ridge Caps
The hip and ridge caps are the finishing touches that provide critical weather protection where roof planes meet.

- Install Closures: Place Z-closures or foam closures along the top edges of the panels at the hip line to create a base for the cap.
- Apply Sealant: Apply a continuous bead of butyl tape sealant to the Z-trim before attaching the hip cap. This is your primary defense against leaks at these joints.
- Prepare and Overlap Caps: Cut and bend the hip caps at the eave for a clean, finished edge. Overlap subsequent cap sections by at least 6 inches, sealing each overlap with butyl tape.
- Secure the Caps: Fasten hip caps with gasketed screws or pop rivets every 18 inches, ensuring they are installed straight and perpendicular to the roof surface. For more detail, see this detailed video on hip cap installation.
Common Mistakes to Avoid (And When to Call a Pro)
Even with careful planning, small mistakes when installing metal roofing on a hip roof can lead to major issues like leaks and panel damage. Knowing what pitfalls to avoid is key to a roof that lasts for decades.
Top Mistakes When Installing a Metal Hip Roof
Avoiding these common errors will protect your investment and ensure a professional result:
- Over-driving Screws: Driving screws too tightly crushes the washer and dimples the panel, breaking the watertight seal. Use a screw gun with a depth-sensing clutch to ensure every fastener is set perfectly.
- Angled Fasteners: Screws must be driven perpendicular to the roof surface. Angled fasteners create gaps for water and provide a weaker hold.
- Leaving Metal Shavings (Swarf): Tiny metal filings left on the roof will rust overnight, staining the panels and causing corrosion. Sweep or blow the roof clean at the end of each day.
- Improper Sealing: All seams, flashing, and penetrations must be thoroughly sealed with a high-quality sealant like butyl tape. Skimping on sealant is an invitation for leaks.
- Ignoring Manufacturer Guidelines: Every metal roofing system has specific installation requirements. Deviating from the manufacturer’s instructions can lead to roof failure and will likely void your warranty. Always review a detailed installation manual before you begin.
When to Seek Professional Help
While DIY projects can be rewarding, a metal hip roof is one of the most advanced roofing jobs. There is no shame in calling a professional. Consider hiring an expert if you encounter any of the following:
- Complex Roof Geometry: If your roof has multiple dormers, intersecting valleys, or other complex features, the difficulty increases exponentially.
- Steep Roof Pitch: Working on a roof with a pitch of 6/12 or steeper is extremely dangerous without proper training and specialized safety equipment.
- Lack of Safety Equipment: If you do not own or know how to properly use an OSHA-compliant fall protection system (harness, ropes, anchors), the risk of serious injury is too high.
- Time Constraints: A professional crew can complete an installation in days, whereas a DIY project can drag on for weeks, leaving your home exposed.
- Feeling Overwhelmed: If the project feels too complex, trust your instincts. The peace of mind from a professionally installed, warrantied roof is invaluable.
If you’re unsure about your roof’s condition or the project’s scope, we offer thorough roof inspection services to provide an expert assessment and honest recommendations.
Frequently Asked Questions about Hip Roof Metal Installation
Homeowners often have questions about the specifics of installing metal roofing on a hip roof. Here are answers to some of the most common inquiries we receive.
How does roof pitch affect hip cap installation?
Roof pitch directly determines the required angle of the hip cap. A steeper pitch requires a more acute (sharper) angle for the cap to fit snugly, while a lower pitch needs a wider angle. Using a cap that doesn’t match your roof’s pitch will result in gaps, an unprofessional wavy appearance, and a high risk of leaks. Always order or fabricate hip caps that are specifically designed for your roof’s exact pitch to ensure a tight, weather-resistant seal.
What is the best way to handle snow on a metal hip roof?
Metal roofs are excellent at shedding snow, which reduces the weight load on your structure. However, this can cause large sheets of snow and ice to slide off unexpectedly, posing a danger to people and property below. To prevent this, installing snow retention systems (snow guards) is essential, especially above entryways, walkways, and driveways. A hip roof’s design helps distribute snow load more evenly than a gable roof, but snow guards are still a critical safety feature in snowy climates.
How often does a metal hip roof need maintenance?
Metal roofs are known for being low-maintenance, but not no-maintenance. We recommend an annual inspection to ensure your roof’s longevity. During a check-up, you should:
- Look for and tighten any loose fasteners.
- Clear debris from valleys and gutters.
- Inspect sealant around flashing, pipe boots, and hip caps for any signs of degradation and re-seal if necessary.
- Check for any physical damage from storms or falling branches.
A simple annual review can catch small issues before they become costly problems, helping your metal hip roof last 50 years or more. To stay on track, you can download a roof maintenance checklist to guide your yearly inspection.
Your Partner for a Perfect Metal Hip Roof
Installing metal roofing on a hip roof is a complex project, but the result is a beautiful, durable roof that adds significant value and protection to your home. The combination of a hip roof’s inherent stability and metal’s longevity creates a superior roofing system, especially for withstanding the severe weather we experience in Pasadena, TX.
While this guide provides a comprehensive overview, the reality is that a flawless installation demands experience. The precision required for angle cuts, sealing seams, and fastening hip caps is what separates a professional job from a DIY project prone to leaks. One small error can compromise the entire system.
At 12 Stones Roofing & Construction, we have installed countless metal roofs on hip structures across the Gulf Coast. Our team has the specialized tools, safety training, and expertise to handle the intricate details and deliver a watertight, long-lasting roof. When you work with us, you get the peace of mind that comes with a professionally installed system backed by a solid warranty.
Ready to invest in a roof that will protect your home for decades? Contact us today for a free estimate on your metal roofing project!