Why Timing Matters When You Need to Fix a Leaking Roof Temporarily
When you find a leak, you must act fast to fix a leaking roof temporarily. Immediate steps include placing buckets under drips, moving furniture, and covering the exterior damage with a heavy-duty tarp. These emergency measures are crucial for preventing catastrophic water damage while you arrange for a professional roof repair.
Quick Temporary Fix Methods:
| Method | Lifespan | Best For |
|---|---|---|
| Professional Tarp | 60-90 days | Large damaged areas |
| Roofing Cement | 30-60 days | Flashing, small holes |
| Roofing Tape | 14-30 days | Cracks, gaps, attic application |
| Plastic Sheeting | 7-14 days | Emergency budget option |
Water damage escalates with terrifying speed. In Pasadena’s humid climate, mold can begin growing within 24 hours, and structural wood starts degrading within 48 hours. A small leak can quickly become a massive expense if ignored. At 12 Stones Roofing & Construction, we’ve seen how prompt, temporary fixes save homeowners from disaster. This guide will walk you through the critical steps to protect your property right now.

First Response: What to Do in the First 15 Minutes
When you find a roof leak, every minute counts. Before addressing the roof itself, your first priority is to control the damage inside your home. Taking these immediate actions can prevent costly interior repairs and protect your belongings.
- Contain the Water: Place buckets, pots, or other containers directly under drips. Use old towels to absorb any splashing and empty the containers frequently.
- Protect Valuables: Move furniture, electronics, and other valuables away from the leak. If items are too heavy, cover them with plastic sheeting. If water is near electrical outlets or fixtures, immediately turn off the power to the affected circuits at your breaker box.
- Relieve Ceiling Pressure (Carefully): A bulging or sagging ceiling indicates trapped water. To prevent a collapse, carefully puncture the center of the bulge with a screwdriver and place a large bucket underneath to catch the water.
- Document Everything: Take photos and videos of the leak and the resulting damage. This documentation is crucial for insurance claims.
- Start the Drying Process: Use fans and dehumidifiers to circulate air and dry the damp area. This is a critical step to prevent mold, which can start growing in as little as 24 hours.
These steps are about immediate damage control. They buy you precious time to safely attempt a temporary repair or call for professional help.
Safety First: Critical Precautions Before You Climb
Your safety is paramount. Attempting any roof repair is inherently dangerous, as falls are a leading cause of serious injury in construction. A dry floor is never worth a trip to the emergency room. Before you consider climbing a ladder, assess the situation and prioritize your well-being.
When NOT to Go on the Roof
- During a Storm: Never climb onto a roof during rain, high winds, or a lightning storm. Wet surfaces are extremely slippery.
- On Wet or Icy Surfaces: Even after a storm passes, wait for the roof to be completely dry.
- On a Steep Roof: Roofs with a steep pitch (greater than a 6:12 angle) require professional fall protection equipment.
- If You Lack Experience or a Spotter: If you are inexperienced or alone, call a professional. A spotter is essential for steadying the ladder and calling for help if needed.
- At Night or with Health Concerns: Do not work in the dark or if you have balance issues, vertigo, or other health problems.
Required Safety Equipment (If You Proceed)
If conditions are safe, use this essential gear:
- Non-Slip Footwear: Sturdy work boots with rubber soles provide the best grip.
- Safety Harness: A fall protection harness is non-negotiable for any roof with a noticeable pitch.
- Ladder Safety: Use a sturdy ladder that extends at least three feet above the roofline. Place it on level ground and have a spotter hold it. Maintain three points of contact when climbing.
- Gloves, Safety Glasses, and Hard Hat: Protect your hands, eyes, and head from debris and sharp materials.
Always test the roof’s stability before walking on it, and stay away from sagging areas or power lines. When in doubt, call a professional.

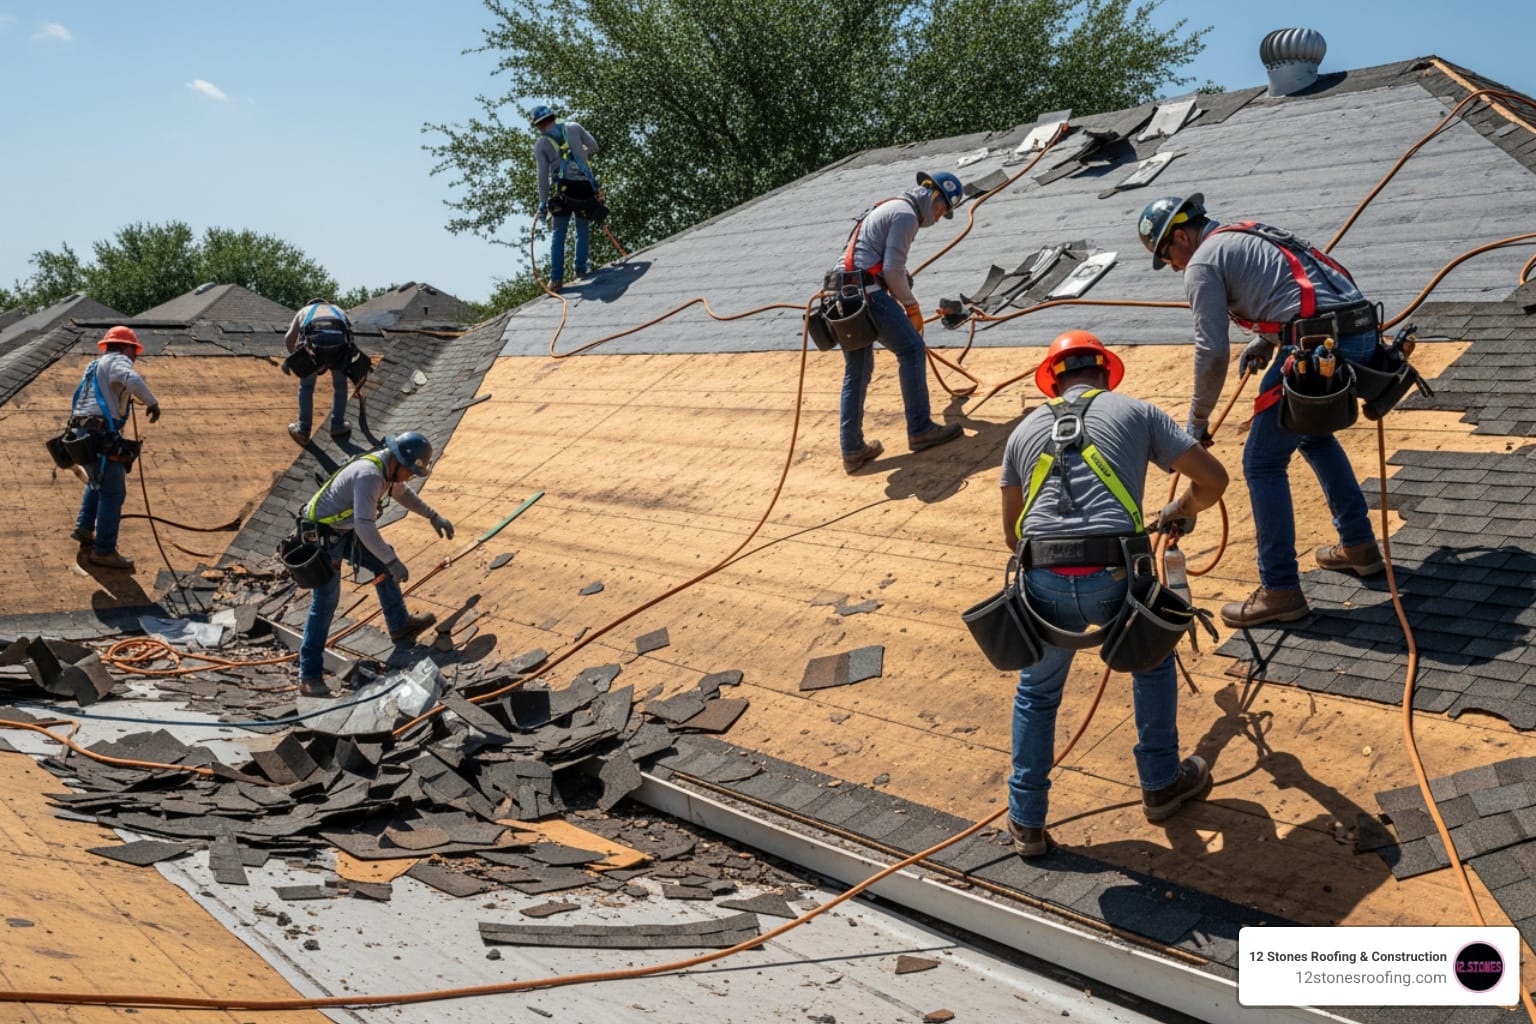
How to Fix a Leaking Roof Temporarily: 4 Effective Methods
Once you’ve controlled interior damage and confirmed it’s safe to work, you can apply a temporary exterior fix. These methods create a barrier to buy you time until a professional can perform a permanent repair. These are temporary “band-aids,” not long-term solutions.
Method 1: Roof Tarping (The Most Reliable Fix)
A properly installed, heavy-duty waterproof tarp is the most effective temporary solution, capable of protecting your home for 60-90 days. It’s ideal for large areas of damage.
Materials: Heavy-duty waterproof tarp, 2×4 wood boards, galvanized roofing nails, hammer, utility knife.
Steps for Installation:
- Prepare: Measure the damaged area and choose a tarp that extends at least 4 feet beyond the leak on all sides. Safely sweep away any debris.
- Position: Unfold the tarp over the damaged area. The top edge should go under the shingles above the leak to ensure water flows over the tarp.
- Secure with Anchor Boards: Do not nail directly through the tarp. Instead, roll the top edge of the tarp around a 2×4 board and nail the board to the roof deck. Repeat for the bottom and side edges to create a tight, secure cover that resists wind.
- Check for Tightness: Ensure the tarp is stretched taut to prevent wind from getting underneath it.
Professional installation is recommended for the most durable result. For more details, see our complete guide to roof tarping.

Method 2: Roofing Cement & Sealants
For small leaks like cracks in flashing or around vents, roofing cement provides a temporary waterproof seal that can last 30-60 days.
Materials: Roofing cement or exterior-grade roofing sealant, putty knife or caulking gun, wire brush, rags.
Steps for Application:
- Locate and Clean: Pinpoint the exact leak source. Use a wire brush to remove all dirt, debris, and old sealant. The surface must be completely clean and dry for proper adhesion.
- Apply Liberally: Use a putty knife to spread a thick layer of roofing cement over the crack or hole, extending at least 2 inches beyond the damage. If using a sealant, apply a continuous bead into the gap.
- Feather the Edges: Smooth the edges of the patch with your putty knife to help shed water.
- Allow to Cure: Let the patch cure for at least 24-48 hours, following the product’s instructions.
Method 3: How to fix a leaking roof temporarily with roofing tape
Waterproof roofing tape is a quick peel-and-stick solution for small cracks and punctures, often lasting 14-30 days. A key advantage is that it can sometimes be applied from inside the attic, which is a much safer option.
Materials: Waterproof roofing tape, utility knife, clean rags.
Steps for Application:
- Locate and Clean: Find the leak source. The surface must be clean, dry, and free of dust for the tape to stick.
- Cut and Apply: Cut a piece of tape large enough to extend 2-3 inches beyond the leak. Peel off the backing and press it down firmly, working from the center out to avoid air bubbles.
- Safer Attic Application: If you can see the leak from your attic (e.g., a nail hole), applying tape to the underside of the roof decking can stop drips into your living space. Ensure the wood is dry first.
- Press Firmly: Use a roller or your hand to press the tape securely, especially along the edges.
For more on this method, you can consult resources like this guide on patching roof leaks using roofing tape.
Method 4: Plastic Sheeting (A Budget-Friendly Option)
In an emergency, a thick sheet of polyethylene plastic (at least 6-mil) can serve as a temporary cover, though it is the least durable option, lasting only 7-14 days.
Materials: Heavy-gauge plastic sheeting, 2×4 boards or heavy objects (bricks, sandbags).
Steps for Application:
- Position: Cut the plastic so it extends several feet beyond the leak. Tuck the top edge under the shingles if possible.
- Secure: Do not nail the plastic directly. Use 2×4 boards along the edges (similar to the tarping method) or weigh it down with heavy, flat objects like bricks or sandbags.
This is a short-term fix that is highly susceptible to wind and UV damage. For more DIY options, you can consult resources like This Old House’s temporary solutions.
From Patch to Pro: When to Call for a Permanent Roof Repair
Temporary solutions are just that—temporary. They buy you time but don’t solve the underlying problem. Delaying a professional repair can turn a manageable leak into a disaster, as 80% of roofs fail prematurely due to unresolved issues. Don’t let a patch lull you into a false sense of security.
Signs Your Temporary Fix is Failing
- New or Worsening Drips: Water appearing in new spots or the original leak returning is a clear sign of failure.
- Visible Patch Damage: Look for torn tarps, cracked cement, or peeling tape.
- Musty Odors: This indicates mold growth, meaning moisture is still getting inside.
- Shifting Materials: If your tarp or plastic has been dislodged by wind, your roof is exposed again.
When a Leak is an Emergency
Some situations require immediate professional help, regardless of temporary fixes:
- Sagging Roof Deck: A sagging roof indicates structural damage and risk of collapse.
- Widespread Damage: Significant shingle loss or multiple leaks across the roof point to a systemic failure.
- Persistent Leaks: If temporary fixes repeatedly fail, you need an expert assessment.
The High Cost of Delay
Waiting for a permanent repair leads to severe consequences:
- Structural Rot: Moisture rots wood decking, rafters, and joists, compromising your home’s integrity.
- Mold and Mildew: In humid climates like Pasadena, mold can grow within 24-48 hours, posing health risks.
- Damaged Insulation and Interiors: Wet insulation is ineffective and breeds mold. Ceilings, walls, and floors can be ruined.
- Reduced Property Value: A history of leaks significantly decreases your home’s value.
A temporary fix is a critical first step, but the ultimate goal is a lasting solution. The team at 12 Stones Roofing & Construction can perform a thorough inspection and provide a permanent roof repair. For more on handling urgent issues, read our guide on when to get an emergency roof inspection.
Frequently Asked Questions about Temporary Roof Fixes
Here are answers to common questions about temporary roof leak solutions.
How long can a temporary roof leak fix last?
The lifespan depends on the method, damage severity, and weather:
- Professional Tarp: 60-90 days.
- Roofing Cement/Sealant: 30-60 days.
- Waterproof Roofing Tape: 14-30 days.
- Plastic Sheeting: 7-14 days.
None of these are permanent solutions. They are designed only to buy time.
Will my homeowner’s insurance cover a temporary fix?
Yes, most policies cover the cost of “emergency mitigation” to prevent further damage. This often includes professional tarping services. To ensure coverage, document all damage with photos before the fix, notify your insurer promptly, and keep all receipts for materials and services. For more details, check your policy or this Forbes guide on insurance coverage.
What are the most common mistakes to avoid when you fix a leaking roof temporarily?
- Working in Unsafe Conditions: Never work on a wet, windy, or icy roof, or without proper safety gear.
- Nailing Directly Through a Tarp: This creates new holes. Always use anchor boards.
- Using Inadequate Materials: Thin plastic or a small tarp won’t provide enough coverage or durability.
- Applying to a Dirty Surface: Sealants and tapes require a clean, dry surface to adhere properly.
- Delaying a Professional Repair: A temporary fix is not a substitute for a permanent solution. Waiting too long leads to more severe damage like mold and rot, which requires a professional roof repair for leaks.
Conclusion: Secure Your Home with a Lasting Repair
A temporary roof leak fix is a critical first step, but it is not a permanent solution. These measures are designed to buy you time and prevent a small leak from becoming a catastrophe while you arrange for a professional. The only way to truly protect your home is with a lasting repair that addresses the root cause of the leak and restores your roof’s integrity.
For homeowners in Pasadena, TX, and the surrounding areas, the expert team at 12 Stones Roofing & Construction provides reliable, high-quality roof repairs that stand up to Texas weather. We understand the urgency of a leaking roof and are committed to providing transparent, dependable service. Don’t wait for a temporary patch to fail—schedule your professional roof repair today. Our experienced professionals are ready to help you safeguard your home.