Why TPO Roof Maintenance RV Care Matters More Than You Think
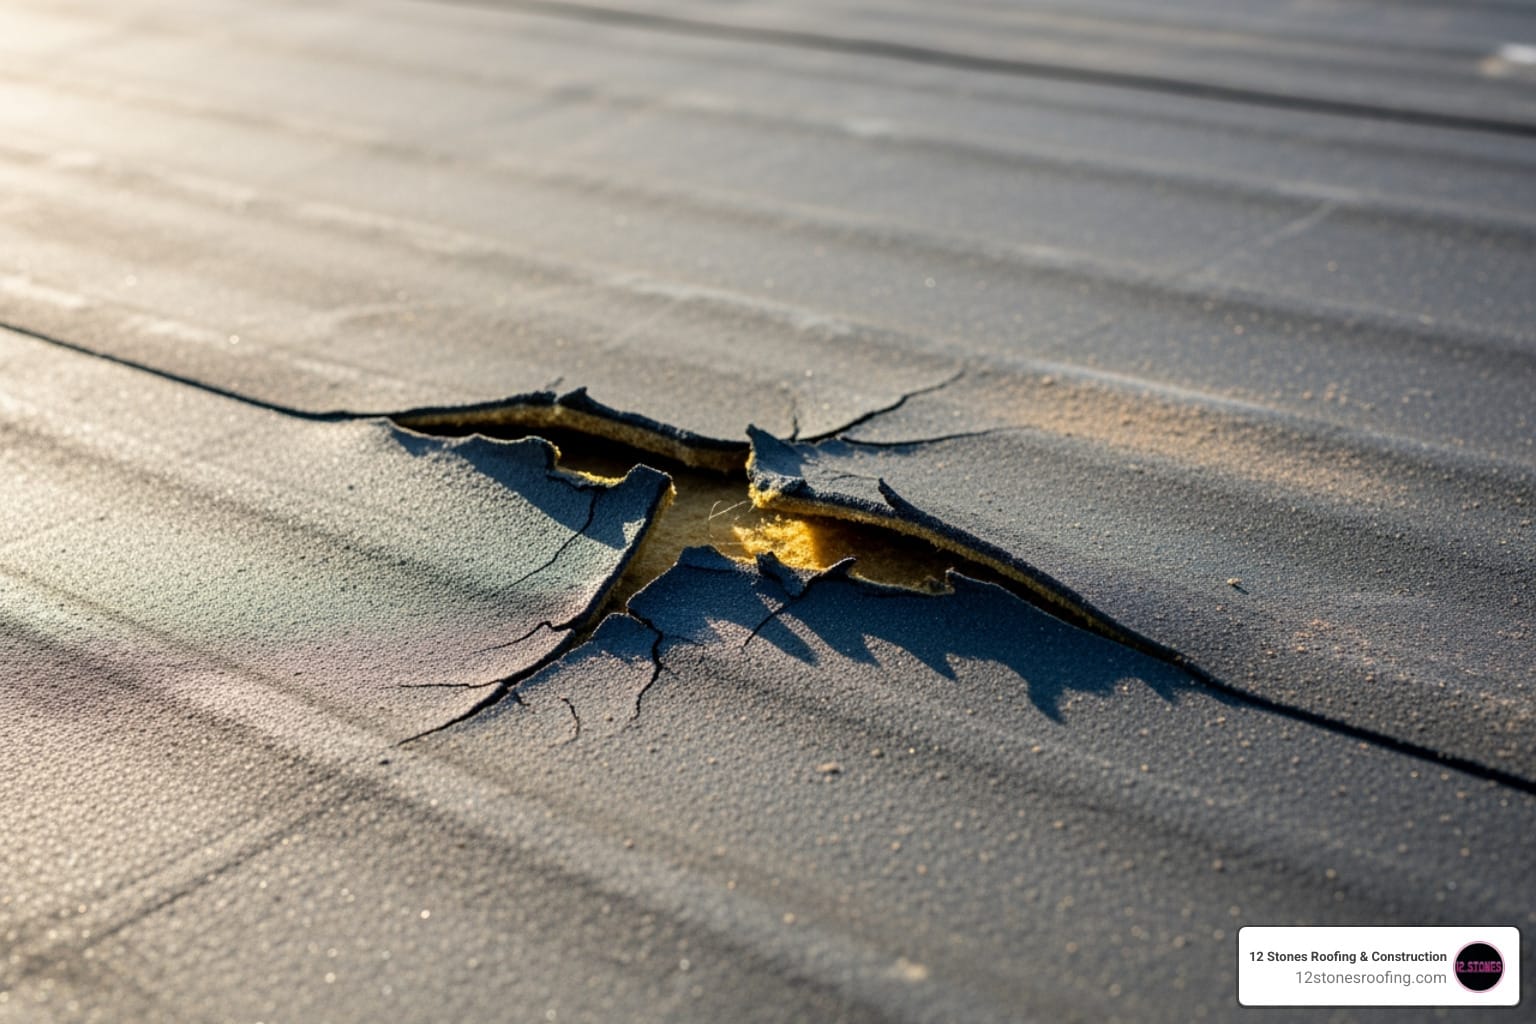
Your RV is your ticket to freedom, but that freedom depends on keeping water outside. Water damage is the leading cause of RV deterioration, and your TPO roof is the primary defense against Texas’s punishing sun and rain. While TPO roofs are durable and low-maintenance, neglecting them can lead to catastrophic damage from even a tiny crack in the sealant. Many owners mistakenly believe their TPO roofing is “maintenance-free,” but this only applies to the membrane itself; the seams and attachments require regular care.
TPO roof maintenance RV care is straightforward:
- Inspect quarterly: Check all seams, seals, and attachments for cracks or gaps.
- Clean twice yearly: Use a mild, non-abrasive detergent and a soft brush.
- Seal as needed: Reseal damaged caulking around vents and fixtures with a TPO-compatible sealant.
- Avoid harmful products: Steer clear of harsh chemicals, silicone, and petroleum-based cleaners.
Unlike EPDM rubber roofs, TPO resists UV rays and mold without special conditioners, but its attachments are vulnerable. A small leak can cause thousands in damage from wood rot and delamination—repairs insurance typically won’t cover. As TPO specialists in Pasadena, Texas, we’ve seen how simple, proactive care can prevent these costly issues. This guide provides everything you need to protect your investment.

Understanding Your RV’s TPO Roof: Benefits and Comparisons
Before diving into tpo roof maintenance rv practices, it helps to know why TPO (Thermal Poly Olefin) is a top choice for RVs, especially in harsh climates like Texas. This single-ply membrane has proven its worth since 1994.
Key benefits of TPO roofing include:
- Exceptional UV Resistance: TPO is engineered with UV protection additives throughout the material, not just on the surface. This provides ongoing defense against sun damage, extending the roof’s lifespan.
- Energy Efficiency: Its bright white, reflective surface deflects sunlight, keeping your RV cooler and reducing the strain on your air conditioner. As specialists in TPO roofing, we’ve seen this make a measurable difference in comfort and energy costs.
- Durability and Low Maintenance: TPO is highly resistant to punctures, tears, mold, and mildew. Unlike other materials, it doesn’t oxidize or create black streaks down your RV’s sides, simplifying cleaning.
- Flexibility: The material remains flexible across a wide range of temperatures, from freezing winters to scorching summers.
TPO vs. EPDM Roofing
Understanding the difference between TPO and EPDM, the other common RV roofing material, is key to proper maintenance.
- TPO (Thermal Poly Olefin): A hard, slick, non-porous surface that does not oxidize. Maintenance focuses on cleaning and inspecting sealants around attachments, not treating the membrane itself.
- EPDM (Ethylene Propylene Diene Monomer): A softer, rubber-like material that oxidizes over time, creating a chalky residue that causes black streaks. It often requires special conditioning treatments and is highly vulnerable to petroleum-based products.
While both materials are durable, TPO’s lower-maintenance profile and resistance to streaking make it a preferred choice for many RV owners. Its chemical resistance is also generally higher, though harsh chemicals should always be avoided on any roof.
The Essential TPO RV Roof Maintenance Checklist
Proactive maintenance is the key to protecting your RV from water damage, the number one cause of rot, mold, and costly structural issues, especially in the intense weather of Pasadena, TX. Following this checklist will significantly extend your roof’s life.

Step 1: Regular Inspection (Every 90 Days)
Inspect your TPO roof every 90 days to catch minor issues before they escalate. Focus on all attachments, seams, and edges.
- What to Look For: Check for cracks, shrinkage, or gaps in the sealant. Look for any punctures, tears, or peeling seams in the membrane. While TPO is mold-resistant, any discoloration could signal a moisture problem.
- Key Areas: Pay close attention to vents, AC units, antennas, skylights, and the roof’s perimeter, as these are common failure points.
The TPO membrane is durable, but the sealants around these fixtures are what require constant vigilance. For specific sealant product information, consulting a manufacturer like Dicor Corporation is a good practice.
Step 2: Proper Cleaning Methods for TPO RV Roof Maintenance
Clean your TPO roof at least twice a year—more often if you travel frequently or park under trees. Proper tpo roof maintenance rv cleaning involves these steps:
- Remove Debris: Use a soft broom or leaf blower to clear away loose leaves and dirt to prevent scratching.
- Pre-Rinse: Thoroughly rinse the roof with a garden hose or a low-pressure washer (under 2,000 PSI).
- Wash Gently: Use a mild, non-abrasive detergent like diluted Simple Green or a specialized TPO-safe RV roof cleaner. Apply with a soft-bristle brush or sponge mop in small sections.
- Rinse Thoroughly: Immediately rinse each section to remove all soap residue, which can degrade the TPO over time.
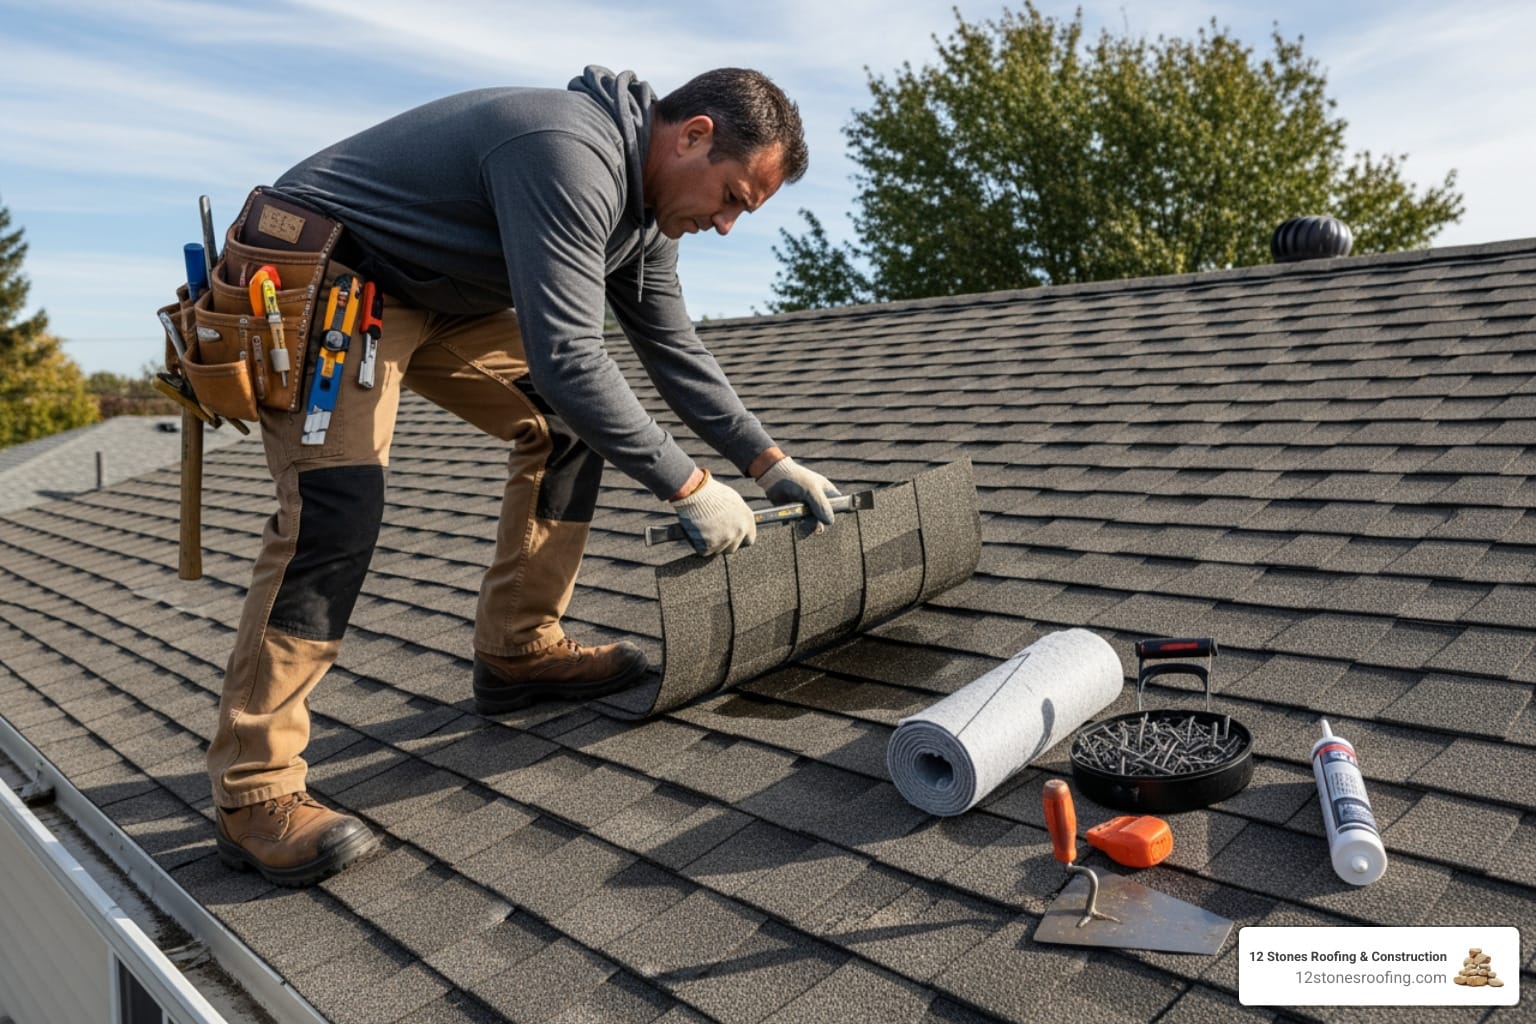
Step 3: Sealing and Caulking Best Practices for TPO RV Roof Maintenance
Maintaining the seals around attachments and seams is the most critical part of TPO roof care.
- Focus Areas: Seal around all vents, AC units, antennas, skylights, and roof edges.
- Resealing Process:
- Prep the Area: Carefully remove any old, cracked, or peeling caulk and thoroughly clean the surface to ensure proper adhesion.
- Apply Sealant: Use a TPO-compatible, self-leveling lap sealant. Never use silicone products, as they do not adhere well to TPO and can cause damage. Apply the sealant evenly and let it cure as directed.

Common TPO Roof Problems and DIY Solutions
Even with diligent tpo roof maintenance rv efforts, minor issues can arise. Knowing how to handle them can prevent costly service trips.
What to Do About Bubbles, Punctures, and Tears
- Bubbles: Small bubbles or waves in the TPO membrane are often cosmetic and caused by trapped air. Monitor them, but they are generally not a concern unless they grow significantly or appear to hold water.
- Minor Punctures and Tears: Small damage from branches or debris can often be fixed with a DIY approach. Use a quality TPO patch kit or specialized repair tape like EternaBond.
DIY Repair Steps:
- Clean Thoroughly: Use a TPO-safe cleaner to remove all dirt and grime from the damaged area. Proper adhesion depends on a clean surface.
- Prepare the Patch: Cut the patch or tape to extend at least two inches beyond the damage on all sides. Rounding the corners helps prevent peeling.
- Apply and Press: Peel the backing and press the patch firmly over the tear. Use a small roller to smooth it from the center outwards, removing any air bubbles.
- Seal the Edges: For extra protection, apply a thin bead of TPO-compatible self-leveling sealant around the patch’s edges.
Products and Treatments to AVOID on Your TPO Roof
Using the wrong product can cause permanent damage to your TPO membrane. Always avoid the following:
- Silicone Sealants: They do not adhere well to TPO long-term and prevent proper sealants from working later.
- Harsh Chemicals: Strong acids, alkalis, and industrial degreasers can break down the TPO material.
- Citrus-Based Cleaners: Many contain d-limonene, a solvent that can soften or degrade the membrane.
- Petroleum Distillates: Products containing petroleum or mineral oils can cause the TPO to swell and fail.
- Abrasives: Stiff brushes or abrasive powders can scratch and thin the membrane, reducing its lifespan.
These products lead to membrane degradation and adhesive failure, creating leaks. Always use products specifically labeled as “TPO-safe.”
When to Call a Professional for Your TPO Roof
While DIY is great for minor tpo roof maintenance rv tasks, some situations require professional expertise to prevent further damage.
Call a professional when you see:
- Extensive Damage: Large tears (more than a few inches), multiple punctures, or widespread membrane compromise are beyond a simple patch kit.
- Widespread Seam Failure: If multiple seams are lifting or separating, it indicates a systemic issue that requires specialized tools and techniques to fix correctly.
- Water Intrusion Inside the RV: Ceiling stains, damp walls, or a musty smell are urgent signs that your roof has already failed. Water can quickly cause wood rot, delamination, and mold, leading to expensive structural repairs.
- Significant Bulging: A large, squishy bulge indicates trapped moisture or delamination underneath the membrane, which needs immediate professional diagnosis.
- Brittle or Cracked Membrane: If the TPO material itself is becoming brittle or cracking, the roof may be at the end of its life. A professional can assess if repairs are viable or if a replacement is necessary.
A professional inspection offers peace of mind. At 12 Stones Roofing & Construction, our trained eyes spot subtle issues that can become major leaks. We understand the unique stresses the Pasadena, TX climate puts on RV roofs and use materials built to withstand Texas weather. Our expertise in Flat Roof Maintenance Services applies the same principles of proactive care to protect your investment. For complex repairs or an expert assessment, professional help is your best bet.
Frequently Asked Questions about TPO RV Roofs
Here are answers to common questions about tpo roof maintenance rv.
How does TPO roof maintenance differ from EPDM?
The primary difference lies in the material properties.
- TPO: A hard, slick thermoplastic that does not oxidize or require conditioning. Maintenance focuses on regular cleaning and inspecting/resealing seams and attachments. It is highly resistant to UV rays and chemicals.
- EPDM: A softer, rubber-like material that oxidizes over time, creating chalky runoff (black streaks). It often requires special conditioning treatments and is highly vulnerable to petroleum-based products, which can cause it to swell and degrade.
Essentially, TPO membrane care is simpler, while EPDM requires more specific treatments and product caution.
What happens if I neglect my TPO RV roof?
Neglecting tpo roof maintenance rv leads to sealant failure around vents and seams. This allows water intrusion, which is the number one cause of catastrophic RV damage. Consequences include:
- Delamination: Separation of wall and ceiling layers.
- Wood Rot: Structural damage to the RV’s frame.
- Mold Growth: Health hazards and unpleasant odors.
These repairs are extremely expensive and typically not covered by insurance, drastically reducing your RV’s value and lifespan.
Can I walk on my TPO RV roof?
Yes, most TPO RV roofs are designed to be walked on for maintenance. However, always consult your RV manufacturer’s manual for specific weight restrictions or guidelines. Exercise extreme caution, as the surface can be very slippery, especially when wet. Wear non-slip shoes and avoid stepping on skylights or vent covers.
Conclusion: Protect Your Investment with Proactive Care
Proactive tpo roof maintenance rv is the best way to protect your recreational vehicle and ensure countless future adventures. Safeguarding your investment comes down to a simple, consistent routine.
Remember these core pillars of TPO roof care:
- Inspect Quarterly: Every 90 days, check all seams and fixtures for cracks or gaps in the sealant.
- Clean Semi-Annually: Wash the roof at least twice a year with a mild, TPO-safe detergent to remove grime and maintain the membrane.
- Seal as Needed: Re-apply TPO-compatible lap sealant to any areas where the old sealant is failing. This is your number one defense against leaks.
This simple approach extends your roof’s lifespan, prevents devastating water damage, and protects your RV’s overall value. For complex repairs or when you need the peace of mind that comes with an expert assessment in the Pasadena, TX area, professional help is invaluable.
Don’t wait for a leak to ground your travels. Visit our site to learn more about our specialized TPO roofing services and how we can help keep your RV adventure-ready. Safe travels!