When Your Flat Roof Leaks: What to Do Right Now
A temporary fix for a flat roof leak should start with interior damage control, then a safe exterior patch or tarp. If you need a trusted team for flat roof repair and emergency response, start with 12 Stones Roofing & Construction. For most property owners in Pasadena and La Porte, the fastest stop-gap options are roofing cement with fiberglass mesh, peel-and-stick roofing tape for minor punctures, or a weighted tarp for larger openings.
| Method | Best For | Lasts |
|---|---|---|
| Roofing cement + fiberglass mesh | Small cracks, seam splits | 30-60 days |
| Peel-and-stick roofing tape | Minor punctures, dry conditions | 14-30 days |
| Heavy-duty tarp (6-8 mil), weighted with 2x4s or sandbags | Large damage areas | 60-90 days |
| Wet-patch roofing compound | Repairs in damp conditions | 30-60 days |
Act fast. Water damage escalates quickly. Mold can begin growing within 24 to 48 hours, and saturated drywall and insulation can deteriorate soon after. What starts as a small drip can turn into a major repair if it is not contained right away.
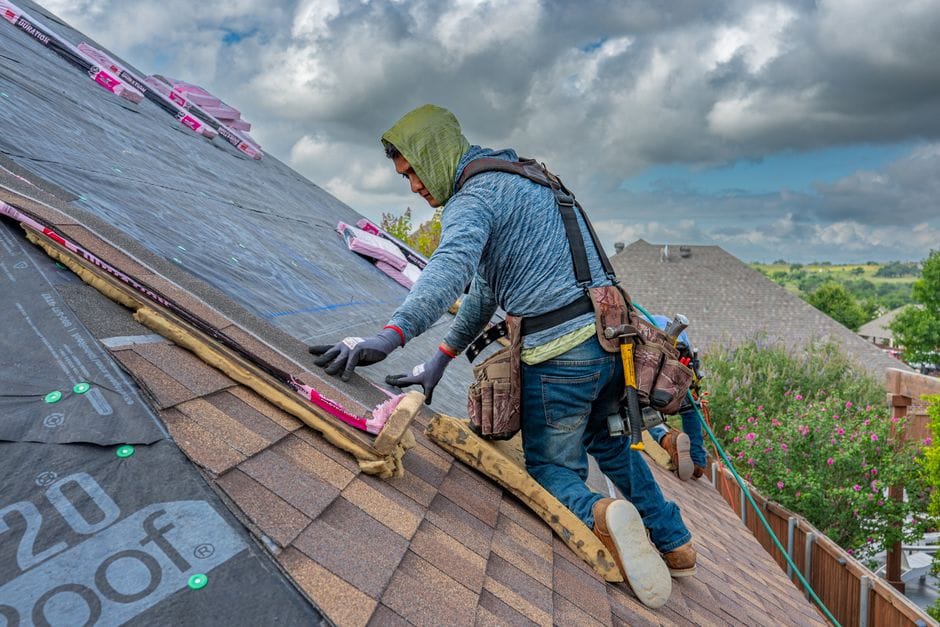
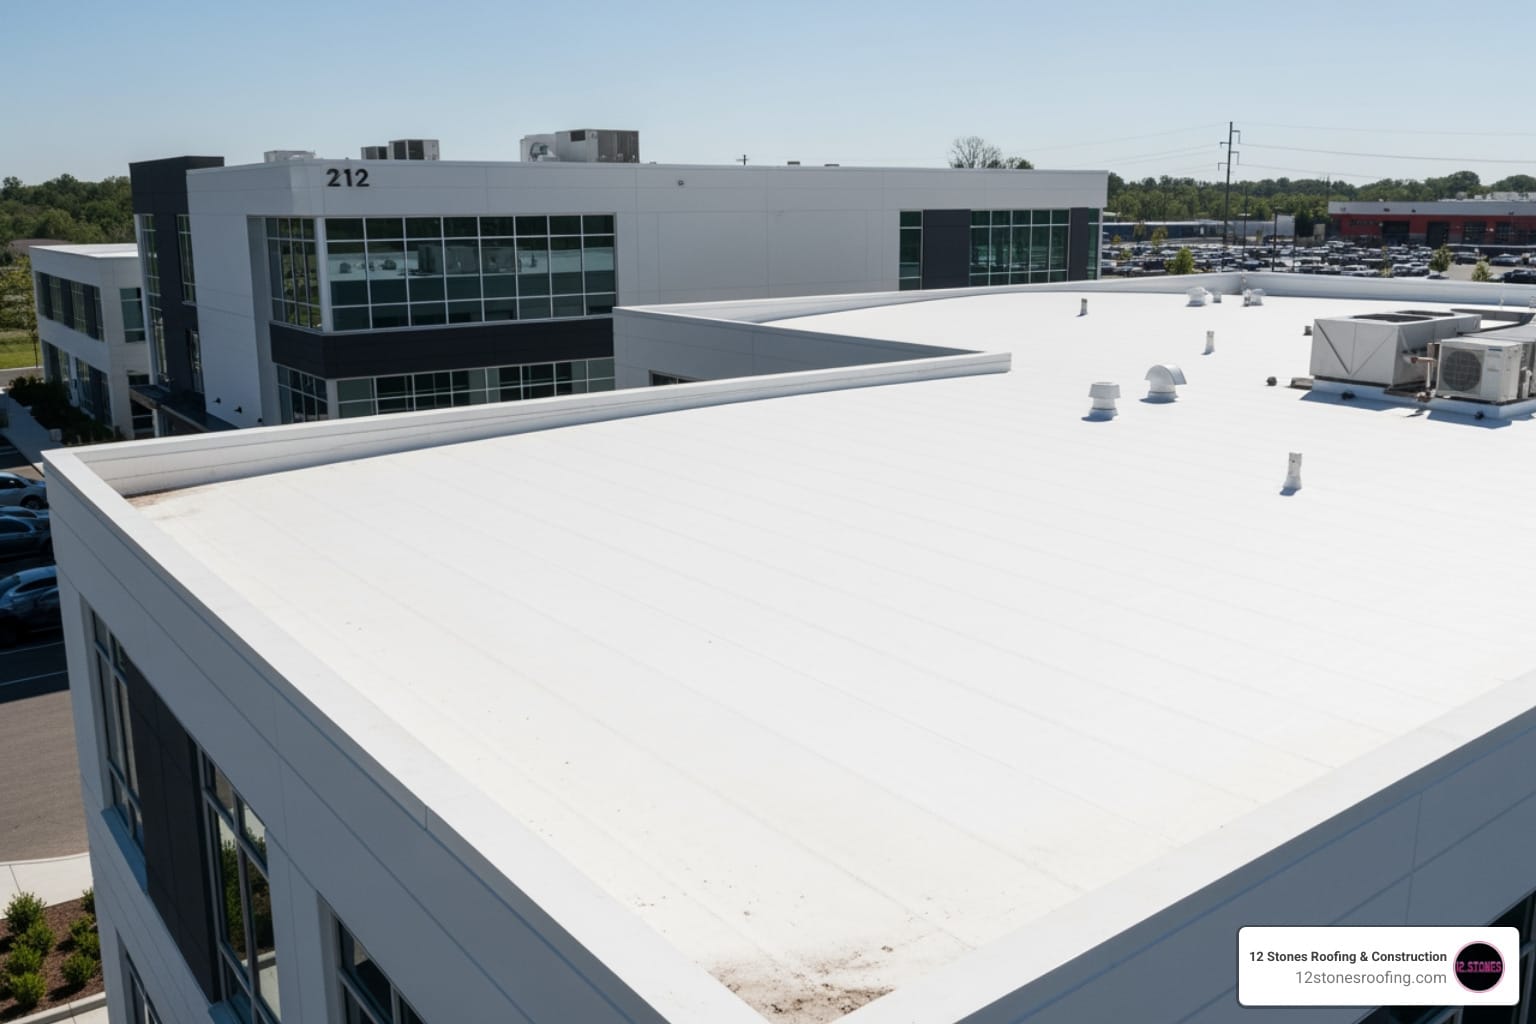
Water dripping through your ceiling during a Texas storm is one of the most stressful problems a property owner can face. As a trusted roofing contractor in Pasadena, we know flat roofs common on commercial buildings and many homes in the area are especially vulnerable because water can pond when drainage is interrupted. Unlike pitched roofs, flat roofs can hold standing water, so even a small crack or failed seam can let in a surprising amount of water.
The good news is that you can slow the damage while you wait for a professional repair. The steps are straightforward, and the right materials are available at most hardware stores. This guide explains what to do immediately, how to find the source safely, and which temporary methods are most likely to hold up in Gulf Coast weather.
I’m Jason Roberts, owner of 12 Stones Roofing & Construction, a Service-Disabled Veteran-Owned firm based in Pasadena, Texas. After more than a decade of roofing work across the Gulf Coast, I’ve responded to hundreds of flat roof emergencies and seen which temporary methods actually perform under real Texas heat, humidity, and wind.

Basic temporary fix flat roof leak vocab:
- fix a leaking roof temporarily
- roof leak emergency service
Immediate Interior Triage: Stopping the Damage Inside
Before you even think about grabbing a ladder, you must address the water already inside your home or business. In the humid climate of Pasadena and La Porte, mold can begin to colonize within 24 to 48 hours. A $500 roof leak can easily spiral into a $50,000 structural and mold remediation disaster if the interior isn’t managed immediately.

1. Contain the Flow Place buckets or plastic bins under every drip. If the water is splashing out, place an old towel at the bottom of the bucket to deaden the impact and soak up the spray.
2. Relieve Ceiling Pressure If you see a bulge in your drywall or a “bubble” in the paint, water is pooling behind it. Use a screwdriver or a small drill bit to puncture a hole in the center of the bulge. This might seem counterintuitive, but it allows the water to drain into your bucket in a controlled manner rather than letting the weight of the water collapse the entire ceiling section.
3. Protect Valuables and Electronics Move furniture, electronics, and rugs away from the leak area. If items are too heavy to move, cover them with plastic sheeting or trash bags.
4. Safety First: Electricity If water is leaking near light fixtures, outlets, or your electrical panel, turn off the power to that circuit at the breaker box immediately. Never touch a wet light switch.
5. Start the Drying Process Once the drip is contained, use a dehumidifier and high-powered fans to circulate air. This is critical for quick roof leak repair because it lowers the moisture levels that mold needs to thrive.
How to Safely Identify the Source of a Leak
Finding the entry point on a flat roof is often harder than on a sloped roof. Water rarely drips straight down; it can travel 10 feet or more along a support beam before finally showing up on your ceiling.
Safety Gear and Precautions
Roofing is dangerous. Falls are the #1 cause of death in construction, and even a flat roof can be treacherous when wet.
- Wait for the rain to stop: Never go onto a roof during a lightning storm or high winds.
- Proper Footwear: Wear rubber-soled, non-slip shoes.
- The Buddy System: Always have a spotter on the ground who knows you are on the roof.
- Ladder Safety: Ensure your ladder extends at least 3 feet above the roof edge and is secured on level ground.
Pinpointing the Source for a Temporary Fix Flat Roof Leak
Once you are safely on the roof, look for these common culprits:
- Ponding Water: Areas where water sits for more than 48 hours after rain. These spots put immense pressure on the roof membrane.
- Membrane Seams: On EPDM (rubber) or TPO roofs, the seams are the most common failure point. Look for edges that are curling or “fish-mouthing.”
- Flashing and Penetrations: Check the metal stripping around the edges and the seals around HVAC units, vents, and pipes. These are high-traffic areas for leaks.
- The Hose Test: If the roof is dry and you still can’t find the leak, have a helper stay inside while you run a garden hose over specific sections of the roof, starting at the lowest point and working up.
Understanding your flat roof material types helps here. For instance, a built-up (tar and gravel) roof leak might be hidden under loose stones, while a TPO leak might be a tiny puncture from a fallen branch.
Essential Materials for a Temporary Fix Flat Roof Leak
You don’t need a truckload of professional equipment for a stop-gap measure, but you do need the right chemistry. Using the wrong tape or sealant can actually damage your roof membrane further.
| Material | Use Case | Pros | Cons |
|---|---|---|---|
| Roofing Tape | Small holes/TPO seams | Instant seal, clean | Won’t stick to wet surfaces |
| Roofing Cement | Cracks, flashing, EPDM | Very durable, cheap | Messy, requires a trowel |
| Wet-Patch | Emergency rain repairs | Works underwater | More expensive than dry cement |
| 6-mil Tarp | Large-scale damage | Covers large area | Vulnerable to wind lift |
The DIY Emergency Kit List:
- Sealant: A gallon of “Wet-Patch” roofing cement or specialized roofing tape.
- Reinforcement: Fiberglass mesh (often called “yellow jacket”) to strengthen the cement.
- Tools: A stiff putty knife or trowel, a utility knife, and a caulking gun.
- Cleaning: A wire brush and rags to prep the surface.
- Tarping Supplies: A heavy-duty tarp (at least 6-mil thick), 2×4 lumber, and sandbags.
For more detailed tool recommendations, see our guide on temporary roof leak fixes.
Step-by-Step Guide: Applying a Temporary Patch
A temporary fix flat roof leak patch only works if it bonds to the roof. Most DIY failures happen because the area wasn’t cleaned properly.
Step 1: Surface Preparation
Clear away all debris, gravel, and standing water from the leak site. Use your wire brush to scrub the area. If you are using standard roofing cement, the area must be bone dry. If you are using a “wet-patch” product, you can apply it while damp, but it still performs better if you can towel-dry the area first.
Step 2: Apply the First Layer of Cement
Using a trowel or putty knife, spread a layer of roofing cement over the leak. Extend the cement at least 6 inches beyond the actual hole or crack in all directions. This creates a wide margin of safety against water traveling under the patch.
Step 3: Embed the Mesh
For a long-lasting quick roof leak repair, cut a piece of fiberglass mesh and press it into the wet cement. This acts like rebar in concrete, preventing the patch from cracking as the roof expands and contracts in the Texas heat.
Step 4: The Top Coat
Apply a second layer of roofing cement over the mesh until it is completely covered. Smooth the edges so water can run off the patch rather than damming up against it.
Applying a Temporary Fix Flat Roof Leak Patch Using Tape
If you are using peel-and-stick roofing tape:
- Clean the area with a solvent (like rubbing alcohol) to remove oils.
- Cut the tape to size, ensuring at least 3 inches of overlap.
- Press firmly from the center out to remove air bubbles. This creates a weather-tight emergency leak solution.
Securing a Tarp on a Flat Roof Without Nailing
If the damage is extensive, such as a large tear from a fallen limb or a membrane blow-off, a patch will not be enough. You need a tarp. On flat roofs, avoid nailing through the tarp into the roof deck when possible because every fastener creates another potential leak point.
The Sandwich Method:
- Overlap: Use a tarp that is significantly larger than the damaged area. Aim for at least a 4-foot overlap on all sides.
- Battens: Lay 2×4 lumber along the edges of the tarp.
- Weight: Use sandbags or water bladders to weigh down the 2x4s. Do not use bricks or cinder blocks, because sharp edges can puncture the roof membrane.
- Perimeter: Make sure the tarp edges are tucked or weighted so wind cannot get underneath. Wind lift is the main reason emergency tarps fail during storms.
For a deeper dive into this process, check out our complete guide to roof tarping.
Insurance, Documentation, and Professional Transition
Once the “emergency” is under control, your focus must shift to the permanent solution.
1. Document Everything Before you apply a single patch, take photos and videos of the damage from both the inside and the outside. This is vital for your insurance claim. Insurance companies require you to perform “emergency mitigation” (like tarping) to prevent further damage, but they need to see the original problem to pay out.
2. Notify Your Agent Call your insurance company within 24 to 48 hours. Most policies have a strict window for reporting storm-related damage.
3. Professional Assessment A temporary fix flat roof leak is just that—temporary. Even a well-applied patch will eventually fail due to UV exposure and thermal expansion. We recommend a full structural assessment to ensure water hasn’t compromised the insulation or the decking underneath. Regular flat roof maintenance can prevent these emergencies from happening in the first place.
Frequently Asked Questions about Flat Roof Leaks
How long will a temporary flat roof fix last?
It depends on the method and the weather.
- Tarps: 60-90 days, provided they are weighted correctly.
- Roofing Cement/Wet-Patch: 30-60 days.
- Roofing Tape: 14-30 days (it tends to peel in high heat).
- Liquid Rubber: Some high-quality coatings can last 1-2 seasons, but they are more of a semi-permanent repair.
Will insurance cover my temporary roof repairs?
Generally, yes. Most homeowner and commercial policies cover the cost of materials and labor for emergency mitigation. Keep your receipts for the tarp, cement, and any professional emergency service fees.
When should I stop DIY fixes and call a pro?
You should call a professional roof repair team immediately if:
- You have multiple leaks in different areas.
- The roof deck feels “spongy” or sags when you walk on it (this indicates structural rot).
- The leak is near a major electrical hub.
- Your building is more than two stories tall.
Conclusion
A leaking flat roof is a race against time. By following this guide, you can reduce interior damage, buy time for a proper repair, and avoid turning a manageable leak into a major restoration project. Prioritize safety, document the damage for insurance, and use temporary materials only as a short-term stop-gap.
At 12 Stones Roofing & Construction, we help Pasadena and La Porte property owners protect their homes and commercial buildings from Texas weather with transparent recommendations and professional workmanship. Whether you need emergency leak control or a long-term roofing plan, our team is ready to help.
Do not let a small drip become a disaster. If you are in the area and need a local expert, contact the best Pasadena roofers near me.
Schedule a Professional Roof Repair Today
Call for immediate assistance: (713) 715-7663