That Sinking Feeling: Why a Temporary Ceiling Leak Fix Can Save Thousands in Damage
A temporary ceiling leak fix is your first line of defense against escalating water damage. The average water damage claim in the U.S. costs over $11,000, and roof-related leaks account for a significant share of those losses. Homeowners who act within the first hour of noticing a leak reduce the scope of damage by as much as 40%, according to restoration industry estimates. If you need fast, professional help beyond DIY measures, 12 Stones Roofing provides full-service, emergency-ready roof repair services throughout the Gulf Coast.
Here’s what to do in the next 15 minutes:
- Contain the water – Place buckets under drips and lay down towels to protect floors
- Relieve pressure – If the ceiling is bulging, carefully puncture it with a screwdriver to drain water into a bucket
- Find the source – Check the attic for water trails, inspect the roof for damage, or look for leaky pipes
- Dry everything – Use fans and dehumidifiers immediately—mold can start growing within 24-48 hours
- Call a professional – A temporary fix buys you time, but you need a permanent solution fast
Few feelings are worse than looking up and seeing a water stain spreading across your ceiling—or worse, watching water drip onto your floor. Your mind races: Where is it coming from? How bad is the damage? How much will this cost?
The clock is ticking. Water damage can spread up to 1 foot per day, and what starts as a small drip can quickly turn into rotted insulation, damaged drywall, ruined belongings, and dangerous mold growth. A ceiling leak isn’t just an inconvenience—it’s a genuine emergency that demands immediate action.
But here’s the good news: you can take control of the situation right now. A temporary ceiling leak fix won’t solve the underlying problem, but it will stop the bleeding, protect your home from further damage, and give you the breathing room to arrange a proper, professional roof repair without panic.
This guide walks you through the exact steps to contain the leak, identify its source, apply quick DIY fixes, and prevent secondary damage like mold. You’ll learn what you can safely handle yourself and when it’s time to call in the experts.
I’m Jason Roberts, owner of 12 Stones Roofing & Construction in Pasadena, Texas. Over the past decade, I’ve helped hundreds of Gulf Coast property owners steer emergency roof situations, and I’ve seen how a smart temporary ceiling leak fix can prevent thousands of dollars in additional damage while you wait for professional help.

Step 1: Immediate Damage Control in the First 15 Minutes
The moment you spot a ceiling leak, our first priority is always to minimize the immediate impact. Think of it as triage for your home. Every minute counts, as water damage can spread rapidly, affecting everything from your furniture to your electrical systems.

Here’s how to spring into action:
- Move Furniture and Valuables: Quickly clear the area directly beneath and around the leak. Move furniture, electronics, rugs, and anything else you value. Water travels, and even a small drip can create a surprisingly wide splash zone.
- Place Buckets or Containers: Grab every bucket, pot, or large container you can find and place them directly under the drip. If there are multiple drips, you’ll need multiple containers. This simple act prevents water from pooling on your floors, which can lead to warping, staining, and subfloor damage. Lay down old towels or rags around the containers to absorb any splashes or overflow.
- Relieve Water Pressure (If Necessary): This step is crucial if you notice your ceiling bulging or sagging, which indicates a significant accumulation of water above the drywall. If left unaddressed, this can lead to a sudden, uncontrolled collapse of the ceiling, causing even more damage and potentially injury.
- The Screwdriver or Awl Method: Carefully, using a sturdy ladder, poke a small hole (about the size of a pencil) at the center of the bulge with a screwdriver or awl. This creates a controlled exit point for the water, allowing it to drain into your waiting bucket rather than bursting unpredictably. Be prepared for a rush of water!
- Why a Controlled Drain? This technique prevents a larger, messier collapse and helps you contain the water more effectively. It also gives us a better idea of the volume of water involved, which can be a clue to the leak’s severity.
- Turn Off Electricity: If the leak is near any electrical fixtures—like ceiling lights, fans, or outlets—it’s paramount to turn off the power to that area immediately. Water and electricity are a deadly combination. Head to your home’s main electrical panel (breaker box) and switch off the breaker corresponding to the affected room or fixture. If you’re unsure which breaker it is, it’s safer to switch off the main power to your entire home until the situation is assessed. This prevents electrical shorts, fires, and electrocution hazards.
These immediate steps are your first line of defense, buying you precious time and preventing further damage. This is the first step before any extensive water damage repair can begin.
Step 2: Playing Detective to Find the Leak’s Source
Once you’ve contained the immediate flow, the next critical step for any temporary ceiling leak fix is to identify where that pesky water is coming from. A temporary ceiling leak fix is only truly effective if you address the source, even if temporarily. Without knowing the origin, you’re just catching drips, not stopping them.
Common culprits behind ceiling leaks include:
- Plumbing Issues: Leaky pipes, faulty connections, or overflowing fixtures in an upstairs bathroom, kitchen, or laundry room are frequent offenders. Even a small drip from a supply line or a slow leak from a drain can eventually saturate your ceiling.
- HVAC Condensation Lines: Your air conditioning unit generates condensation, which is typically drained away. If this drain line gets clogged or develops a crack, water can back up and overflow into your ceiling.
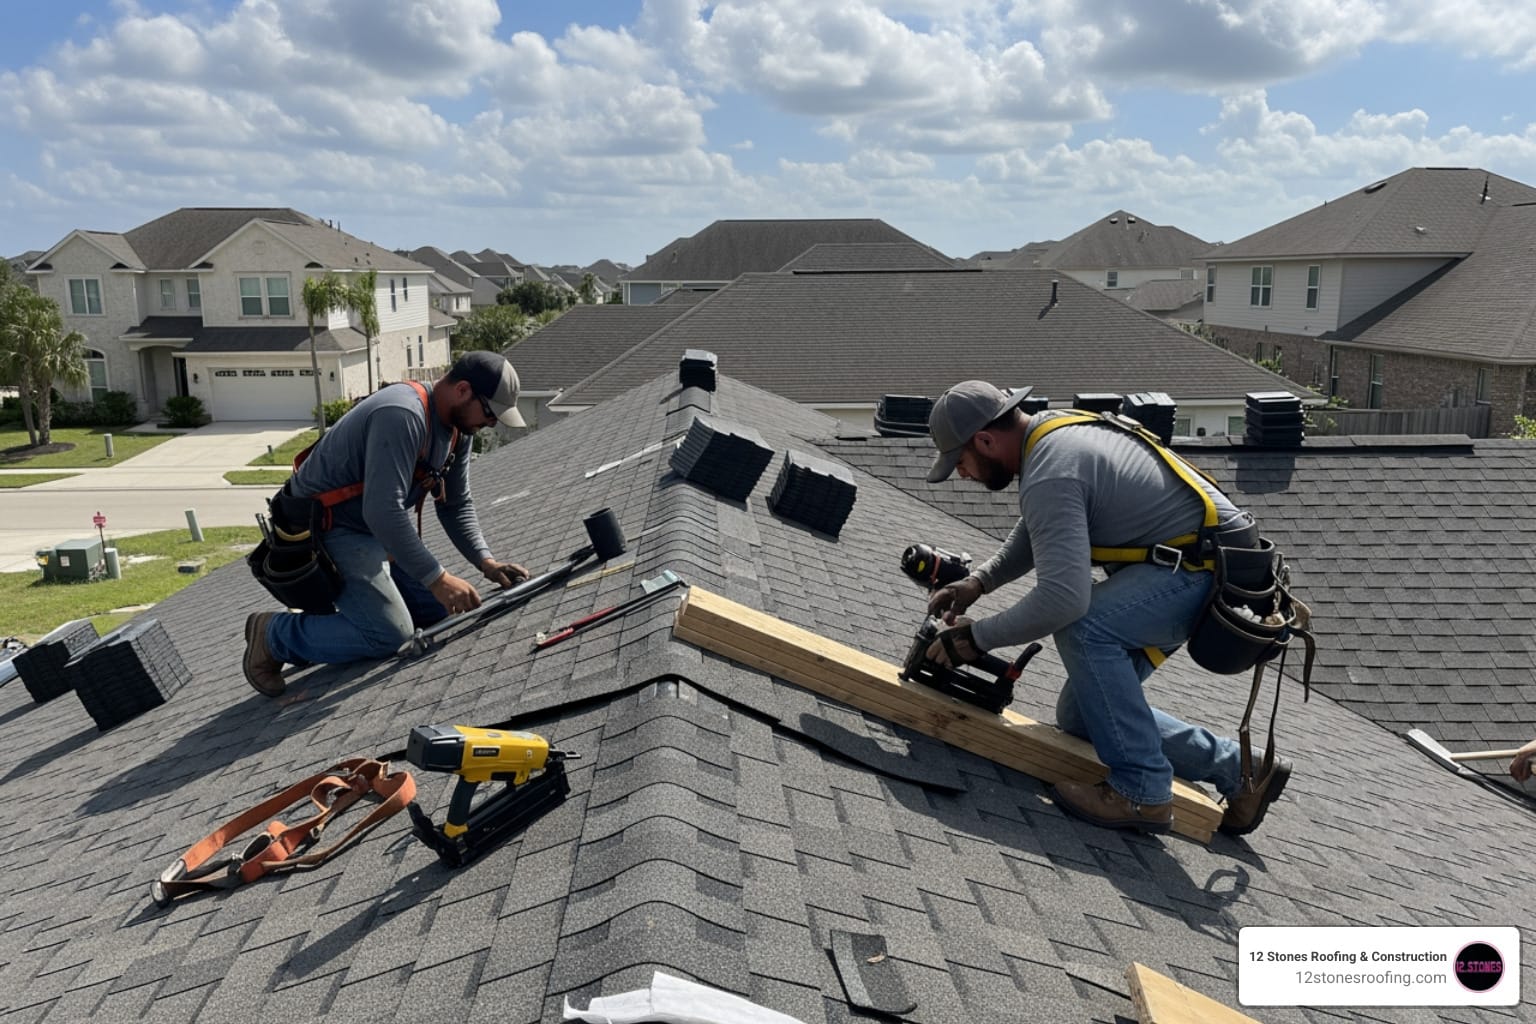
- Roof Damage from Rain: This is a big one, especially here in Pasadena, TX, where we experience our fair share of severe weather. Damaged shingles, compromised flashing around vents or chimneys, or even clogged gutters can allow rainwater to penetrate your roof deck and trickle down into your home. For more on this, check out our guide on roof damage from rain.
Our primary method for tracking down the source starts in the attic. If you have attic access, grab a flashlight and prepare for some detective work:
- Attic Inspection: Carefully and safely enter your attic. Look for signs of moisture on the underside of your roof decking, insulation, and wooden joists.
- Flashlight Power: A bright flashlight is your best friend. Shine it across the surfaces to highlight any wet spots, water trails, or dark stains.
- Water Trails: Water often leaves a distinct trail as it flows. Follow these trails upward, as they typically lead directly to the entry point.
- Dark Stains: Look for discoloration on the wood, insulation, or even the back of your drywall. These are clear indicators of past or present water intrusion.
- Insulation Check: Wet or matted insulation is a huge red flag. It absorbs water, making it heavy and ineffective, and can be a breeding ground for mold.
- Tracing Water from the Stain Upwards: The visible stain on your ceiling isn’t always directly below the actual leak point. Water can travel along beams, rafters, and the underside of your roof deck before it finally finds a spot to drip through your ceiling. Think of it like a river flowing downhill. By tracing the water’s path upwards from where you see the stain, you have a much better chance of finding the true source.
How to Pinpoint a Roof Leak
If your attic inspection or the location of the leak suggests a roof issue, the next step is an exterior inspection.
- Exterior Inspection from the Ground: For safety, always start by inspecting your roof from the ground using binoculars. Look for:
- Missing or Damaged Shingles: High winds common in Texas can lift, curl, crack, or completely remove shingles, creating direct entry points for water.
- Damaged Flashing: Flashing is the metal or rubber material installed around chimneys, vents, skylights, and roof valleys to create a watertight seal. If it’s bent, cracked, or corroded, it can allow water to seep in.
- Vents and Pipes: Check the seals around any roof vents, plumbing pipes, or exhaust fans that penetrate the roof. These are common areas for leaks if the sealant fails.
- Performing a Water Test (Caution Advised): If the leak is intermittent (e.g., only during heavy rain) and you’re struggling to find the source, a controlled water test can help, but it requires patience and a helper.
- Garden Hose Method: Have a helper on the roof with a garden hose while you’re inside in the attic (or observing the ceiling stain). Start by running water over the lowest suspected area of the roof. Work your way up, section by section, gradually moving the hose.
- Isolating Sections: Isolate specific areas, like a chimney flashing or a roof valley, and soak them for several minutes. When the leak appears inside, you’ve found your general area. This method helps us pinpoint if you need a quick roof leak repair.
Safety first! Never go onto a wet or steep roof, especially alone. If you’re uncomfortable or unsure, it’s always best to call a professional.
Step 3: Your Guide to a DIY Temporary Ceiling Leak Fix
Once you’ve identified the general area of the leak, it’s time to apply a temporary ceiling leak fix. These measures are designed to stop the immediate flow of water and prevent further damage to your home and belongings until a professional can perform a permanent repair. It’s crucial to understand that these are not long-term solutions, but rather a way to buy you time and peace of mind.

Applying a Temporary Roof Patch
If the leak is originating from your roof, a temporary patch can be incredibly effective. This method is best for buying time after a storm or before a scheduled repair.
Here’s what you’ll need:
- Heavy-duty tarp: Large enough to cover the damaged area and extend beyond it.
- 2x4s or weights: To secure the tarp.
- Roofing tape or roofing cement: For smaller, localized repairs.
- Utility knife: To cut materials.
- Gloves: For protection.
- Sturdy ladder: For safe access (only if the roof is dry and safe to walk on).
The Tarp Method:
- Safety First: If it’s actively raining, windy, or your roof is steep or unsafe, do not attempt this yourself. Wait for conditions to improve or call for emergency services like ours.
- Covering the Leak Source: Once it’s safe, carefully access the roof. Locate the source of the leak (e.g., missing shingles, a hole). Unroll your heavy-duty plastic tarp and position it over the damaged area, ensuring it extends several feet beyond the leak in all directions, especially uphill. The tarp should be stretched tight.
- Securing the Tarp: To prevent the tarp from blowing away, secure its edges. You can use 2x4s by nailing them through the tarp and into the roof framing (if accessible and you know where the framing is, otherwise be cautious not to create new holes). A safer method is to place 2x4s along the edges of the tarp and weigh them down with heavy objects like bricks or sandbags. This creates a secure, temporary barrier.
Using Roofing Tape or Cement:
For smaller cracks or holes in shingles that don’t warrant a full tarp, roofing tape or cement can provide a quick seal.
- Clean the Area: Ensure the area around the crack or hole is clean and dry.
- Apply to Cracks or Holes: If using roofing tape, apply it directly over the crack, pressing firmly to ensure a watertight seal. If using roofing cement, apply a generous bead over the crack and spread it with a putty knife.
- Check for Adhesion: Make sure the tape or cement adheres completely to the surrounding roof material.
For a more detailed guide on protecting your roof from the elements, see our post on roof tarping.
Your Interior Temporary Ceiling Leak Fix
Sometimes, the leak is minor, or you can’t safely access the roof. In these cases, an interior temporary ceiling leak fix can contain the water and prevent extensive damage to your living space.
- Using Plastic Sheeting: If water is dripping from a larger area, or if you’ve poked a drainage hole as described earlier, you can create a funnel system.
- Tape Plastic Sheeting: Tape a large piece of plastic sheeting (like a trash bag or painter’s plastic) to the ceiling around the leak, ensuring it’s slightly sloped towards the center.
- Form a Funnel: Gather the plastic sheeting at the lowest point, forming a makeshift funnel.
- Direct to a Bucket: Place a bucket directly underneath this funnel to catch the water.
- Using a Pin and String: This clever trick helps manage persistent drips.
- Poke a Pin: If you have a steady drip, carefully poke a small pin or nail into the exact spot where the water is dripping from the ceiling.
- Attach a String: Tie a piece of string around the pin, letting the string hang down into a bucket placed below. The water will follow the path of least resistance—down the string—and drip cleanly into the bucket, minimizing splashes and noise. This method contains the water inside while you wait for a reputable roof repair company in Pasadena to arrive.
These are stop-gap measures. They are designed to prevent further damage and give you breathing room, not to permanently solve the problem.
Step 4: After the Drip Stops — Drying Out and Preventing Mold
Once you’ve successfully implemented a temporary ceiling leak fix and the immediate dripping has stopped, our next critical step is to thoroughly dry out the affected area. This isn’t just about making things look tidy; it’s about preventing a whole new set of costly and unhealthy problems.
The Risks of Lingering Moisture:
Even if the visible water is gone, moisture can linger in hidden areas, leading to severe consequences:
- Mold Growth: This is perhaps the most urgent concern. Mold can begin growing within 24-48 hours in any moist environment. Once it takes hold, it can spread rapidly, causing musty odors, damaging building materials, and posing significant health risks, especially for those with allergies or respiratory issues.
- Structural Rot: Persistent moisture can lead to wood rot in ceiling joists, rafters, and the roof deck. This compromises the structural integrity of your home, potentially leading to sagging ceilings or even collapses over time.
- Damaged Insulation: Wet insulation loses its effectiveness and becomes a breeding ground for mold. It needs to be replaced to maintain your home’s energy efficiency and prevent further issues.
- Electrical Hazards: If water has seeped into electrical wiring or fixtures, it can cause corrosion, short circuits, and fire hazards. Even after the leak stops, residual moisture can be dangerous.
How to Dry the Area:
Our goal is to create an environment where moisture cannot survive.
- Fans and Dehumidifiers: These are your best friends for drying out a wet area.
- Fans: Position powerful fans to circulate air directly over the wet ceiling and surrounding walls. This promotes evaporation.
- Dehumidifiers: Place a dehumidifier in the room to pull moisture out of the air. Empty its reservoir regularly. For significant water intrusion, you might need to rent industrial-strength equipment.
- Opening Windows: If weather permits, opening windows can create cross-ventilation, helping to exchange moist air with drier outdoor air.
- Removing Wet Materials: If insulation, drywall, or ceiling tiles are visibly saturated and cannot be thoroughly dried in place, they must be removed. This is often necessary to prevent mold from growing unseen behind surfaces. While this might seem drastic, it’s often the safest and most effective way to ensure complete drying.
For comprehensive information on mold prevention and how moisture affects your home, we strongly recommend referring to the EPA’s guide on moisture and your home. Addressing moisture quickly is a proactive step that will save you headaches and expenses down the line.
Signs of Serious Structural Damage
While a temporary ceiling leak fix addresses the immediate water flow, it’s critical to remain vigilant for signs that the leak has caused more profound damage to your home’s structure. These indicators suggest that the problem is beyond a simple cosmetic repair and requires immediate professional assessment.
Look out for:
- Sagging Ceiling or Roof Deck: If you notice a noticeable dip or curve in your ceiling, or if the roof deck (visible from the attic) appears to be sagging, this is a serious sign of compromised structural integrity. The weight of absorbed water can cause wood to weaken and deform.
- Cracks in Drywall or Plaster: While minor cracks can appear over time due to normal house settling, widespread or new cracks, especially those radiating from the leak area, can indicate structural stress.
- Musty Odors That Persist After Drying: If, even after drying the visible areas, a strong, earthy, or musty smell lingers, it’s a clear sign of hidden mold growth. Mold can grow behind walls, under flooring, or in insulation, creating odors that penetrate your living space.
- Peeling Paint or Wallpaper: Beyond the immediate leak area, if paint starts to peel or bubble, or wallpaper begins to detach, it indicates that moisture has spread and is affecting these surfaces.
If you observe any of these signs, don’t delay. Call a professional immediately. Our team at 12 Stones Roofing & Construction has the expertise to assess the extent of the damage and recommend the necessary structural repairs to ensure your home remains safe and sound.
When to Call a Professional vs. DIY
We understand the homeowner’s instinct to tackle problems themselves. A temporary ceiling leak fix is absolutely within the field of DIY for immediate containment. However, there’s a clear line where professional expertise becomes not just recommended, but essential. Knowing this distinction can save you time, money, and potential hazards.
Here’s a straightforward comparison:
| DIY-Safe Tasks (Temporary Fixes) | Professional-Required Tasks (Permanent Solutions & Serious Issues) | When a ceiling has a leak, our first actions are crucial to prevent further damage.
Frequently Asked Questions about Ceiling Leaks
Can I just paint over a ceiling water stain?
No, painting over a stain without fixing the leak traps moisture, leading to mold and rot. The stain will reappear. The area must be dry and the leak permanently fixed before priming and painting. If you’re dealing with a persistent or significant stain after the leak is resolved, we recommend using a stain-blocking primer like Kilz, as mentioned in our research, before applying your final paint coat.
How long can a temporary ceiling leak fix last?
A temporary ceiling leak fix is designed to last a few days to a few weeks, depending on the method used, the severity of the leak, and the prevailing weather conditions in Pasadena, TX. It is not a permanent solution and is only meant to prevent further damage until a professional can perform a permanent roof repair. Think of it as a band-aid – effective for a short period, but not a cure.
Will my homeowner’s insurance cover the damage?
Coverage depends heavily on your specific homeowner’s insurance policy and the cause of the leak. Most policies cover sudden and accidental water damage (like a sudden pipe burst or storm damage), but damage resulting from long-term neglect, poor maintenance, or pre-existing conditions (like a roof that was due for replacement) may not be covered. It’s crucial to document everything with photos and videos, and to notify your insurance company promptly. Many professional roofing companies, including ours, can assist you with the documentation and provide detailed reports for your roof inspection for your insurance claim.
Don’t Wait—Secure Your Home with a Permanent Fix
A temporary ceiling leak fix is a smart, proactive first step when disaster strikes, allowing you to regain control and protect your home from immediate harm. We’ve walked you through the critical actions to take—from containing the water and identifying the source to applying temporary patches and drying out your home. These steps are invaluable for mitigating damage and buying you time.
However, these are just temporary solutions. The underlying problem, whether it’s a compromised roof, a faulty plumbing line, or a struggling HVAC system, still needs to be addressed permanently. Ignoring a leak, even a small one, is akin to ignoring a chronic health issue; it will only lead to more extensive, more expensive, and more dangerous problems down the line. Structural damage, widespread mold, and compromised electrical systems are not just costly repairs—they can threaten the safety and value of your home.
For a reliable, permanent solution to your ceiling leak, especially in the Pasadena, TX area, trust the experts at 12 Stones Roofing & Construction. We specialize in comprehensive residential and commercial roofing services, offering everything from meticulous inspections to durable repairs and full replacements. Our team understands the unique challenges posed by Texas weather and is committed to providing transparent, high-quality service to protect your property.
Don’t let a temporary fix lull you into a false sense of security. Contact us today for a comprehensive inspection and a lasting solution. Schedule your professional roof repair directly through our website, and let us help you secure your home and restore your peace of mind.